Leaderboard


Popular Content
Showing content with the highest reputation on 05/18/2020 in all areas
-
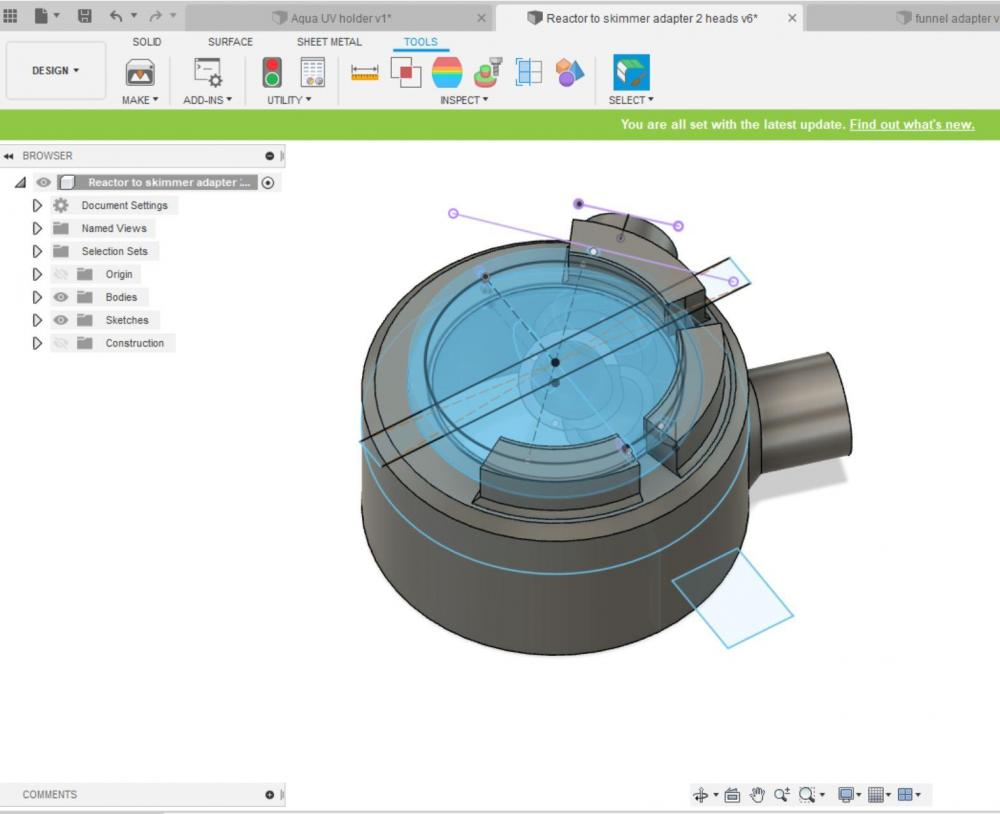
3D printing is getting more popular in the past years. And there are quite a few reefers here who have 3D printers at home. Starting a thread to share some mini projects. My full tank project can be seen here : http://www.sgreefclub.com/forum/topic/142862-my-slice-of-nature-part-3/ Comments, feedback & new ideas are welcome. Kicking off with a reactor adapter for Nyos skimmer. Using this with biopellet reactor will ensure all the slime & bacteria from the biopellet reactor goes directly to the skimmer instead of going to the display tank where there may be a risk of causing cyano. Assembling it onto the Nyos skimmer inlet
.thumb.jpg.94328530cef2670738f60fa8d01ffdf5.jpg)
.thumb.jpg.3409bddbf3941c96de2bc107cf1b7388.jpg) 1 point
1 point -
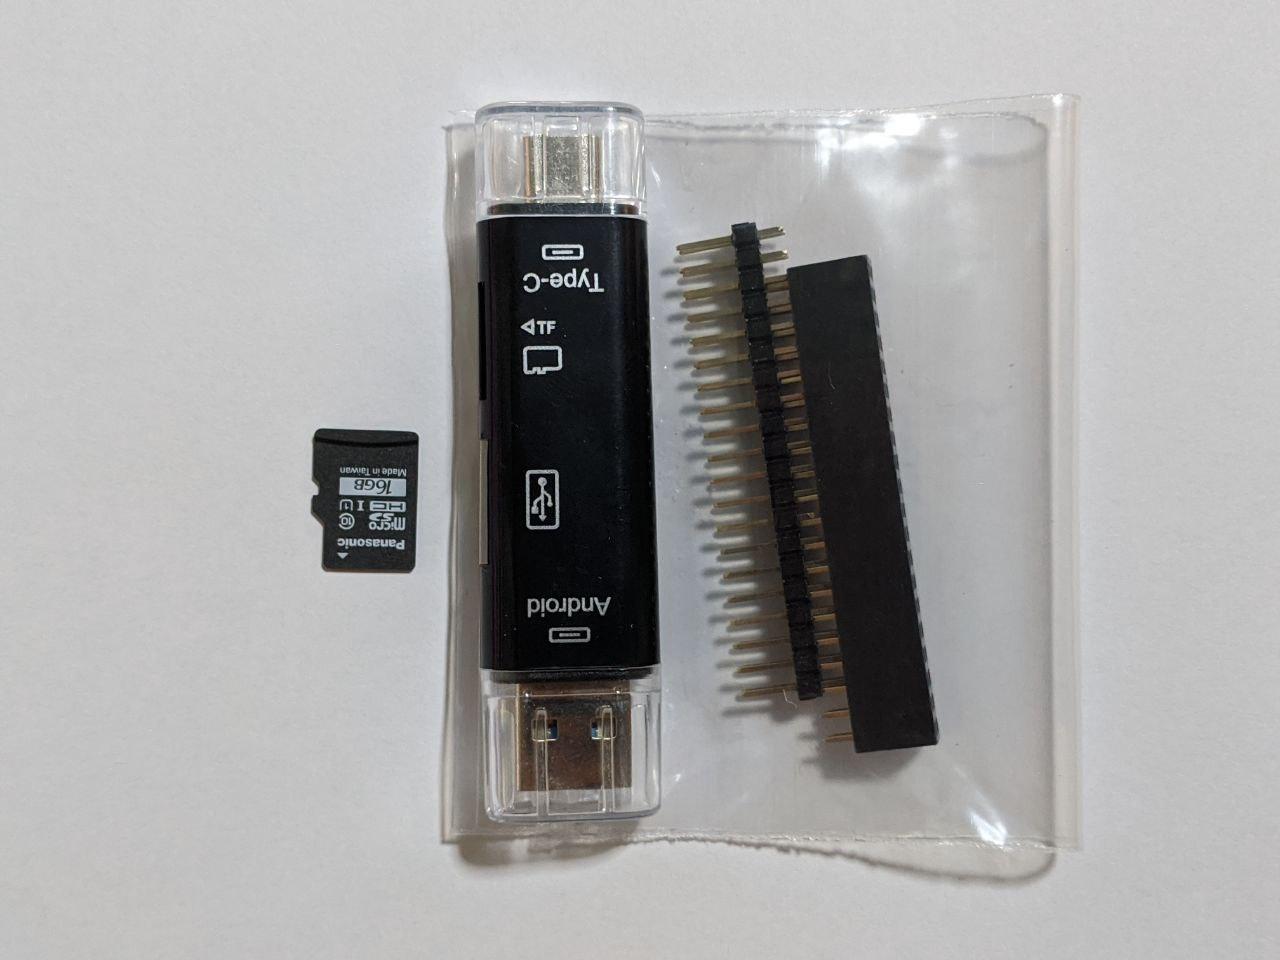
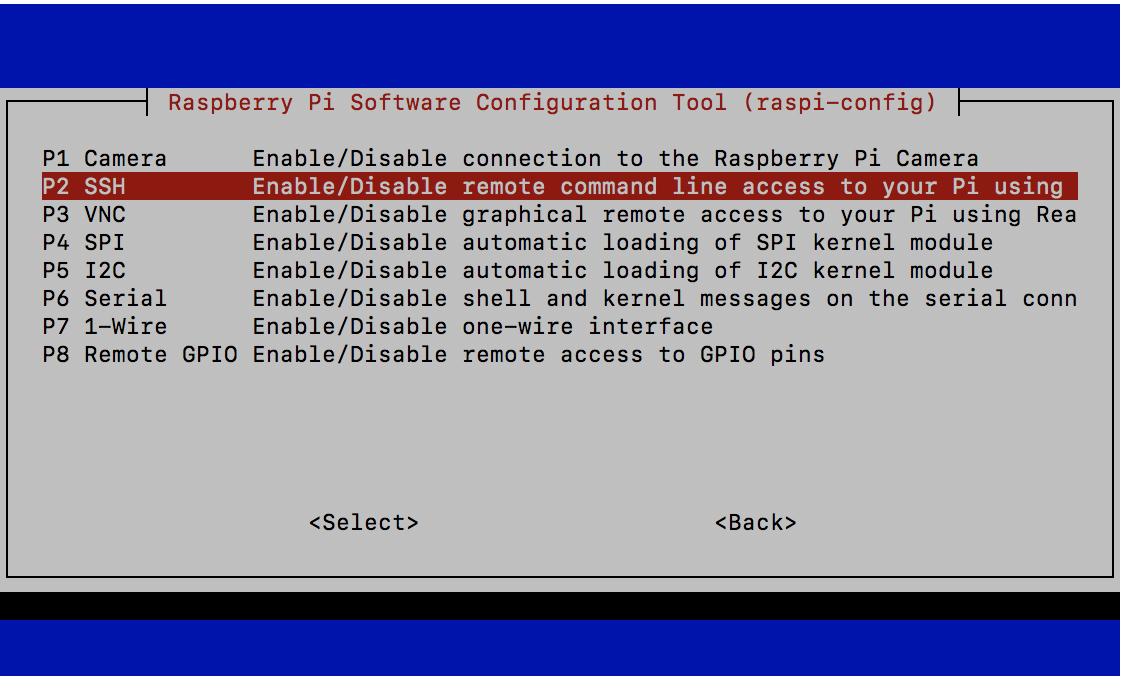
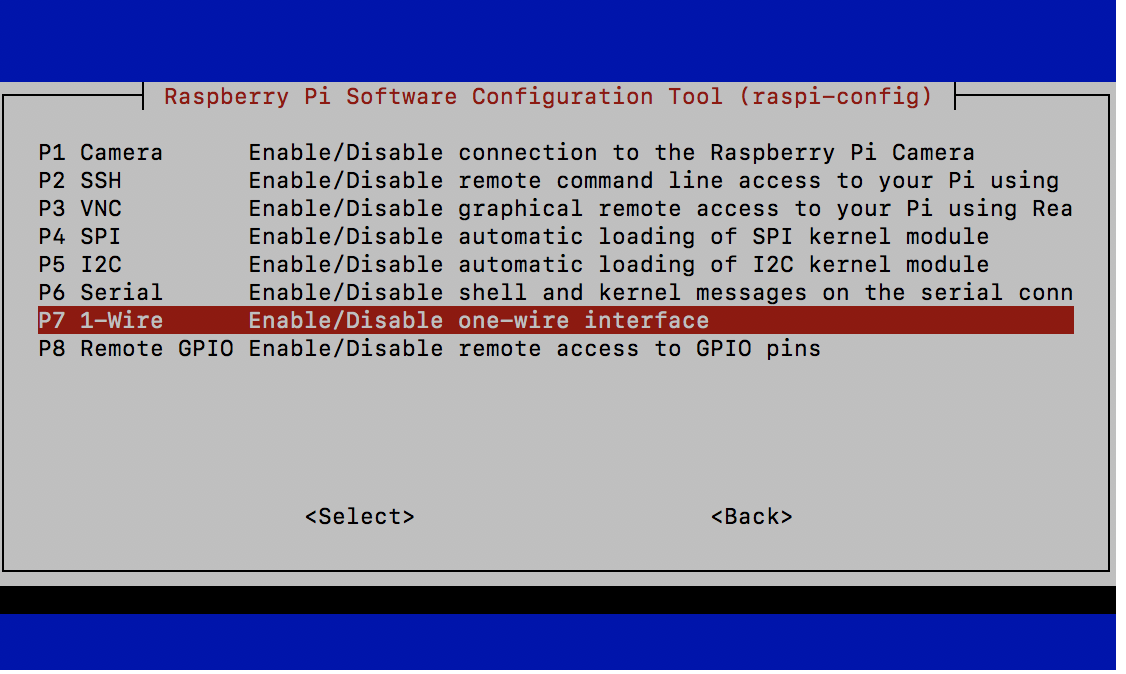
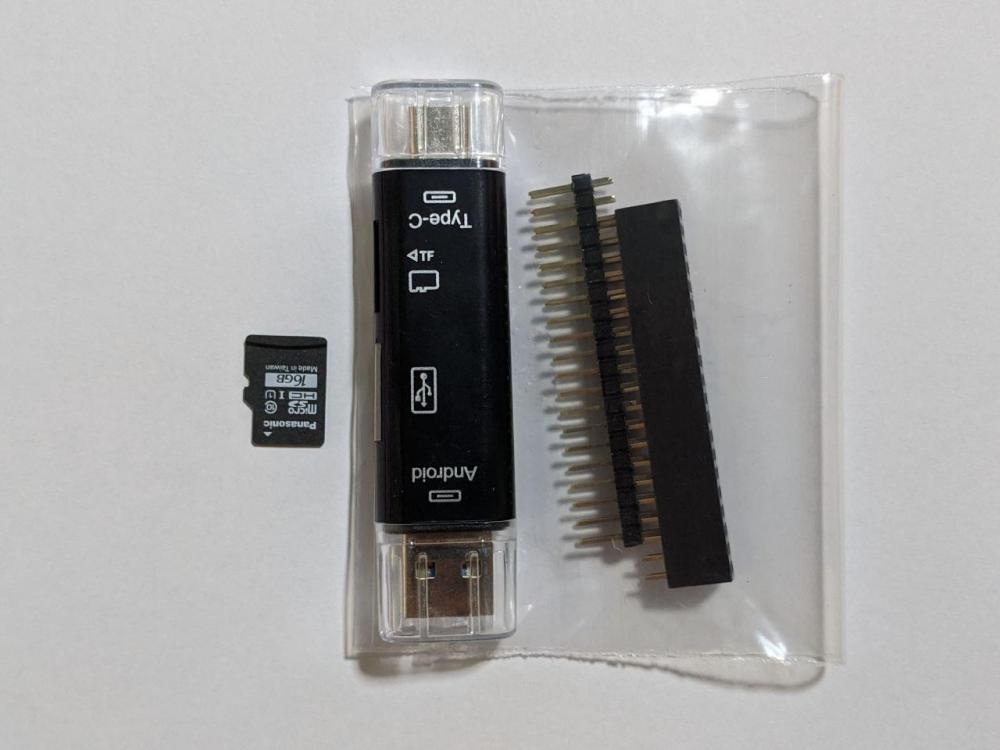
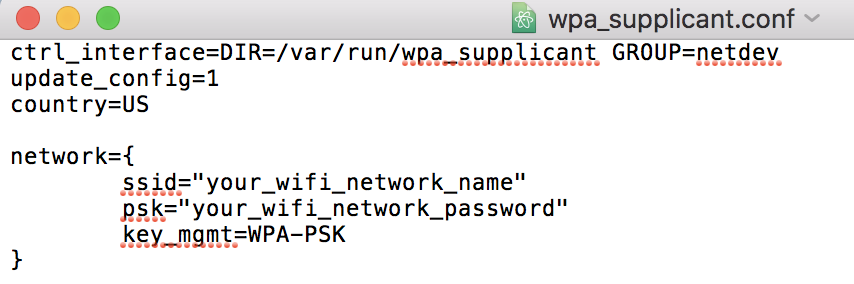
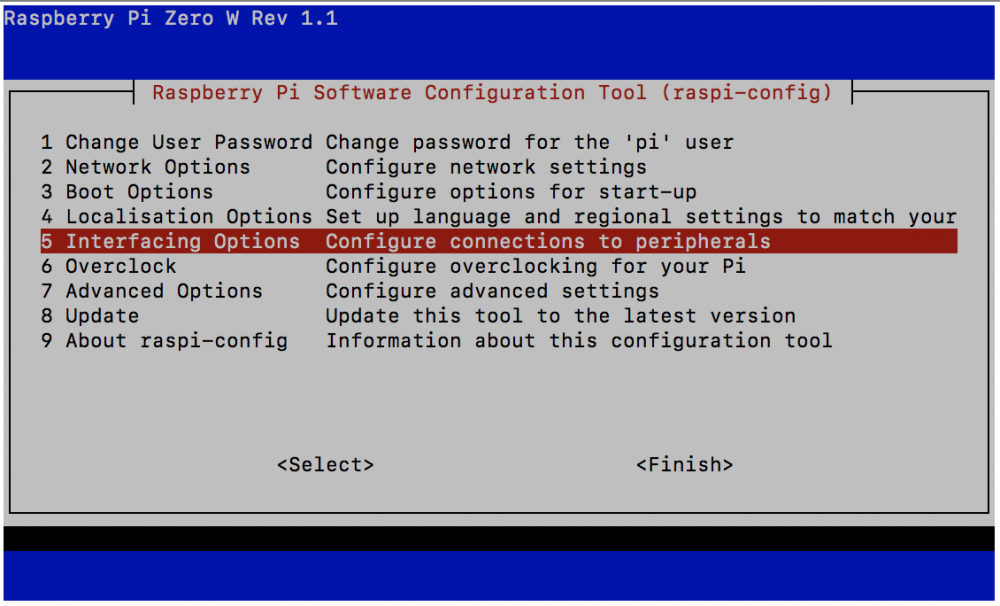
I've been wanting to start a reef related project that I'll be able to learn things about in another area. So what I picked, is to start on the reef pi project (you can Google more about this too). I'm completely new to programming and know next to nothing about electronics and circuitry beyond the basic stuff taught in schools. Hopefully, I can get some guidance from members here too. What this project is about, is to create an aquarium controller (with whatever bells and whistles you want) using the Raspberry Pi. I've chosen the Raspberry Pi Zero W to start off with since that is relatively inexpensive and that is what most guides use. Plus, having a wireless function definitely helps, although the Zero W is only connected via 2.4 GHz. Just sharing what I've done here so please use your own discretion in deciding whether you want to attempt this or not. Below is a summary of what I've learnt from other guides, of which I am grateful for those creators for having explained the steps. To the more experienced reefers, please let me know if I left out anything. Many thanks in advance. Equipment For this first post, I'll just share what I've started off with so far. Raspberry Pi Zero W Others a. MicroSD card (I'm using a 16GB card, but the minimum recommended capacity is 8GB) b. MicroSD card reader c. GPIO pin strips d. DC power adaptor (5.1V, 2.5A output) (not in picture) e. A computer to connect to the Pi Setting up the Pi 1. Connect your MicroSD card to your computer. Download the Raspberry Pi Imager (search this on Google) and choose the correct OS that your computer is running on. Follow the steps to write the OS on your MicroSD card. 2. Download two files for the Pi set-up off the internet (wpa_supplicant.conf and ssh). Copy these files onto your MicroSD card. 3. Open the copy of "wpa_supplicant.conf" on your MicroSD card and key in the network details you want to connect to, replacing "your_wifi_network_name" and "your_wifi_network_password". Save the file. Remember that you have to connect to a 2.4GHz network for the Zero W. 4. Eject the MicroSD and plug it into your Pi. 5. Plug your Pi into your power source and it should automatically connect to your network. 6. Now you'll need to connect your computer to the network that you connected your Pi to. Once you're connected, open the Command Prompt (Windows) or Terminal (Mac) and run the line "ping raspberrypi.local". You should see Command Prompt or Terminal giving you data about your Pi's connection. To stop the command, enter ^C. 7. Connect your computer to your Pi by running "ssh pi@raspberrypi.local". You'll be prompted with a password. By default, the password is "raspberry". Please remember to change this later. Once you've entered the password correctly, you'll be connected to your Pi via the 2.4GHz network. 8. Enable SSH. To do so, run "sudo raspi-config" on Terminal. Select "5 Interfacing Options", "P2 SSH" and enable SSH. 9. Reboot your Pi. 10. Connect to your Pi again (you may have to restart Terminal) and run the following: "sudo apt-get update -y", "sudo apt-get upgrade -y", "sudo systemctl start systemd-timesyncd", "sudo systemctl enable systemd-timesyncd" 11. Edit config.txt by running "sudo nano /boot/config.txt". Scroll to the bottom and type "dtoverlay=pwm-2chan". Reboot your Pi. 12. Run "sudo raspi-config". Select "5 Interfacing Options" and "P7 1-Wire". Enable one-wire interface. While you're at it, you can disable SPI too. 13. Reboot your Pi and install reef pi. Do a Google search to find the latest code to use to download the latest version of reef pi. Remember to select the correct code you're using because these are written specific to different versions of the Raspberry Pi. 14. Connect to your Pi again, and run "ping raspberrypi.local". Copy the IP address of your Pi and enter it into your browser. This will take you to the login page for reef pi. The default username and password are both "reef-pi". Key those in, and sign in. Next I've already set up my Pi as detailed above. I've recently placed orders for the other things I would need for: a. 8 channel relay b. PH meter c. Temperature meter These are the first three things I'll be trying to do, but for now I'm still waiting for parts to arrive.
.thumb.jpg.925f69253b41c49fa108822ae1c697f8.jpg)

 1 point
 -
VID_20200505_234528.mp41 point
-
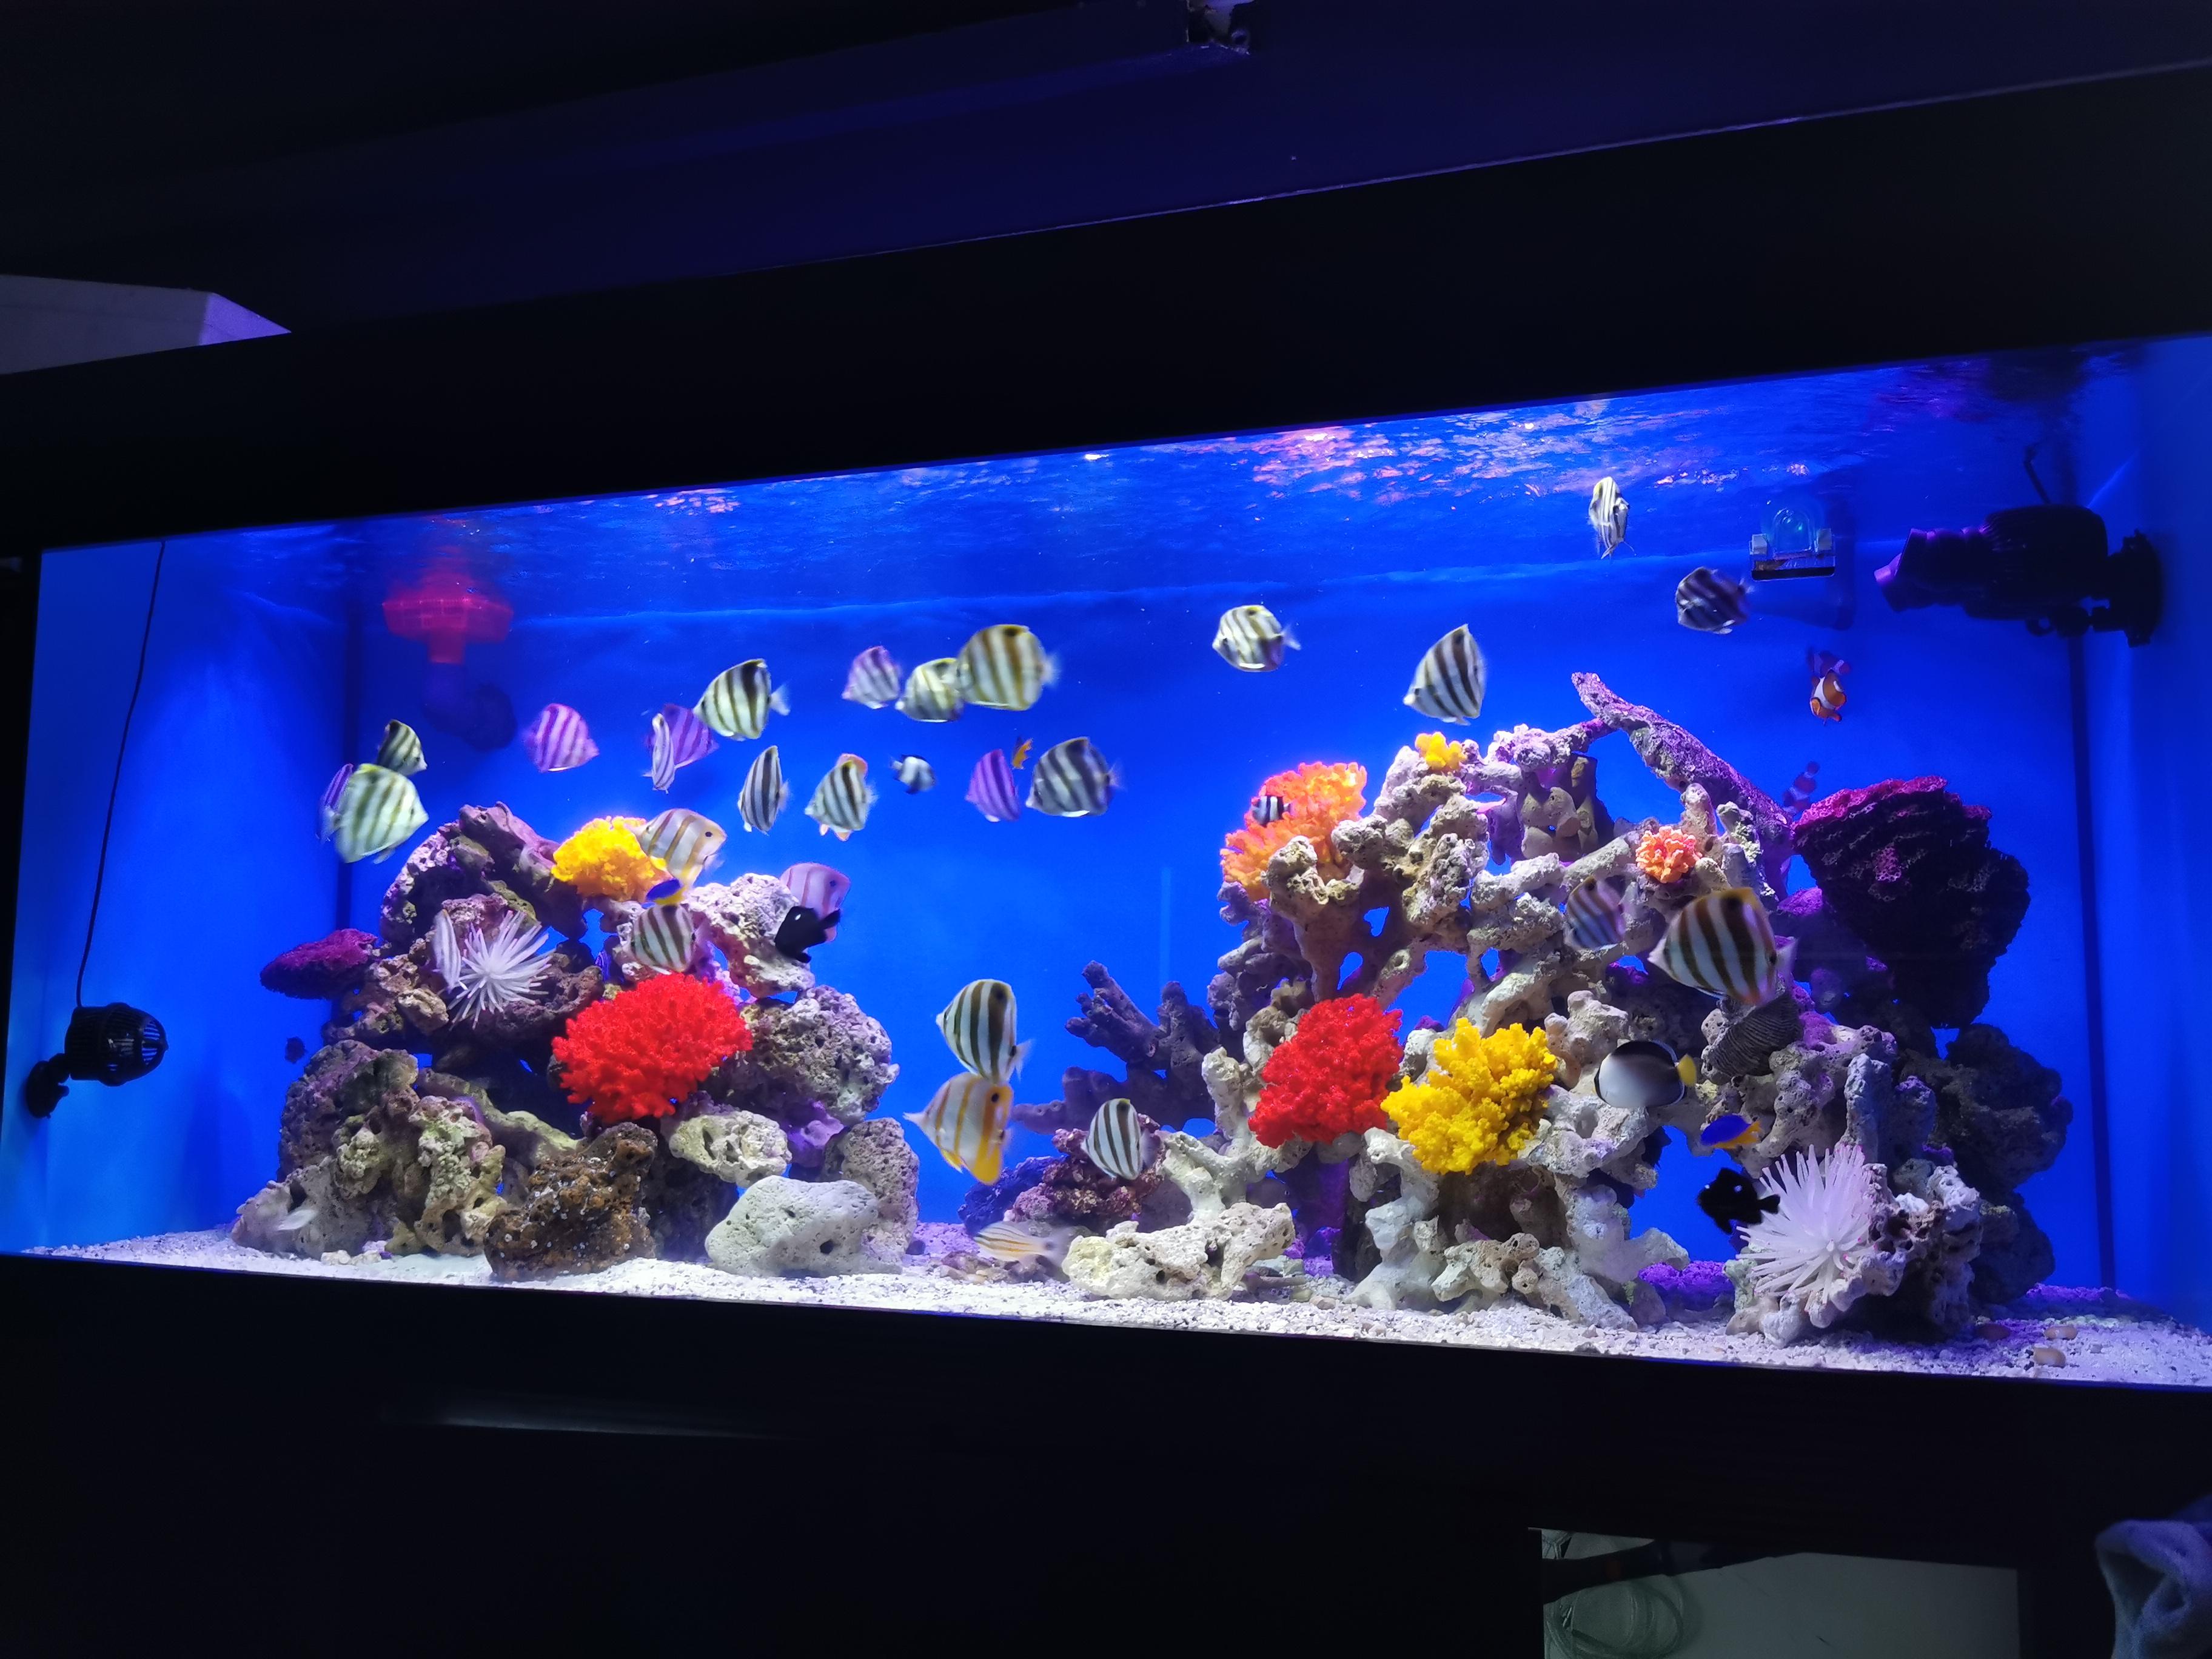
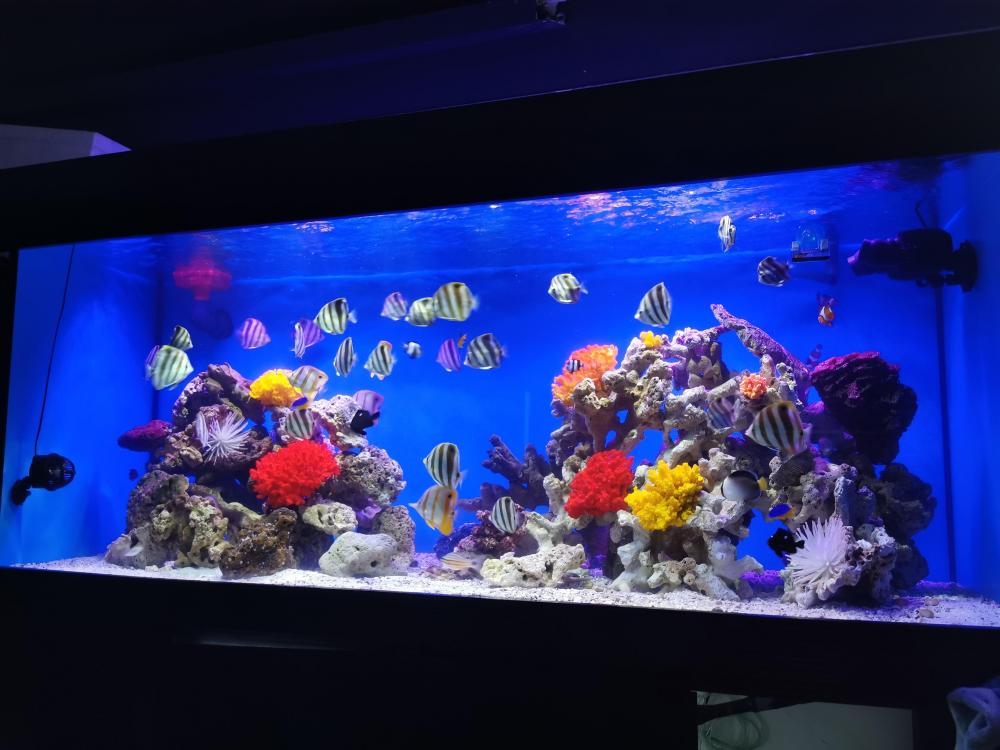
Updating of tank
 1 point

.jpg.92e1a0b09b656f70d9ecceee1ee3284b.jpg)
.jpg.9d8fbf81b26210e02e6fac7d71e621dc.jpg)
.jpg.ba927a3163141e5ea6806cc3b41c17bc.jpg)