


oceanviper
-
Posts
1,035 -
Joined
-
Last visited
-
Days Won
7
Content Type
Profiles
Forums
Gallery
Posts posted by oceanviper
-
-
I always have this phobia about acrylic giving way. So I must commend you for a brave move to use acrylic.
Hi Bro.
Thanks for the encouragement and is going to difficult to keep the acrylic clear without scratches during algae cleaning.....
Sent from my SM-N910G using Tapatalk
-
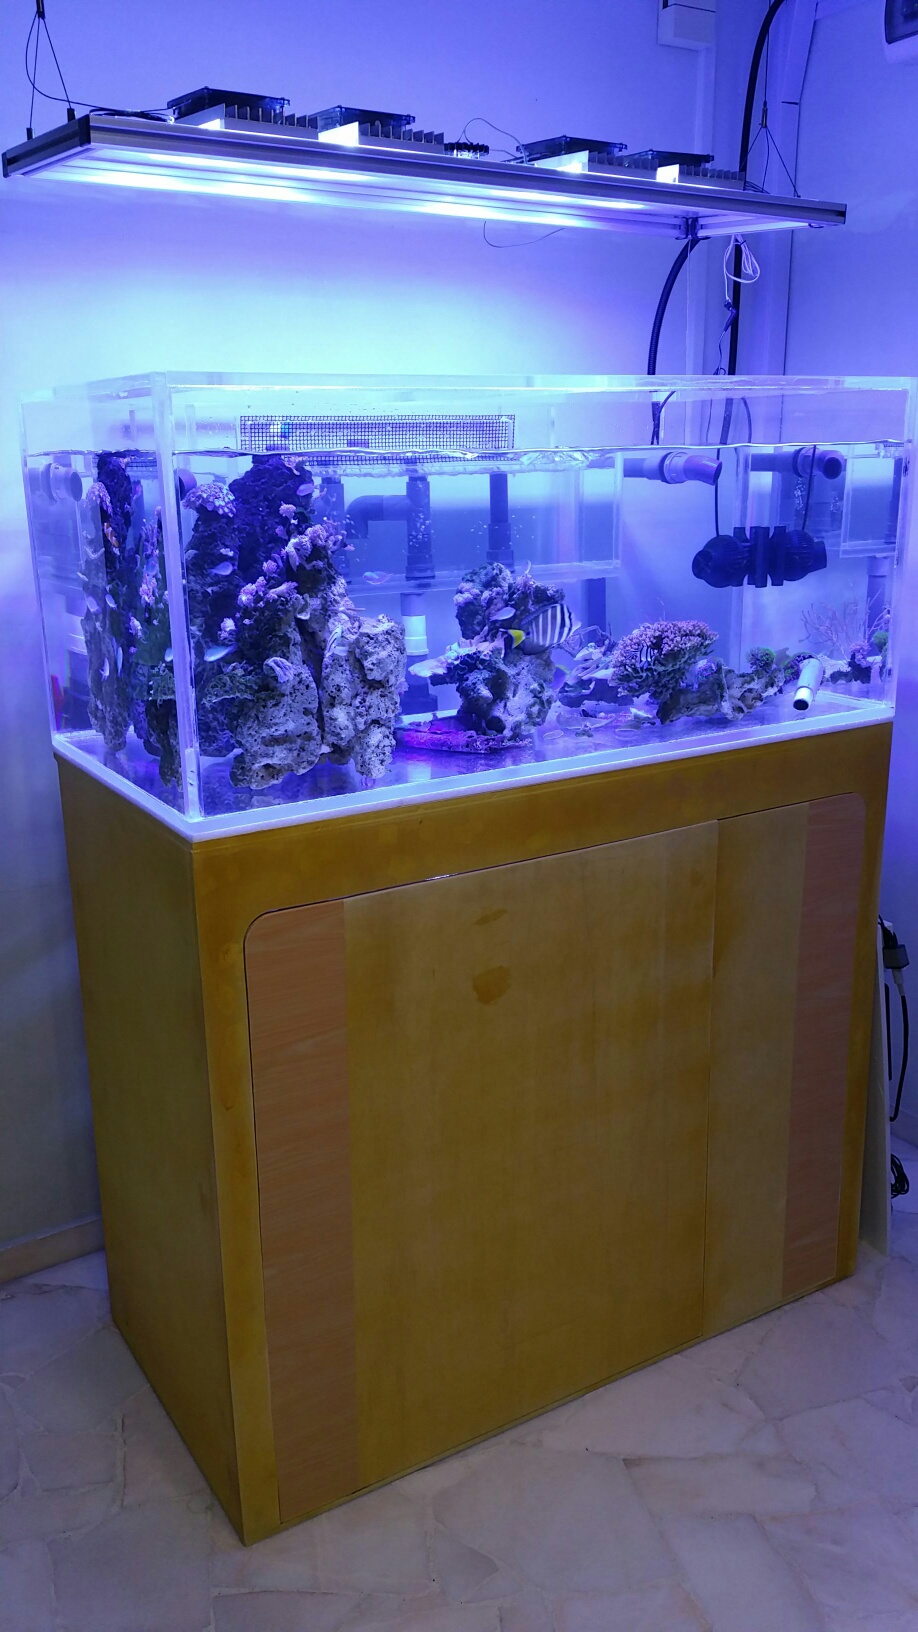
Here is the migration completed with rocks and live stocks transferred.


-
 1
1
-
-
PMed u bro
-
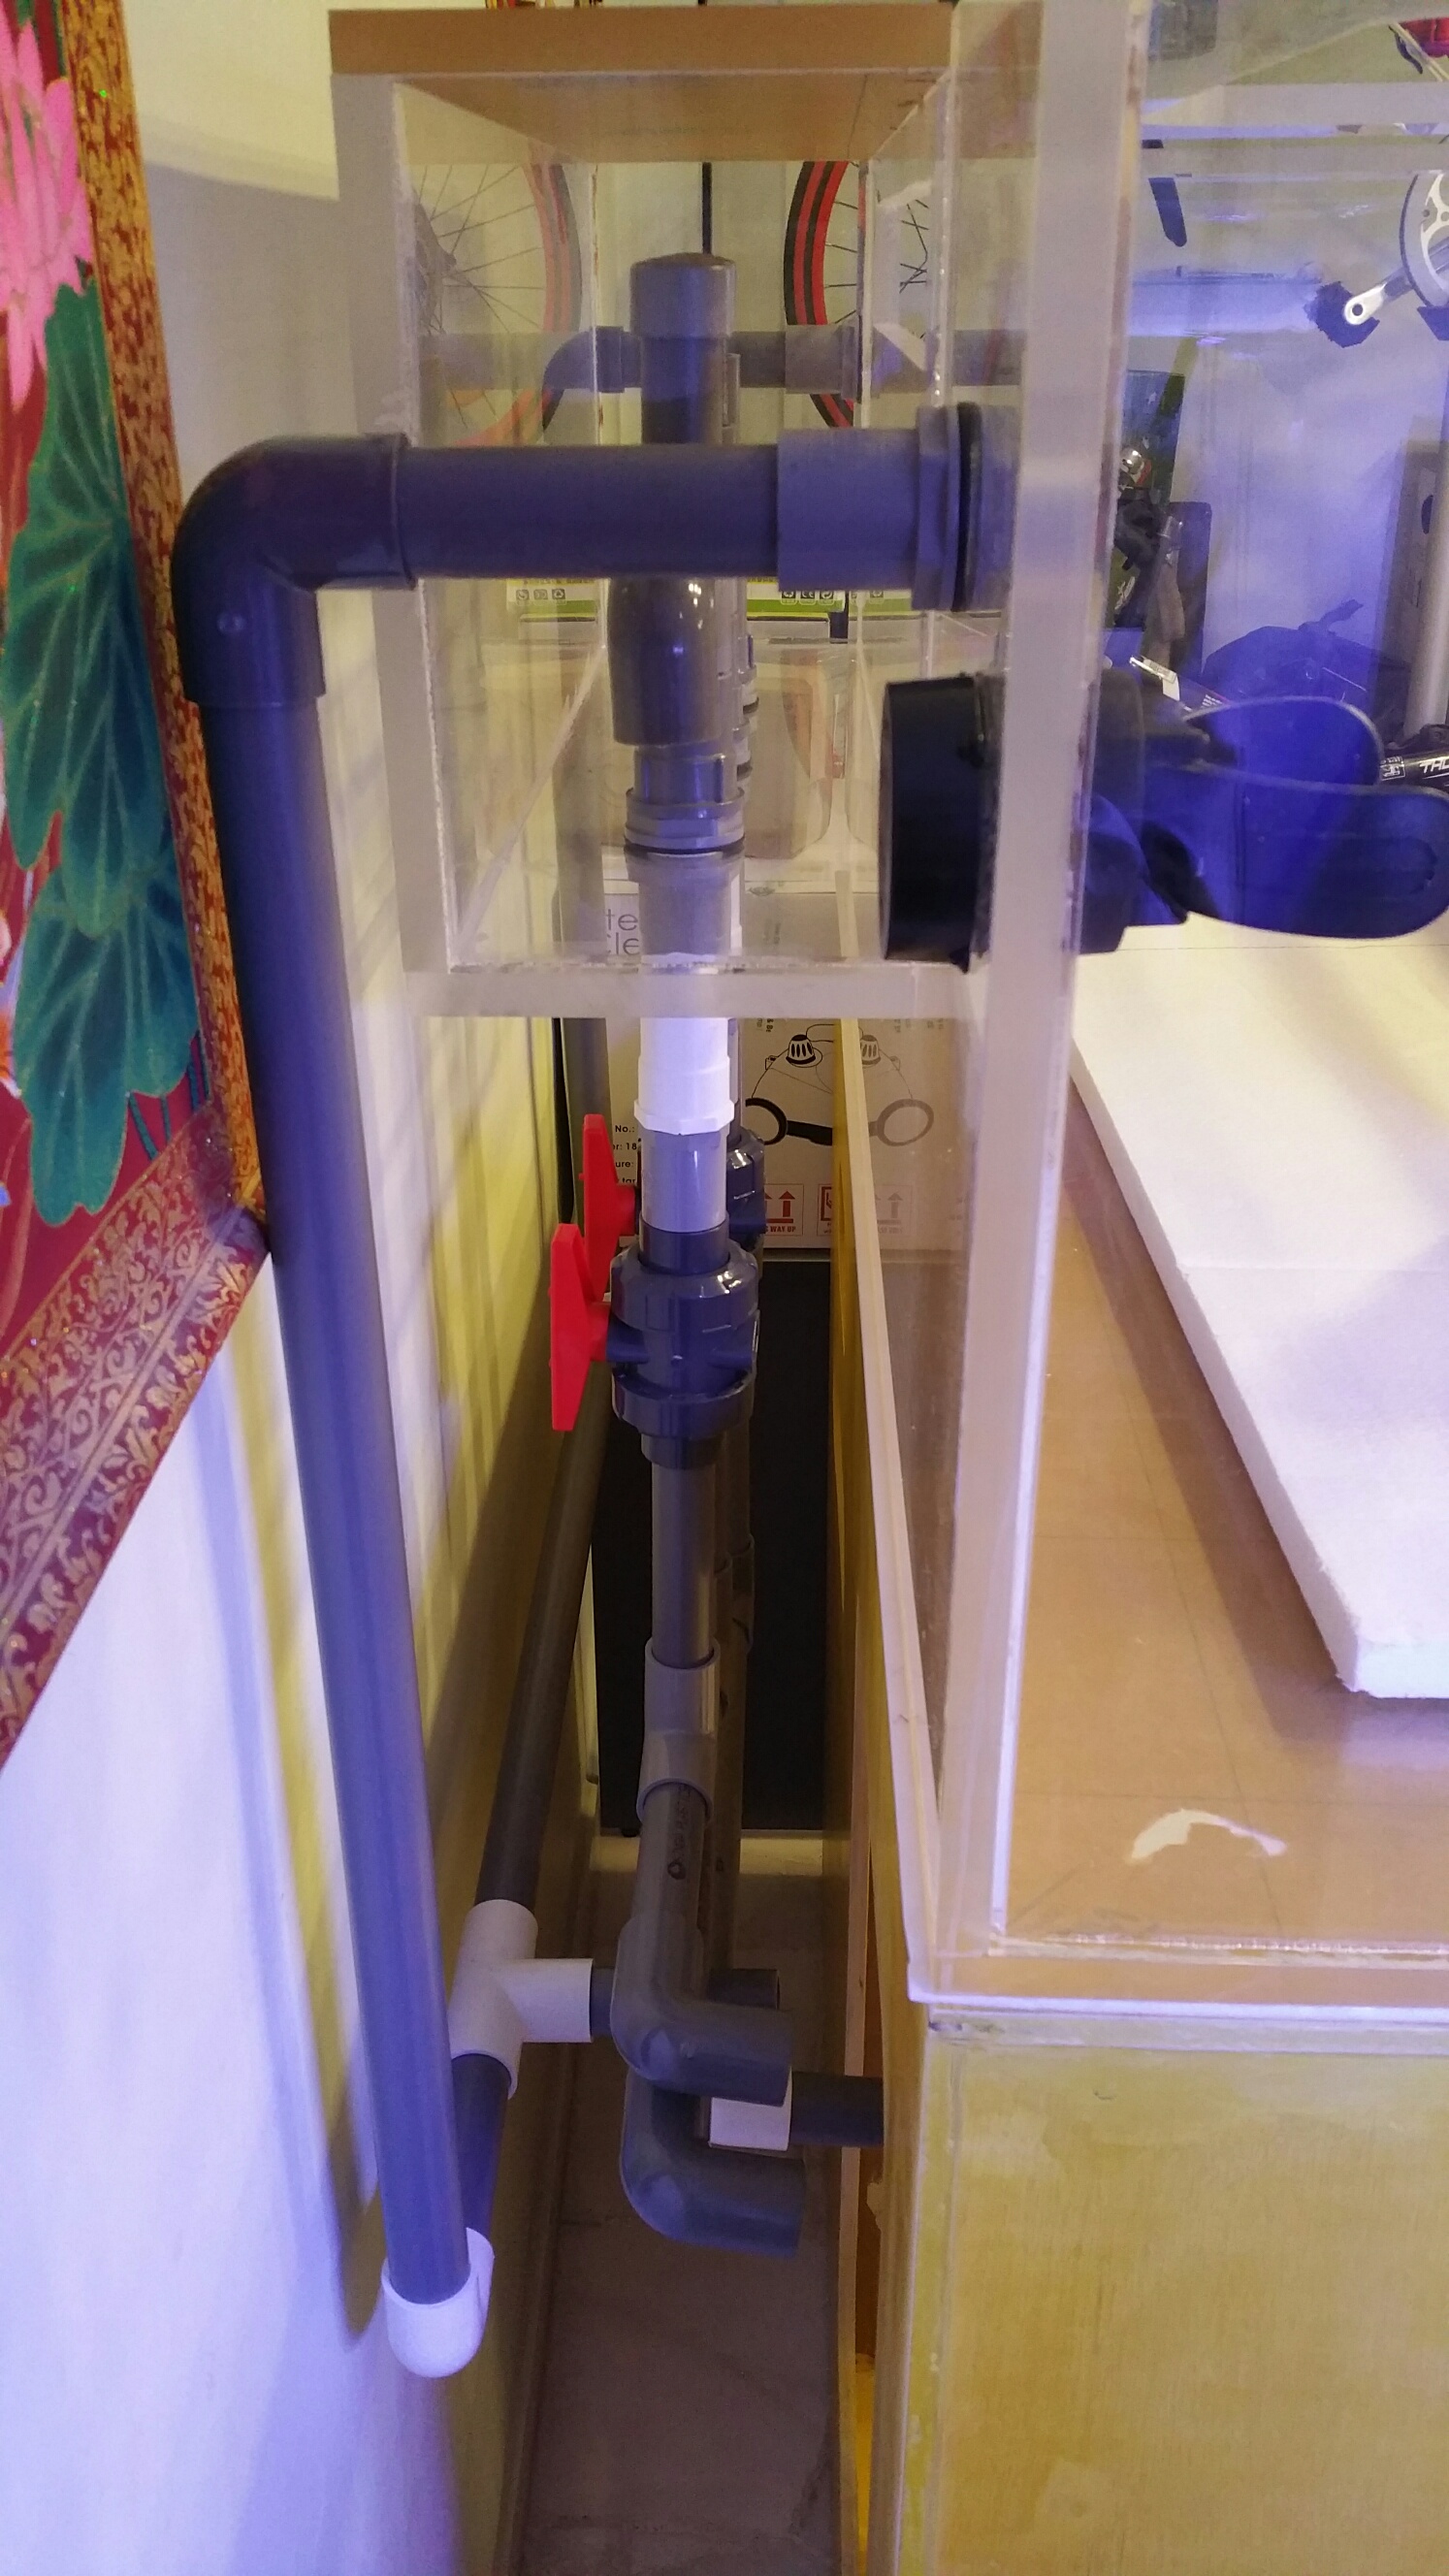
Piping has completed with the part connecting to my return pump.
Migration would be whole day require with the reusing the return pump, reconnecting the drop in coil into the new sump tank... not forgetting the transferring of the existing livestock and corals.
Here are the FTS of the tank.
Any suggestion on the rock scape for this configuration?

-
Generous reefer

Sent from my SM-N910G using Tapatalk-
1
-
-
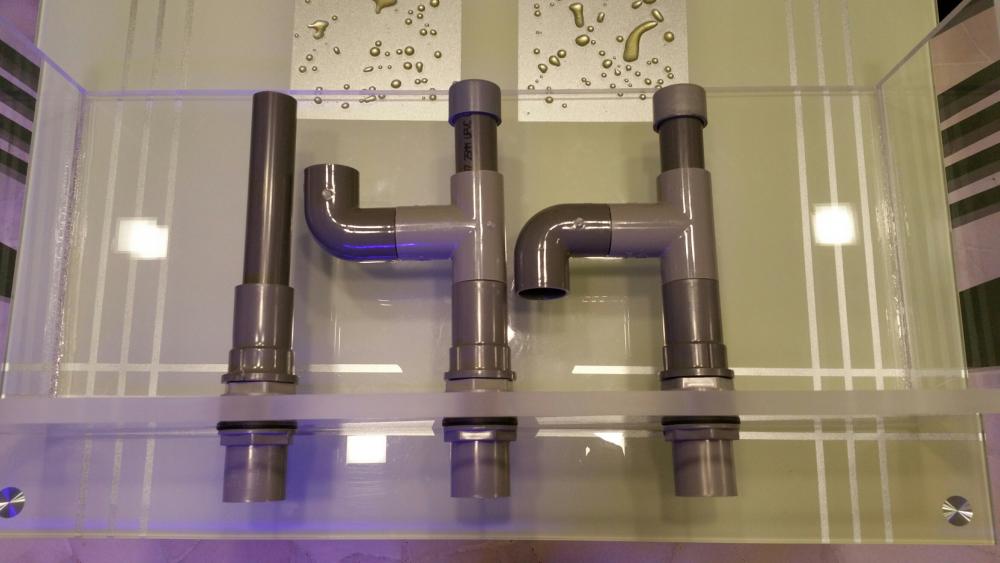
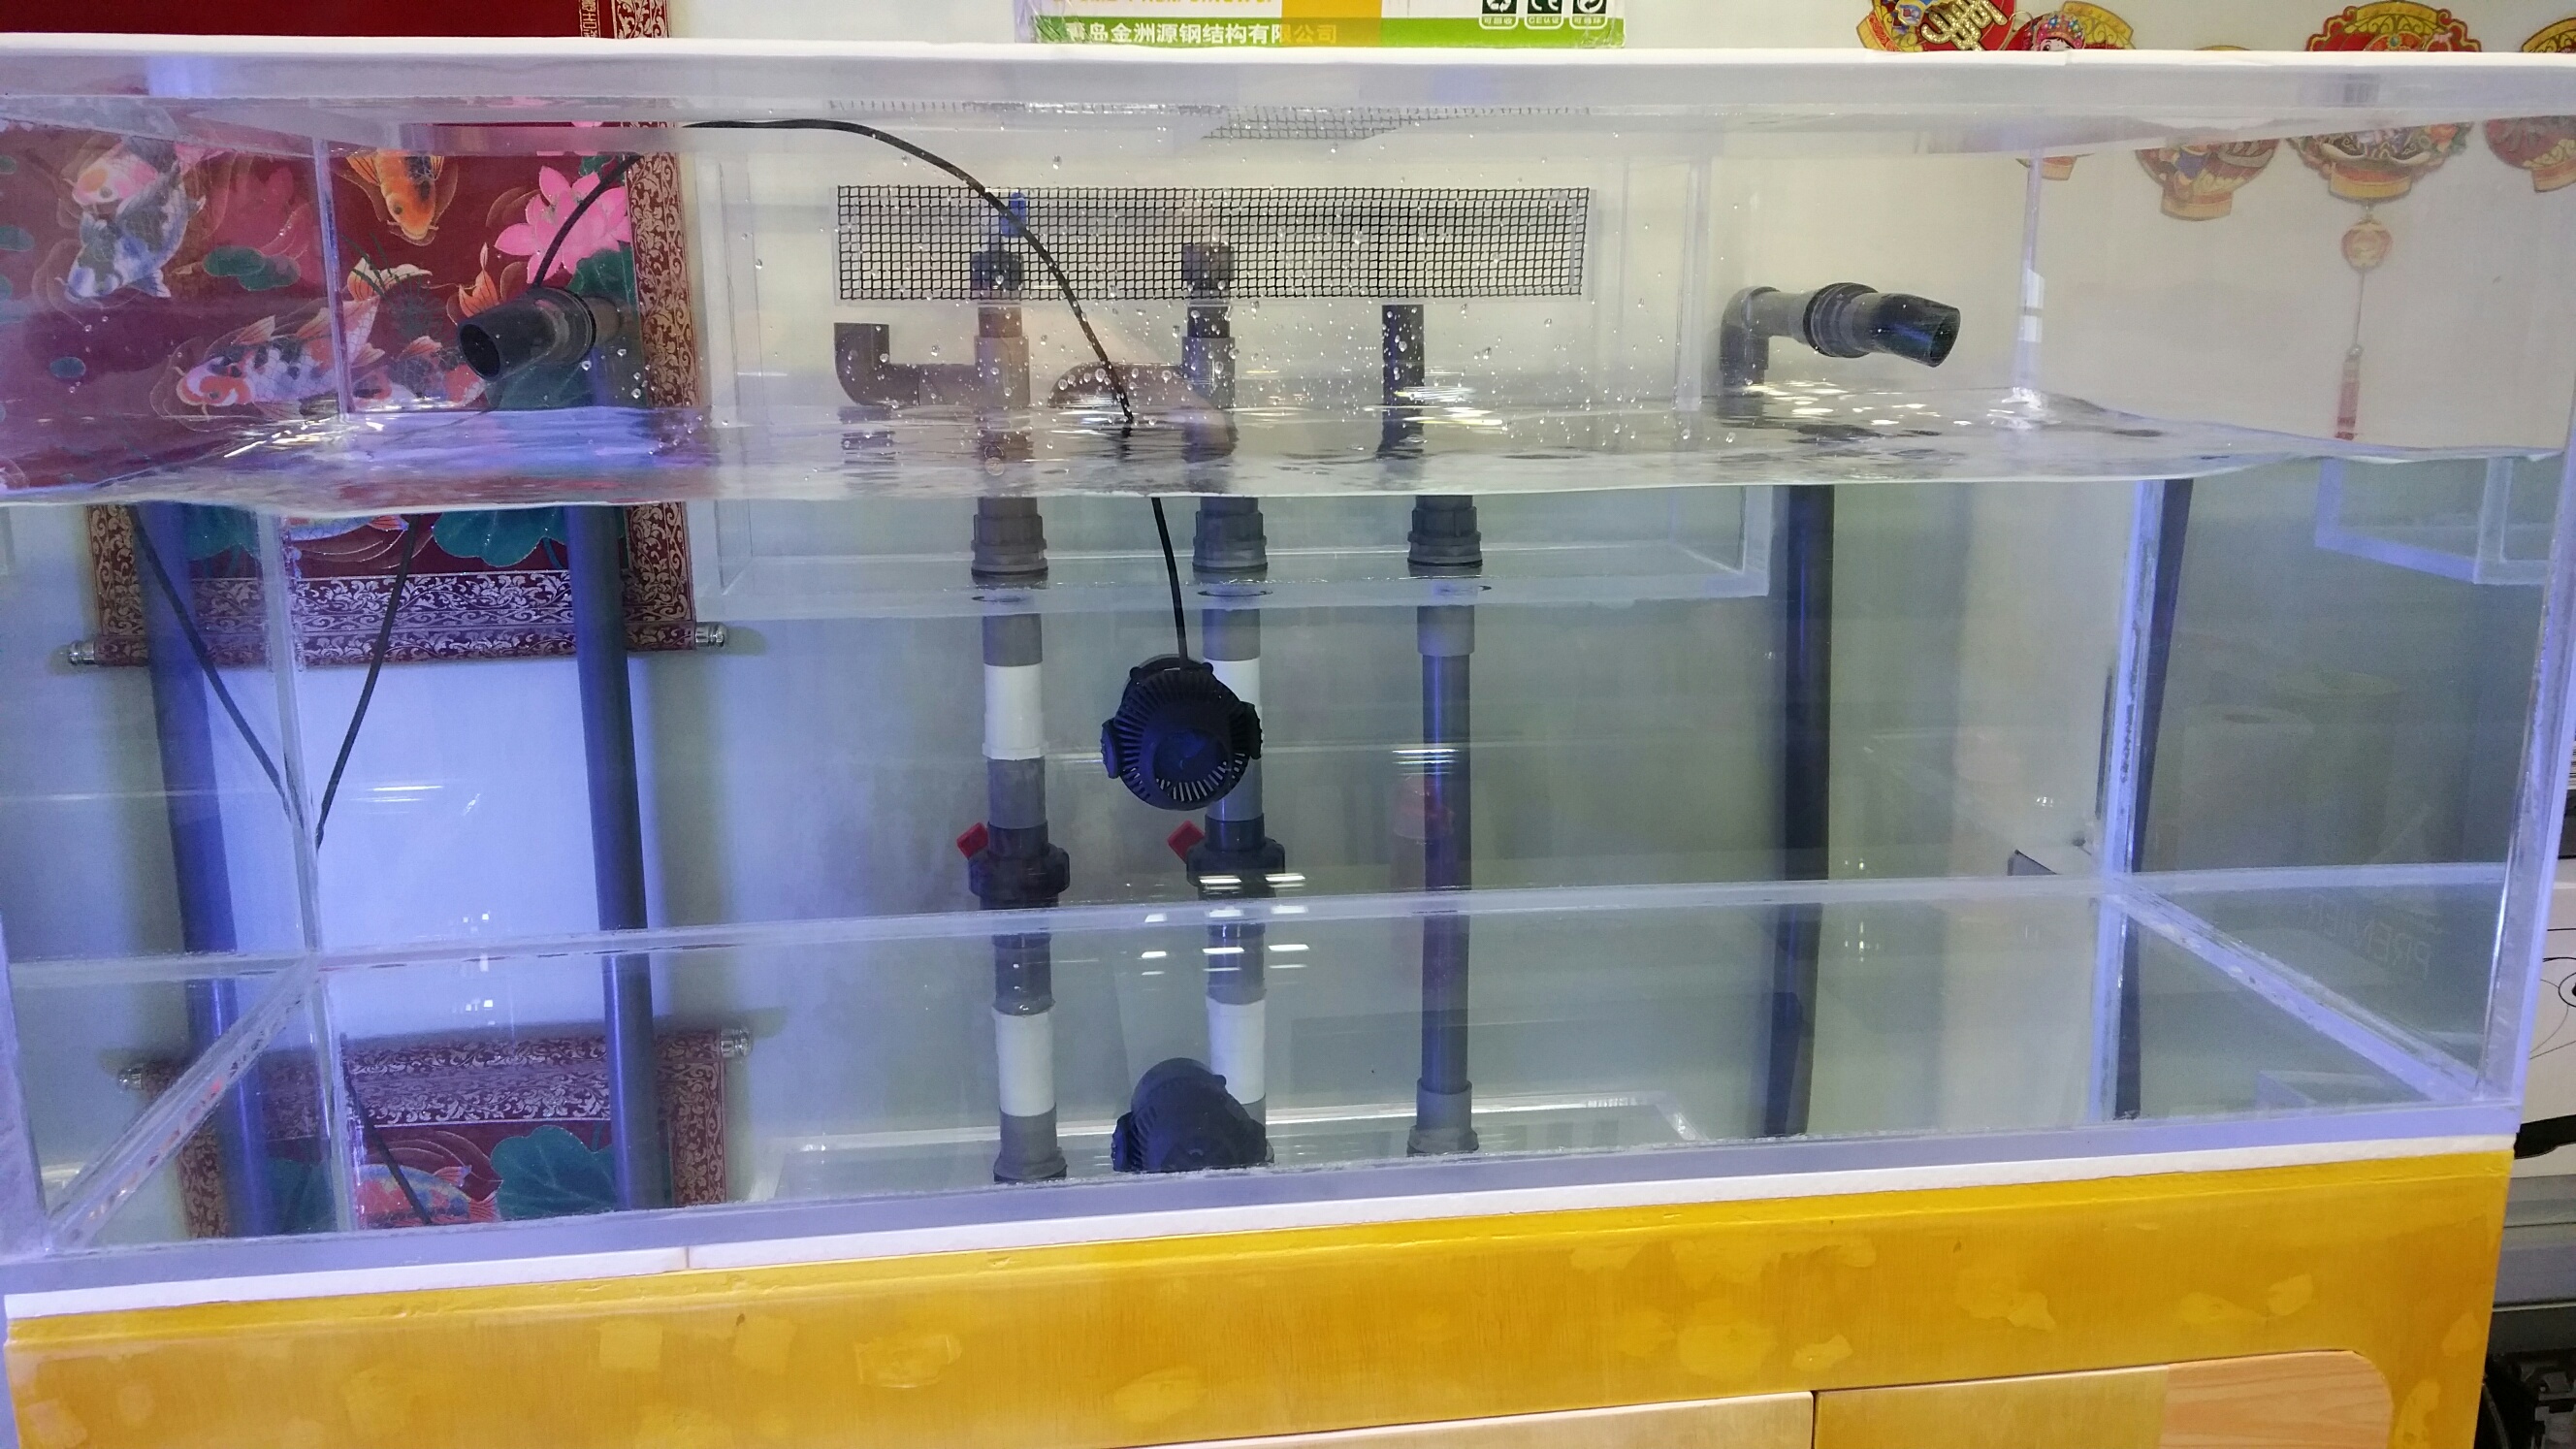
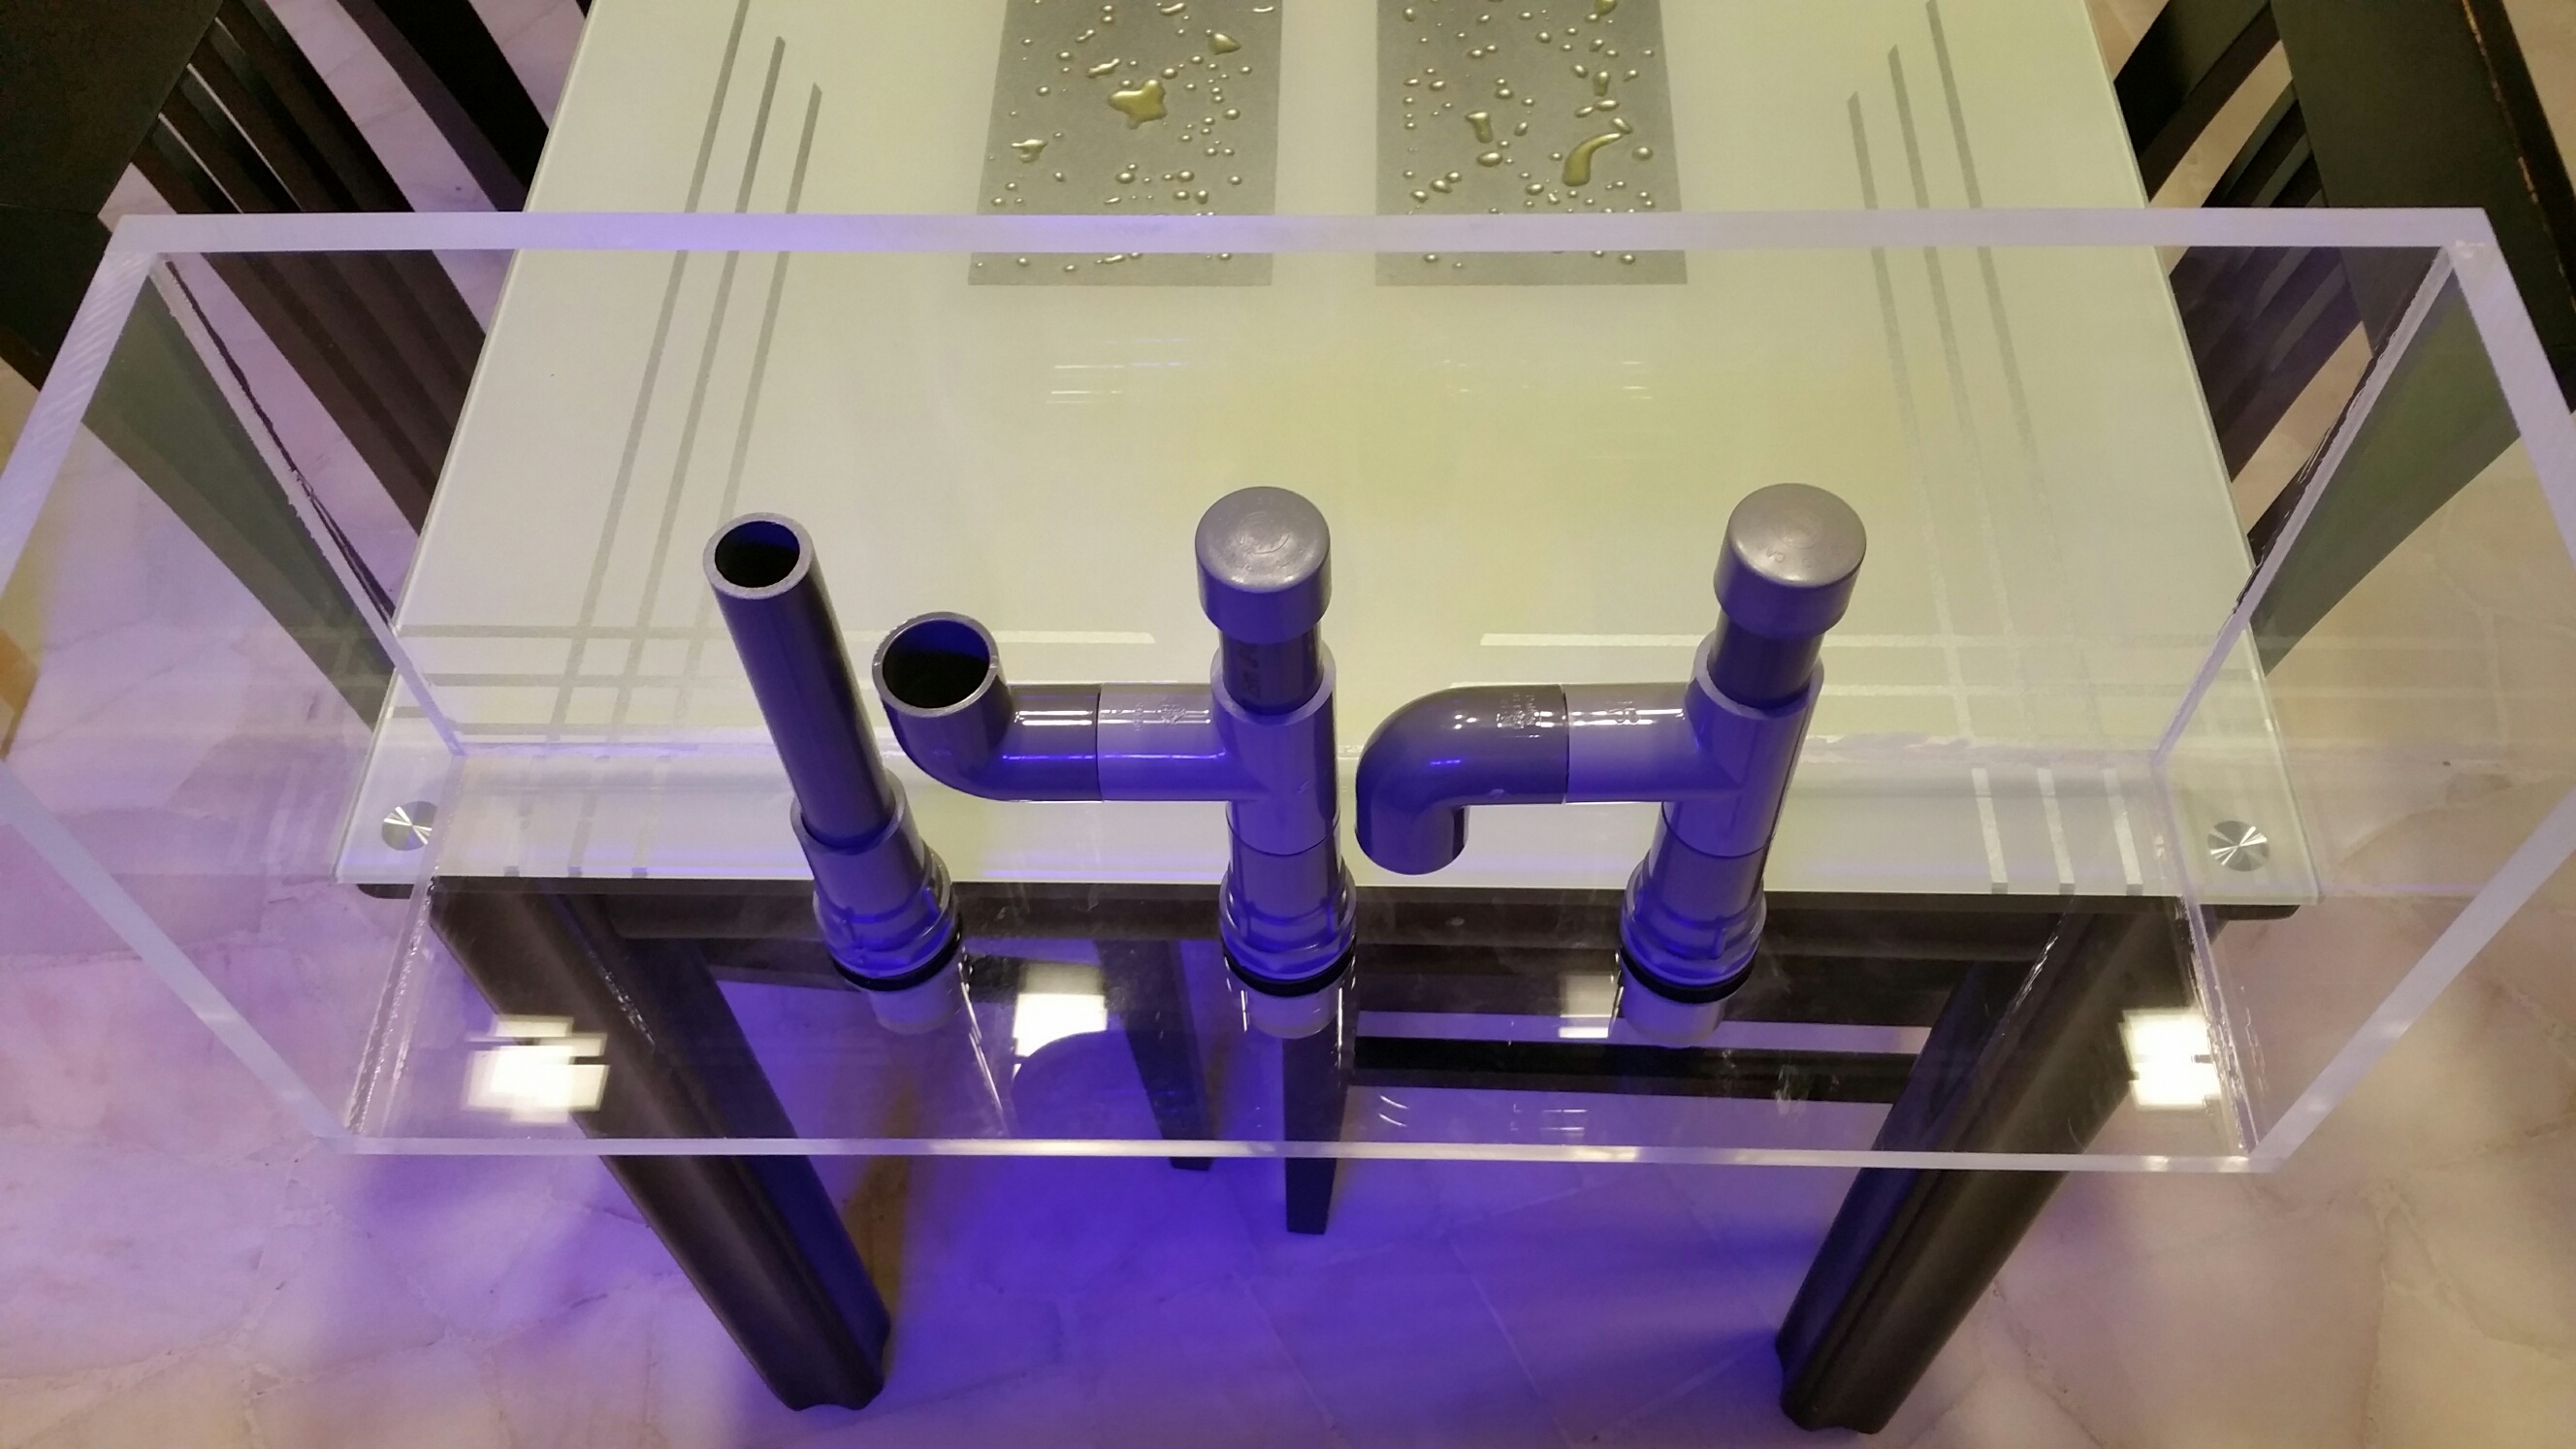
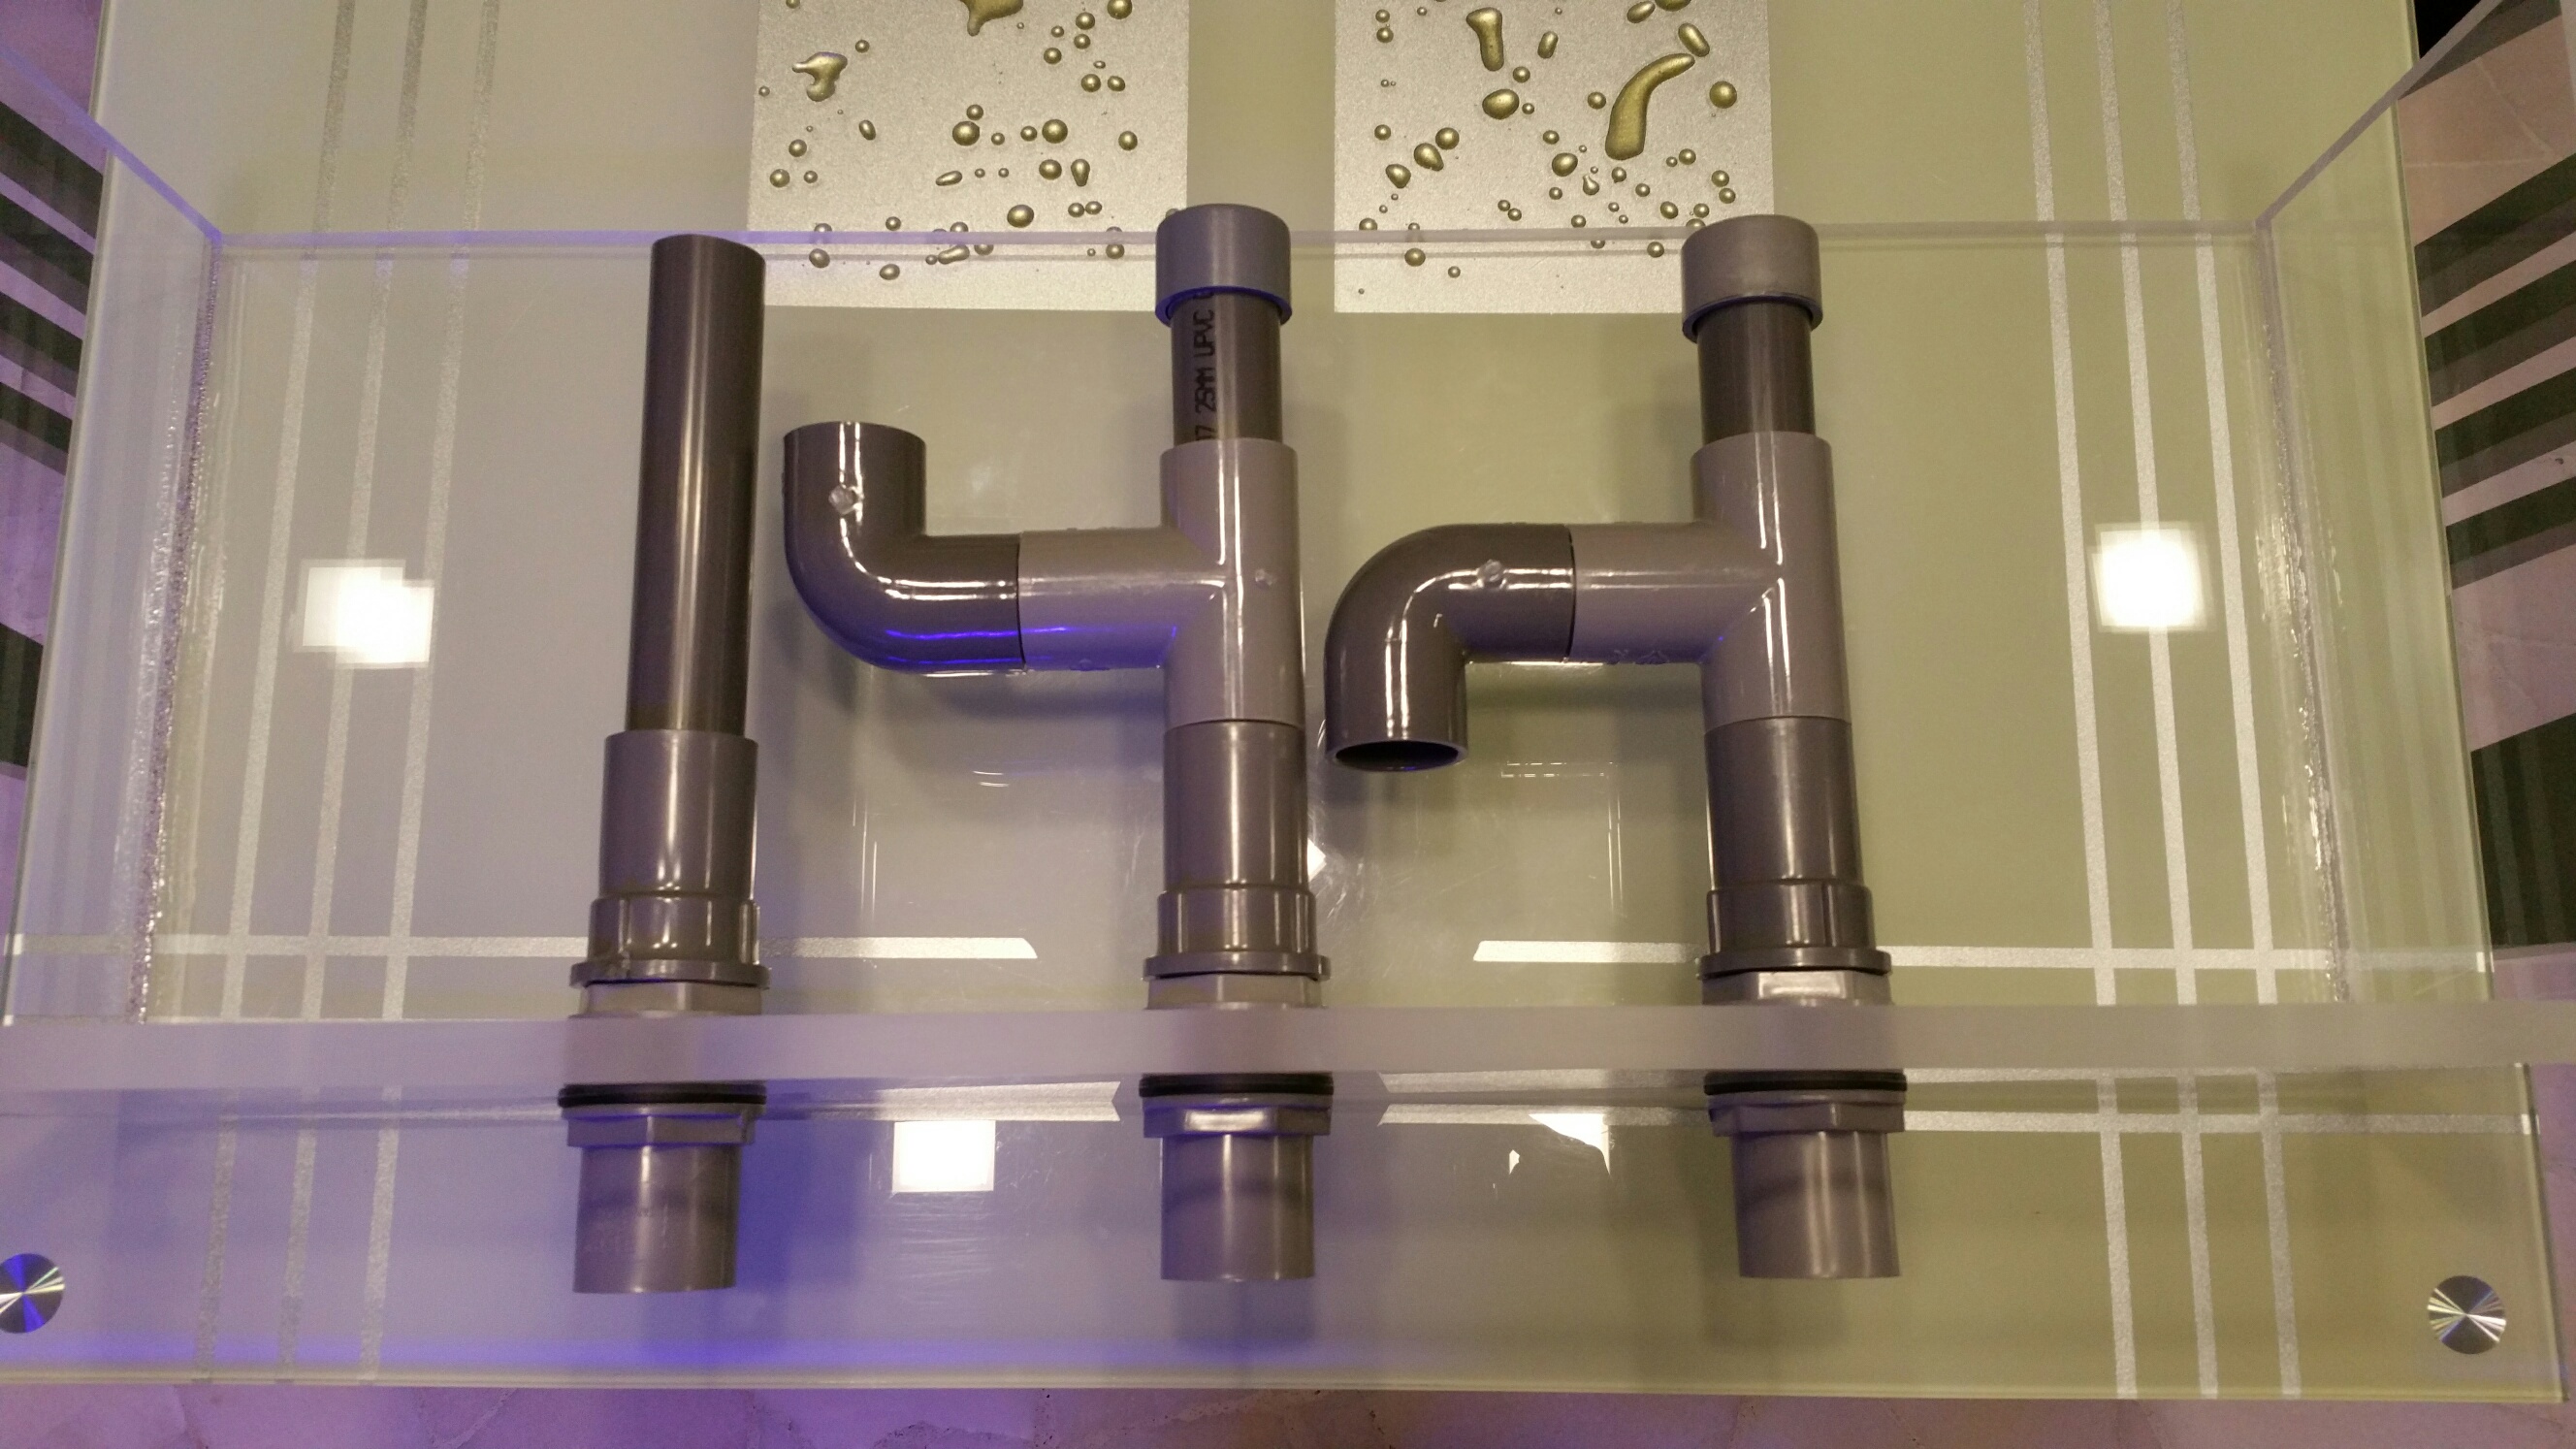
Here are the bean animal overflow piping in progress...


-
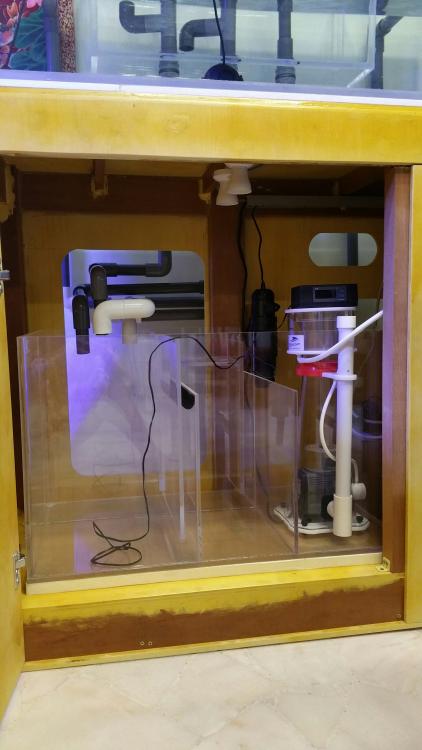
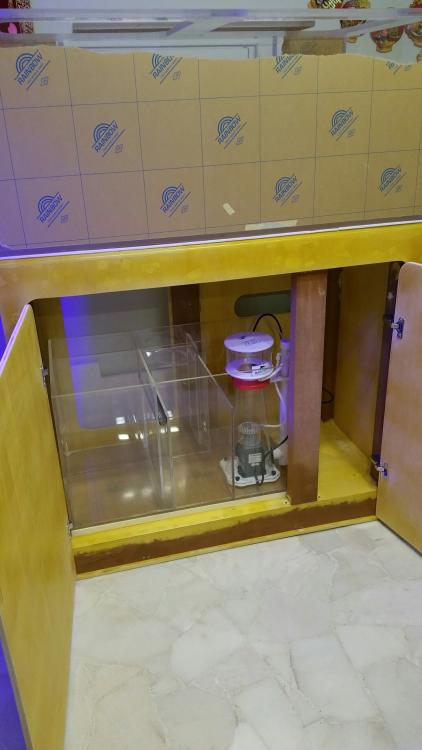
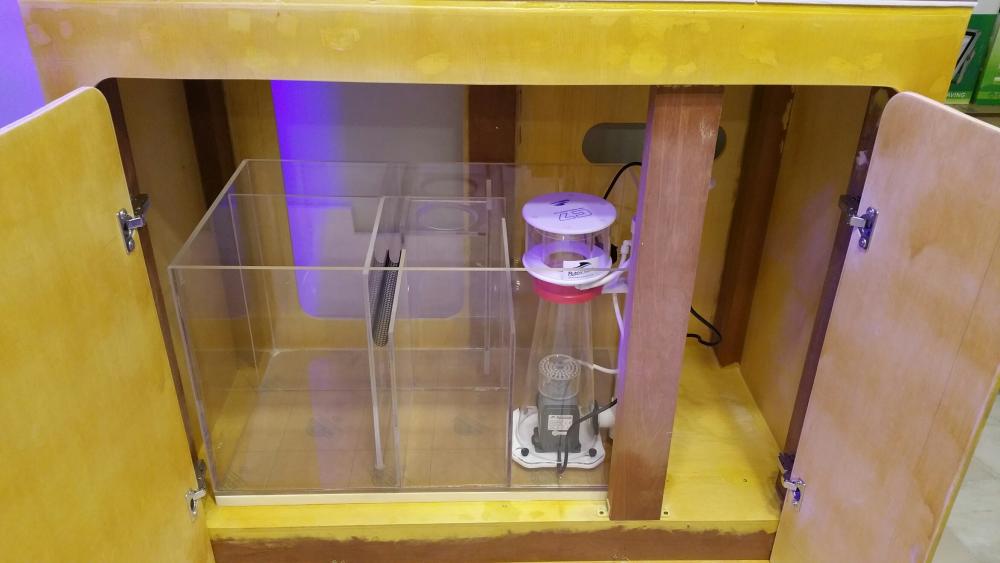
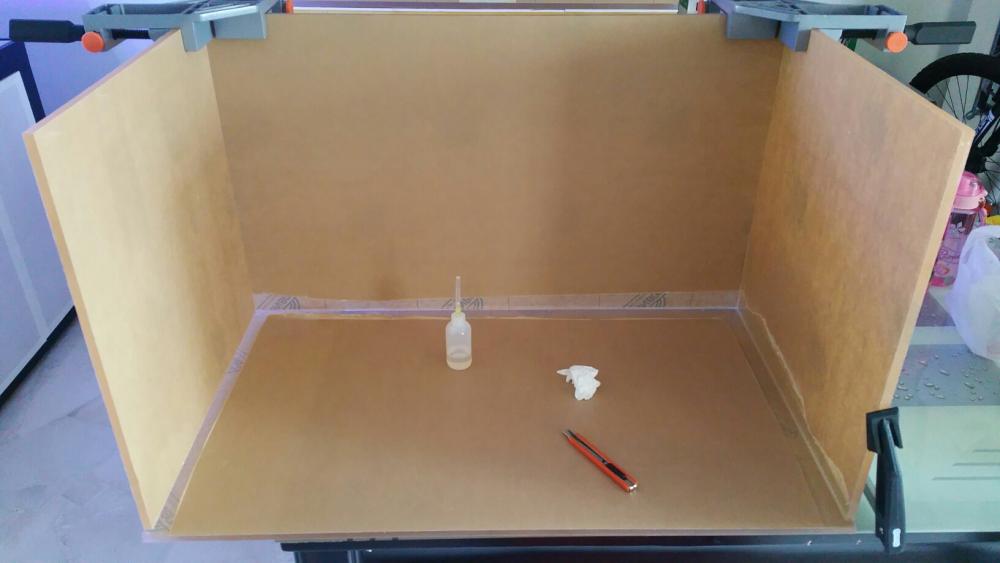
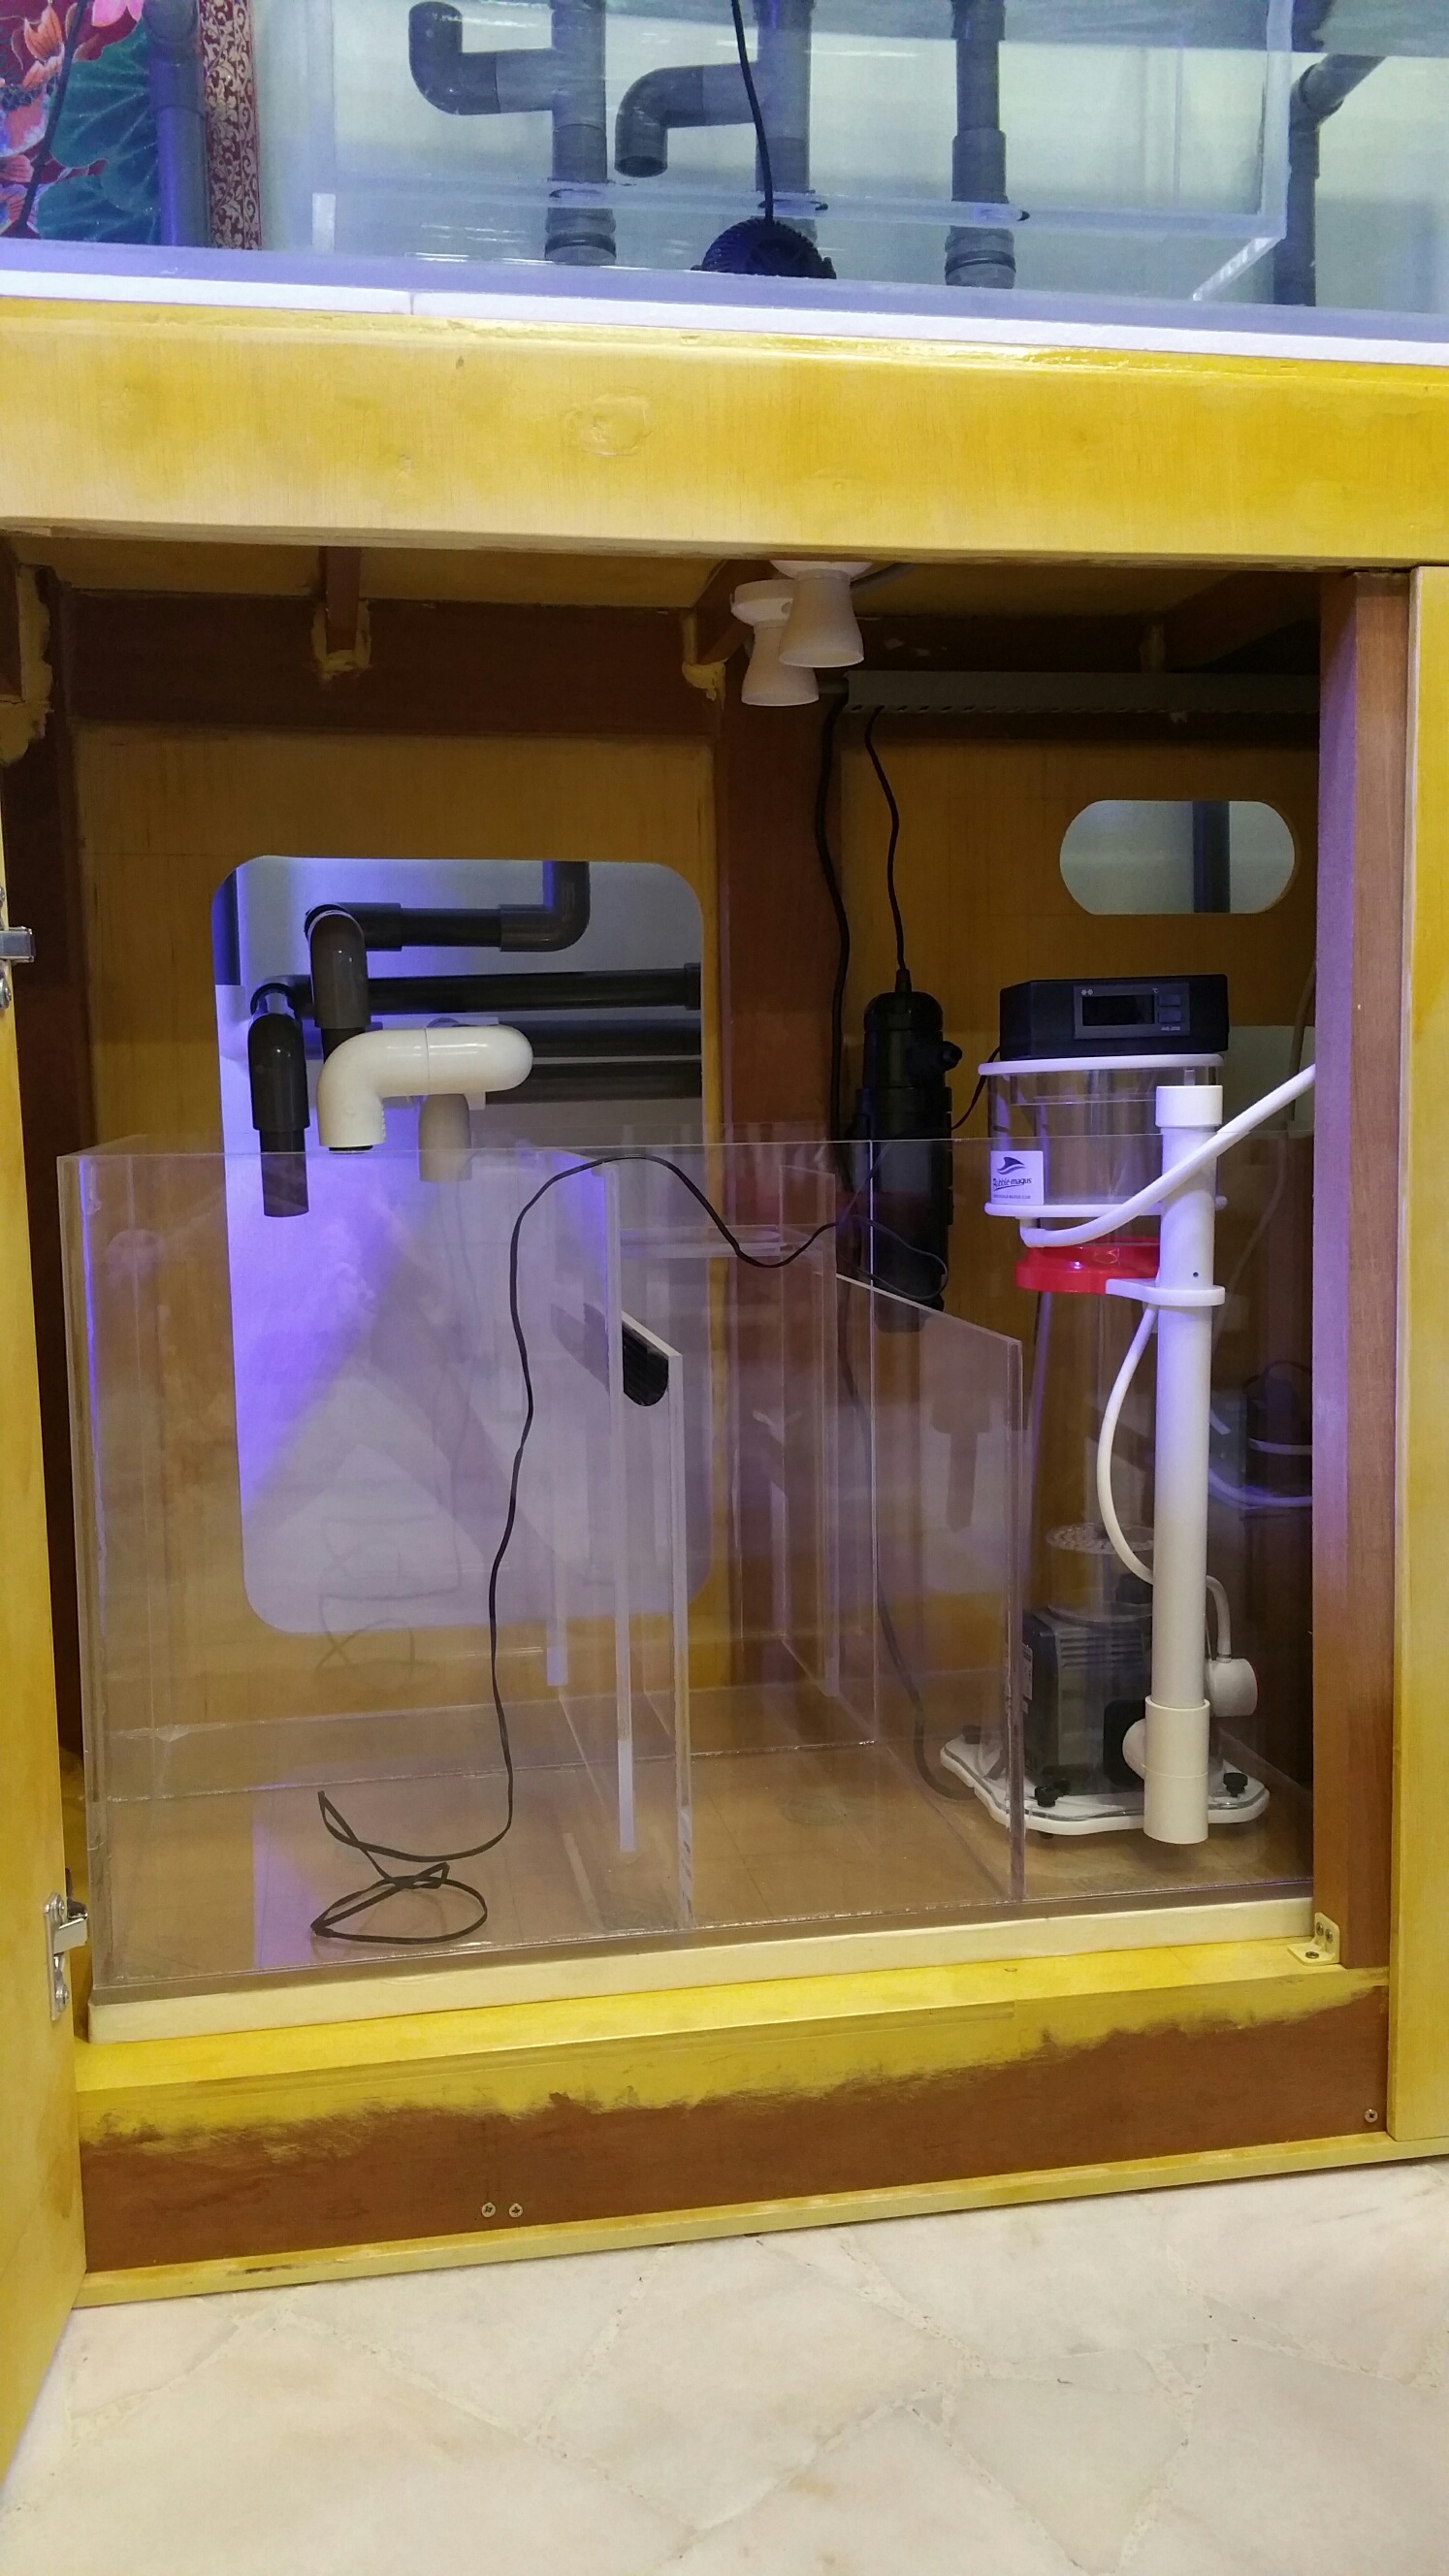
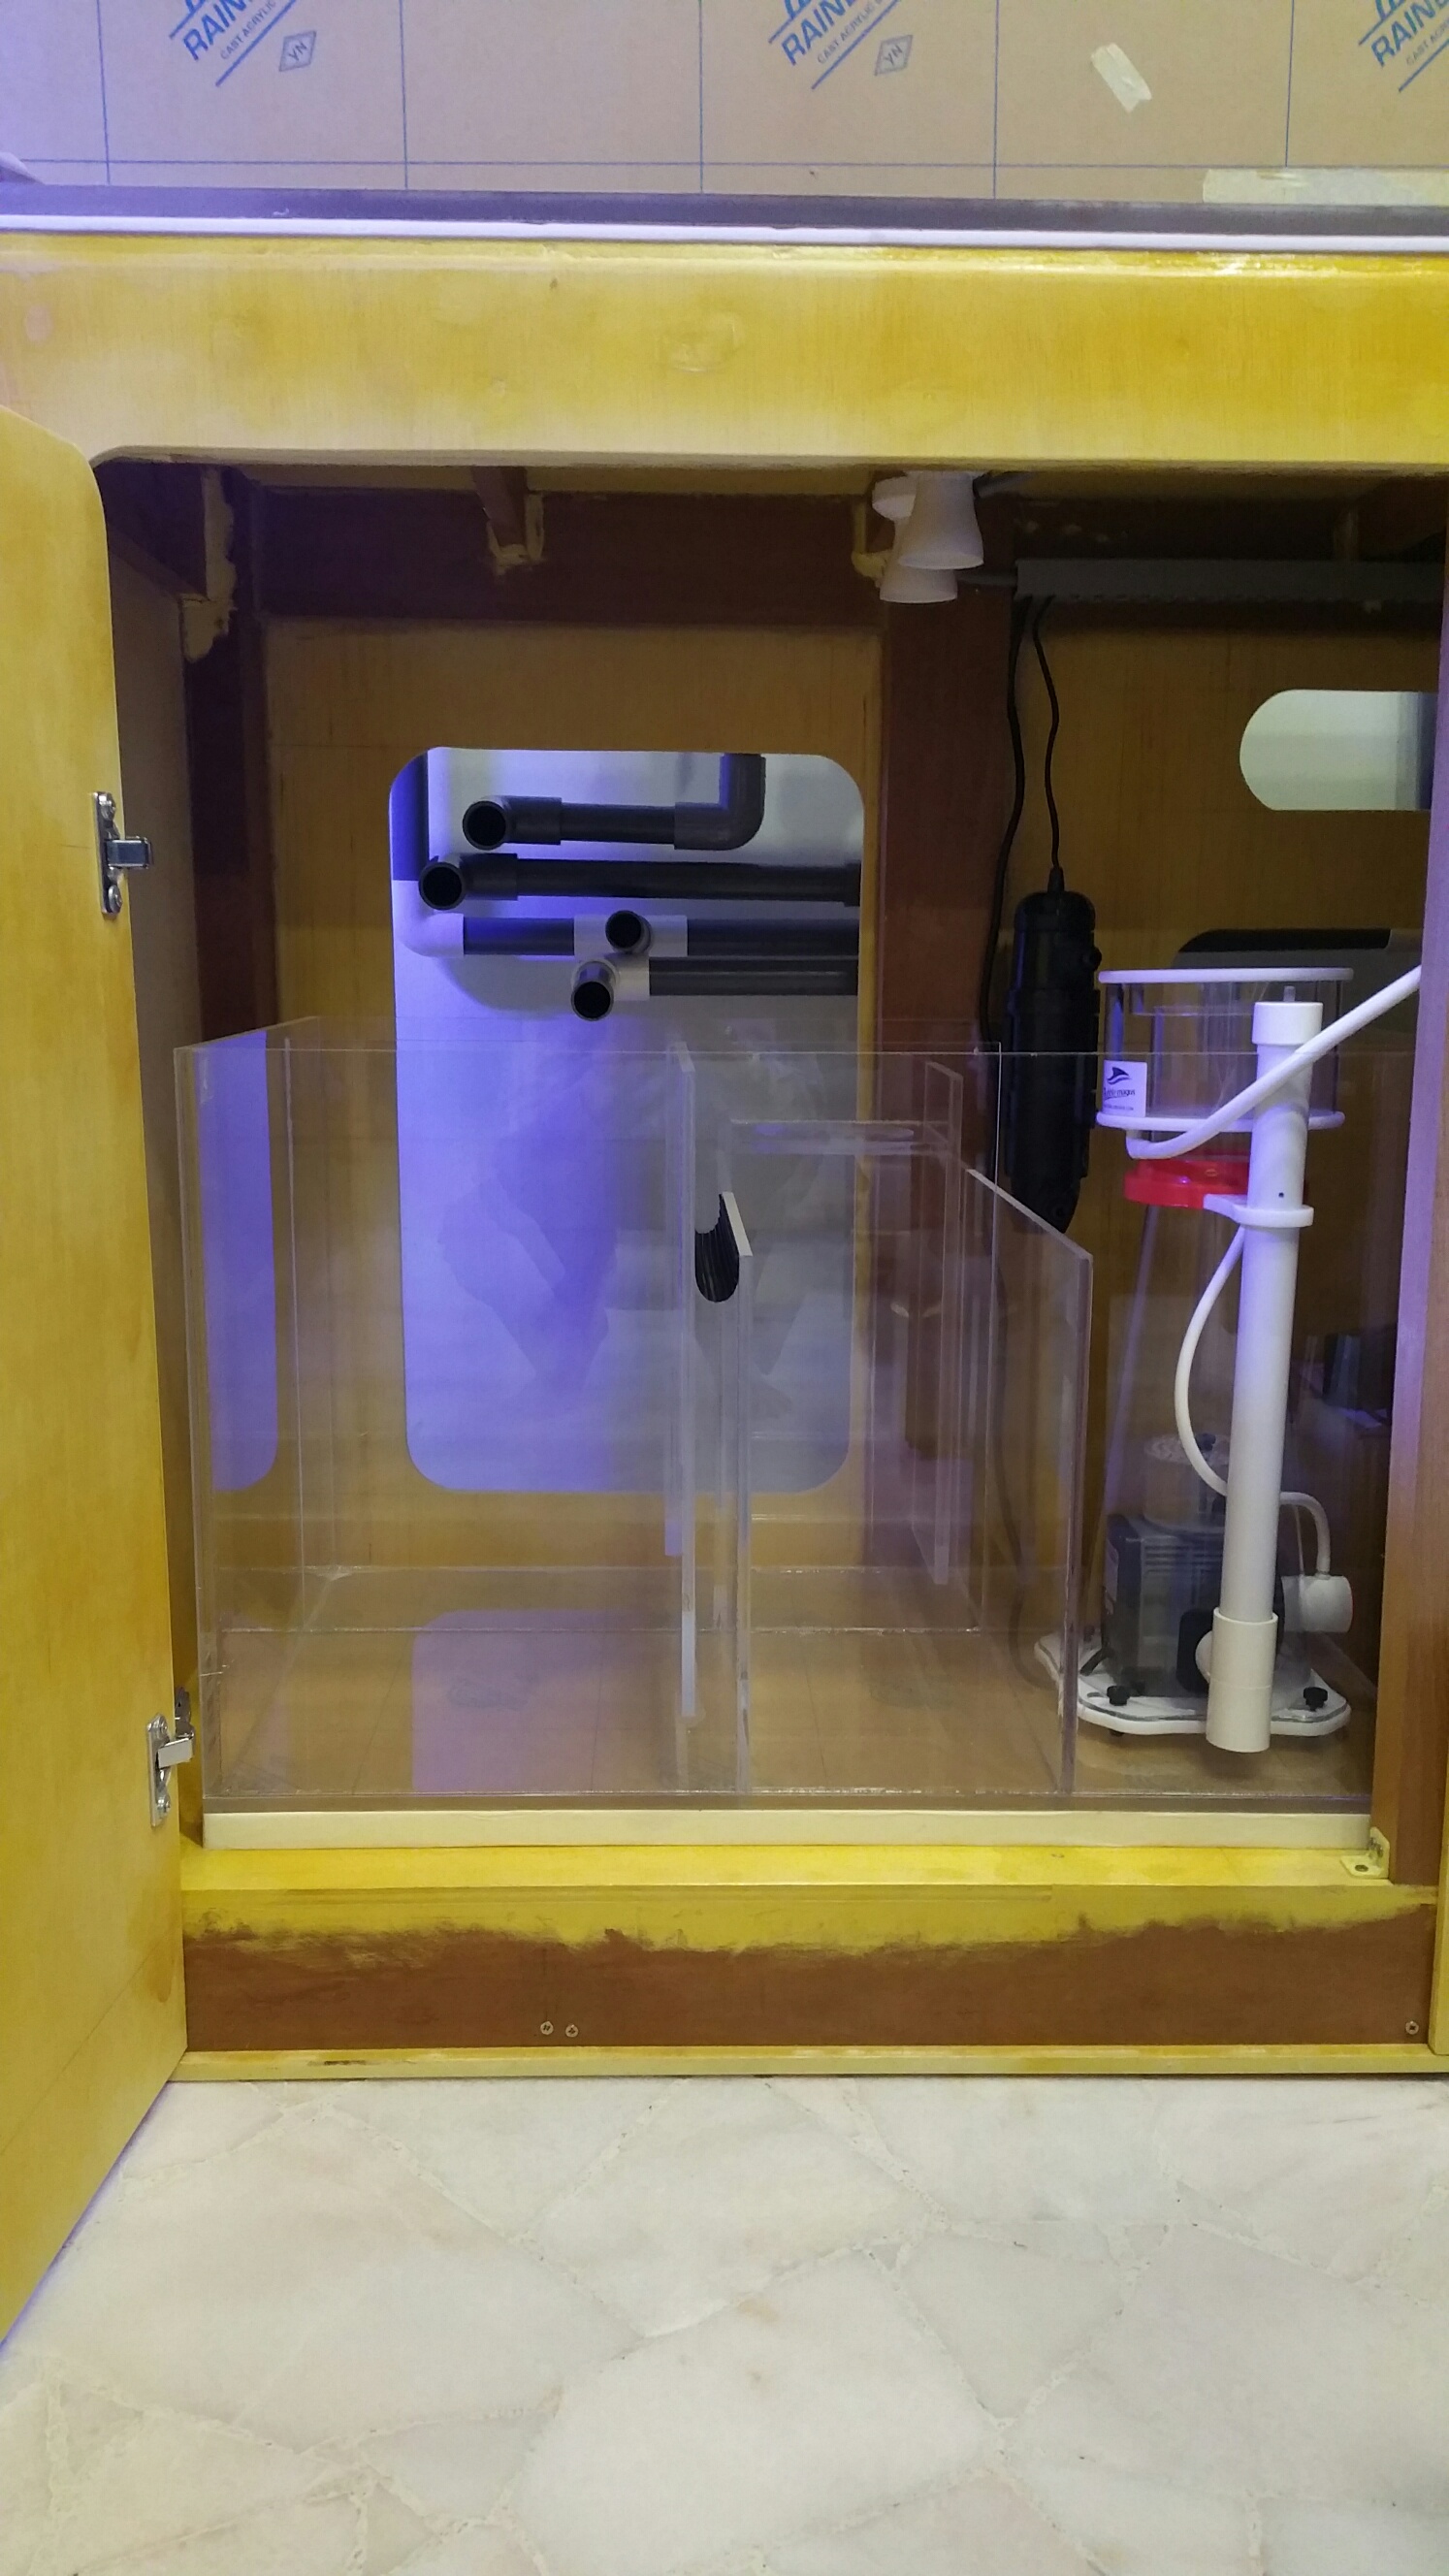
After leak test done on the sump tank....
Here are the end result with the sump tank, etc.....
The skimmer will be there while the drop-in coil will be behind the skimmer.
-
12 hours ago, Mike Stone said:
Can you pm me the full shop name and address? Not sure who these shops are .
I assumed they cut to the shape and size I want.
Many thanks for help !
Sent from my iPhone using TapatalkYou can google their address....
I don't have the actual address...
-
44 minutes ago, Mike Stone said:
Oceanviper, where did you buy those precut to size acrylic? I like to buy some to make IOS for my 3 feet tank
Sent from my iPhone using TapatalkHi Mike.
You can get those acrylic from Dama at Ubi or Ying Kwang at Jurong.
-
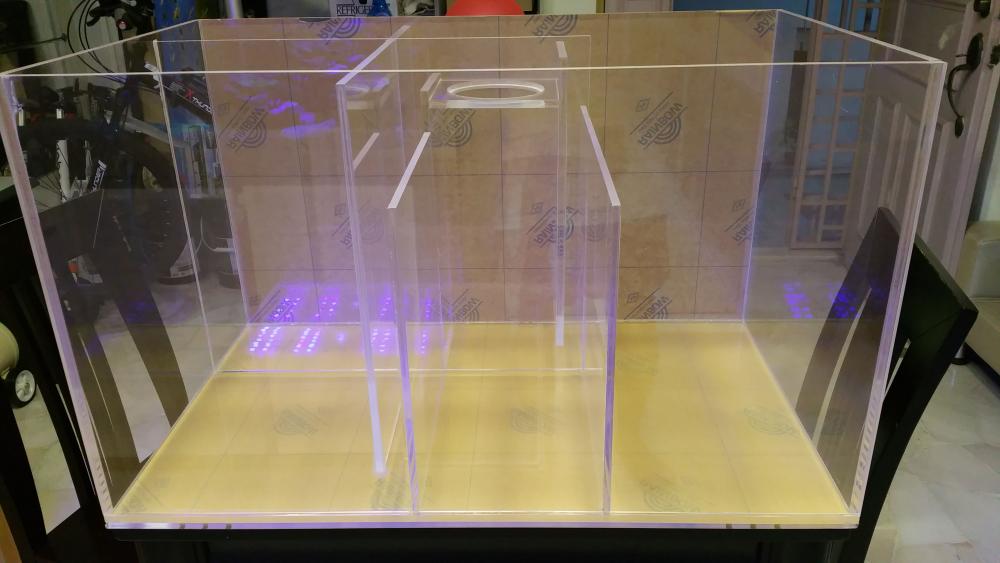
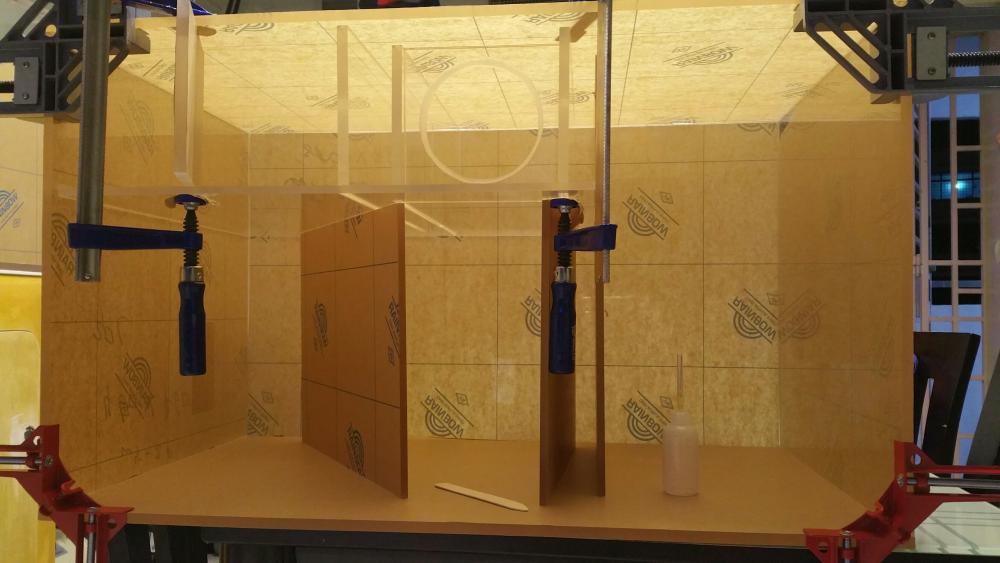
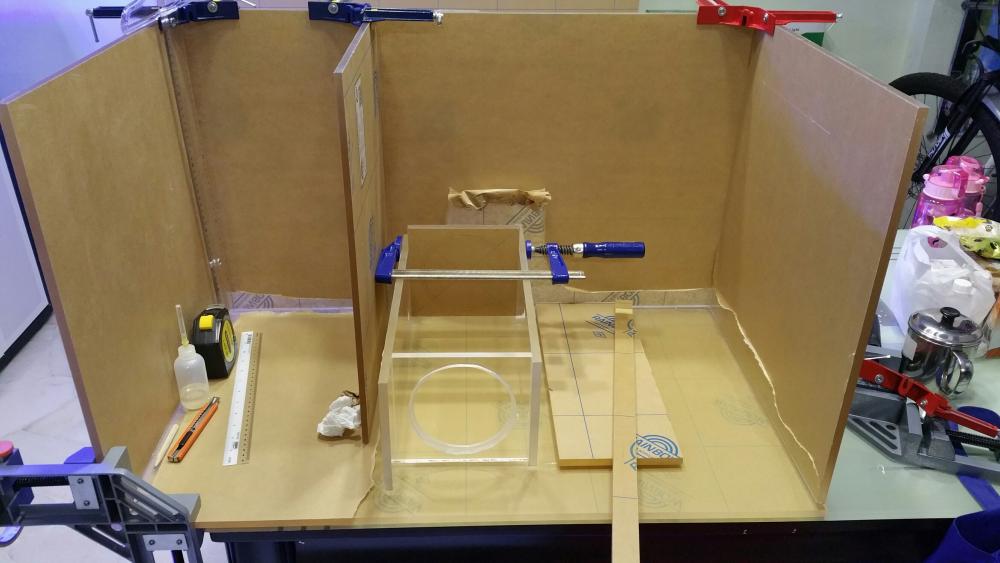
Just a preview of the acrylic sump tank before conducting water leak test.
-
1
-
-
Some updates on the progress....
-
On 17/09/2016 at 11:57 PM, oceanviper said:
Acrylic sump tank design with autoCAD is done.
Will order the material for the built after my overseas business trip.

The material has been cut into desire length and width.
Working in progress....

-
1
-
-
Acrylic sump tank design with autoCAD is done.
Will order the material for the built after my overseas business trip.
-
On 9/4/2016 at 11:47 PM, SubzeroLT said:
Original plumbing was the 'traditional' overflow with one drain & 1 return. These type of plumbing is known to be noisy. Hence it was converted into a Herbie overflow instead.
.thumb.jpg.a9a945dfd9f9f02d66bc4d8695155c7c.jpg)
Noticed that the original fittings used had a potential issue.
Only 1-2 threads were engaged when this was fit through the bottom of the tank. High risk of loosening -> risks of leaks.
.thumb.jpg.11836cd28cad829c424c2f3ab258ef7a.jpg)
This was a 3/4" pipe and I could not find fittings with longer threads. Got a external threaded pipe & made a bulkhead with longer threads.
.thumb.jpg.a7f9ca8ef1d979a921483af39f7371bb.jpg)
Cut out a gasket from a sheet of EPDM rubber. To be used between the bulkhead & glass (instead of using silicon sealant)
.thumb.jpg.3d20fc47f66b84ab71c6d2dbc20f135d.jpg)
Drainage piping done
.thumb.jpg.c66cda3f6034b3d5c7f9ddcfd670f460.jpg)
Hi bro.
I have the longer version which is 1" type.
You can get it from malaysia or a HW shop at AMK industrial park.
-
Sold and collected by a friendly reefer.
Thanks.
-
PMs replied
-
Anyone looking for Skimz Pur Reef Marine Salt 20kg, have 1 bucket extra to let go for SGD50.
Collection location will be Hougang St 91.
Please pm me if interested.
-
Bean animal overflow for this tank.

-
1
-
-
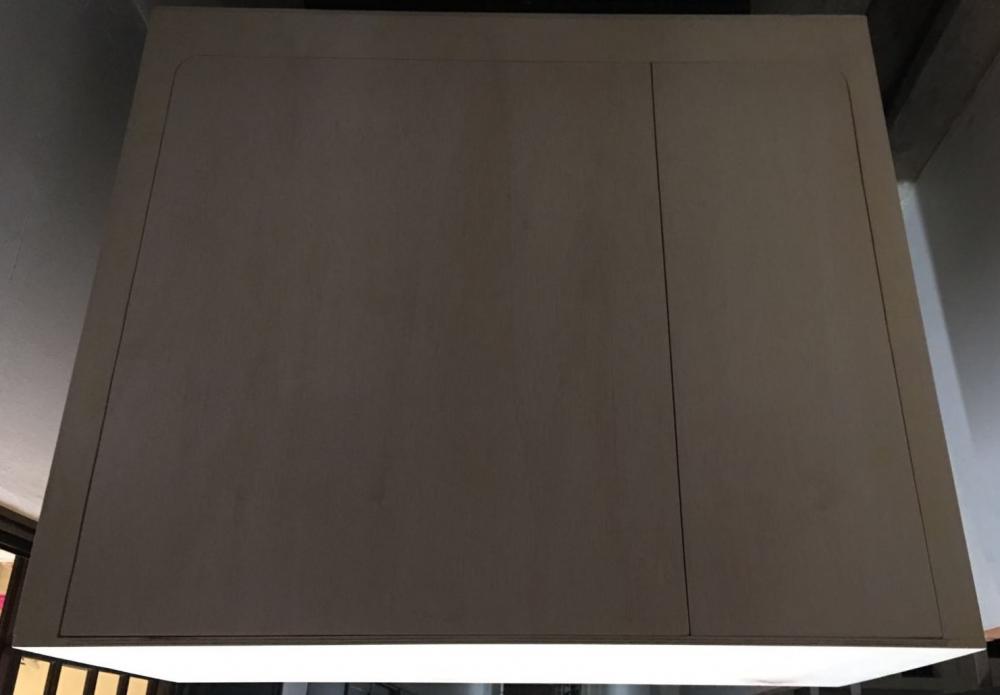
4 hours ago, SubzeroLT said:
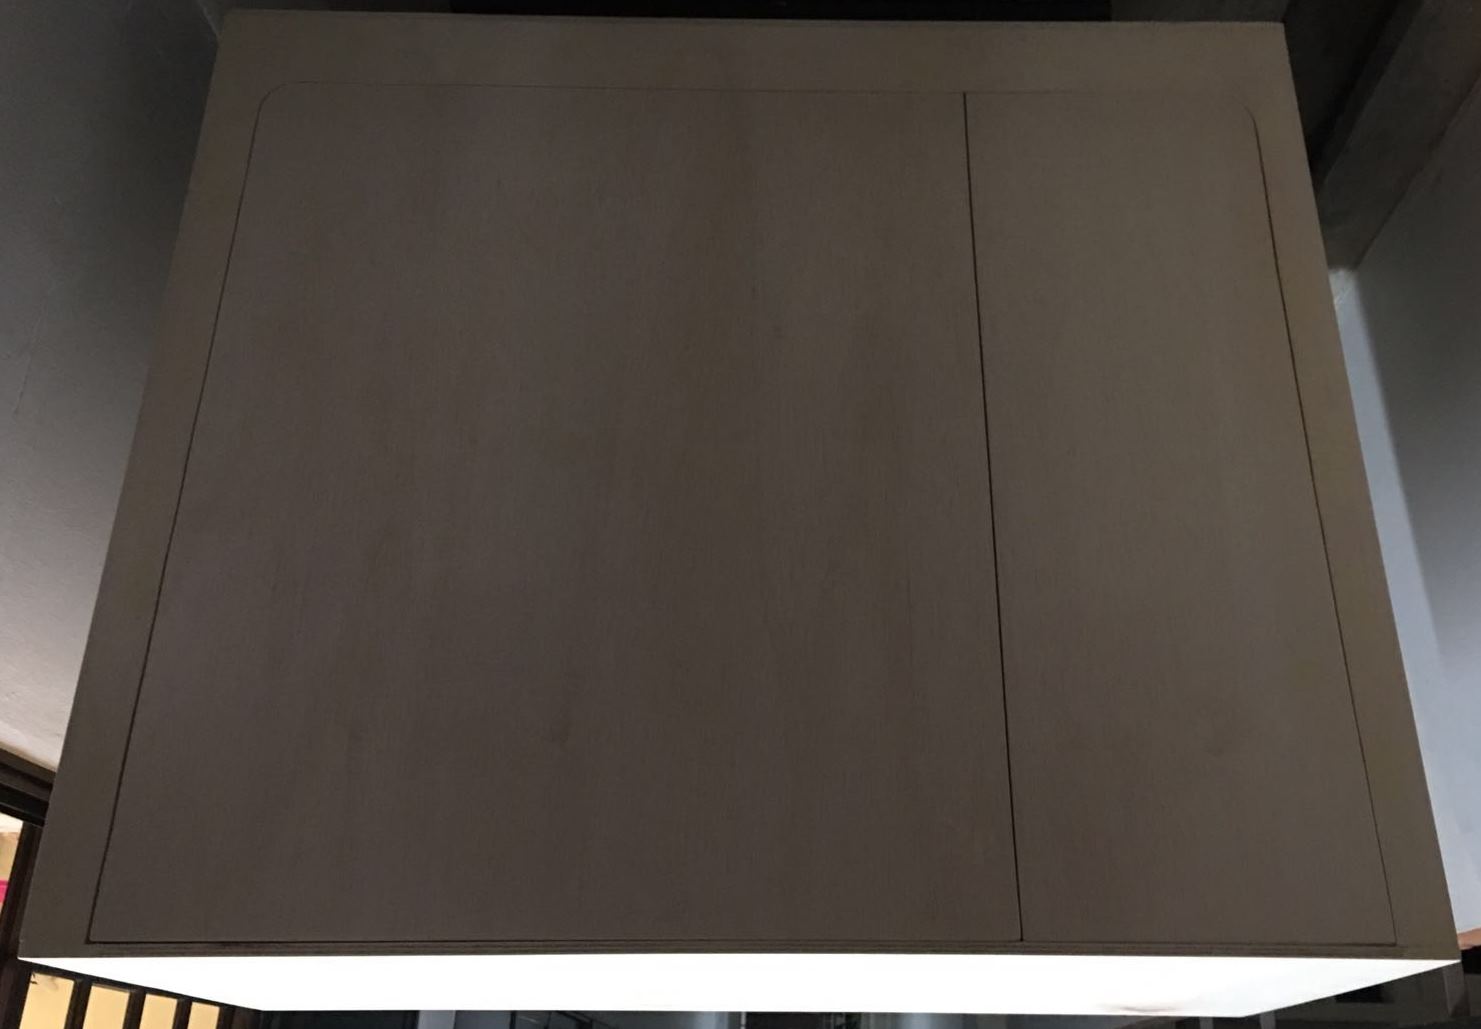
The curved edge of the door is very unique.
Looking forward to updates.
Thanks bro,
-
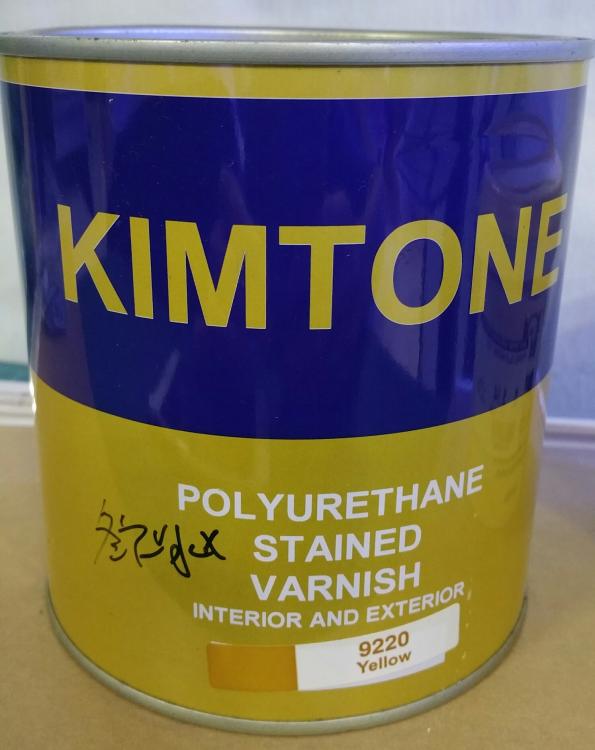
1st coat of varnish has been sprayed on and almost dry.
2nd layer will be continue tomorrow.
-
Missed out the attachement on the cabinet plus the varnish colour selected.
Looking forward to spray this varnish onto this cabinet.
-
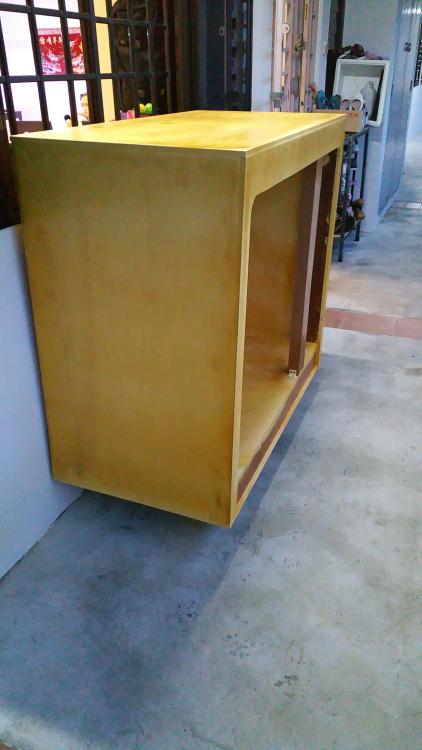
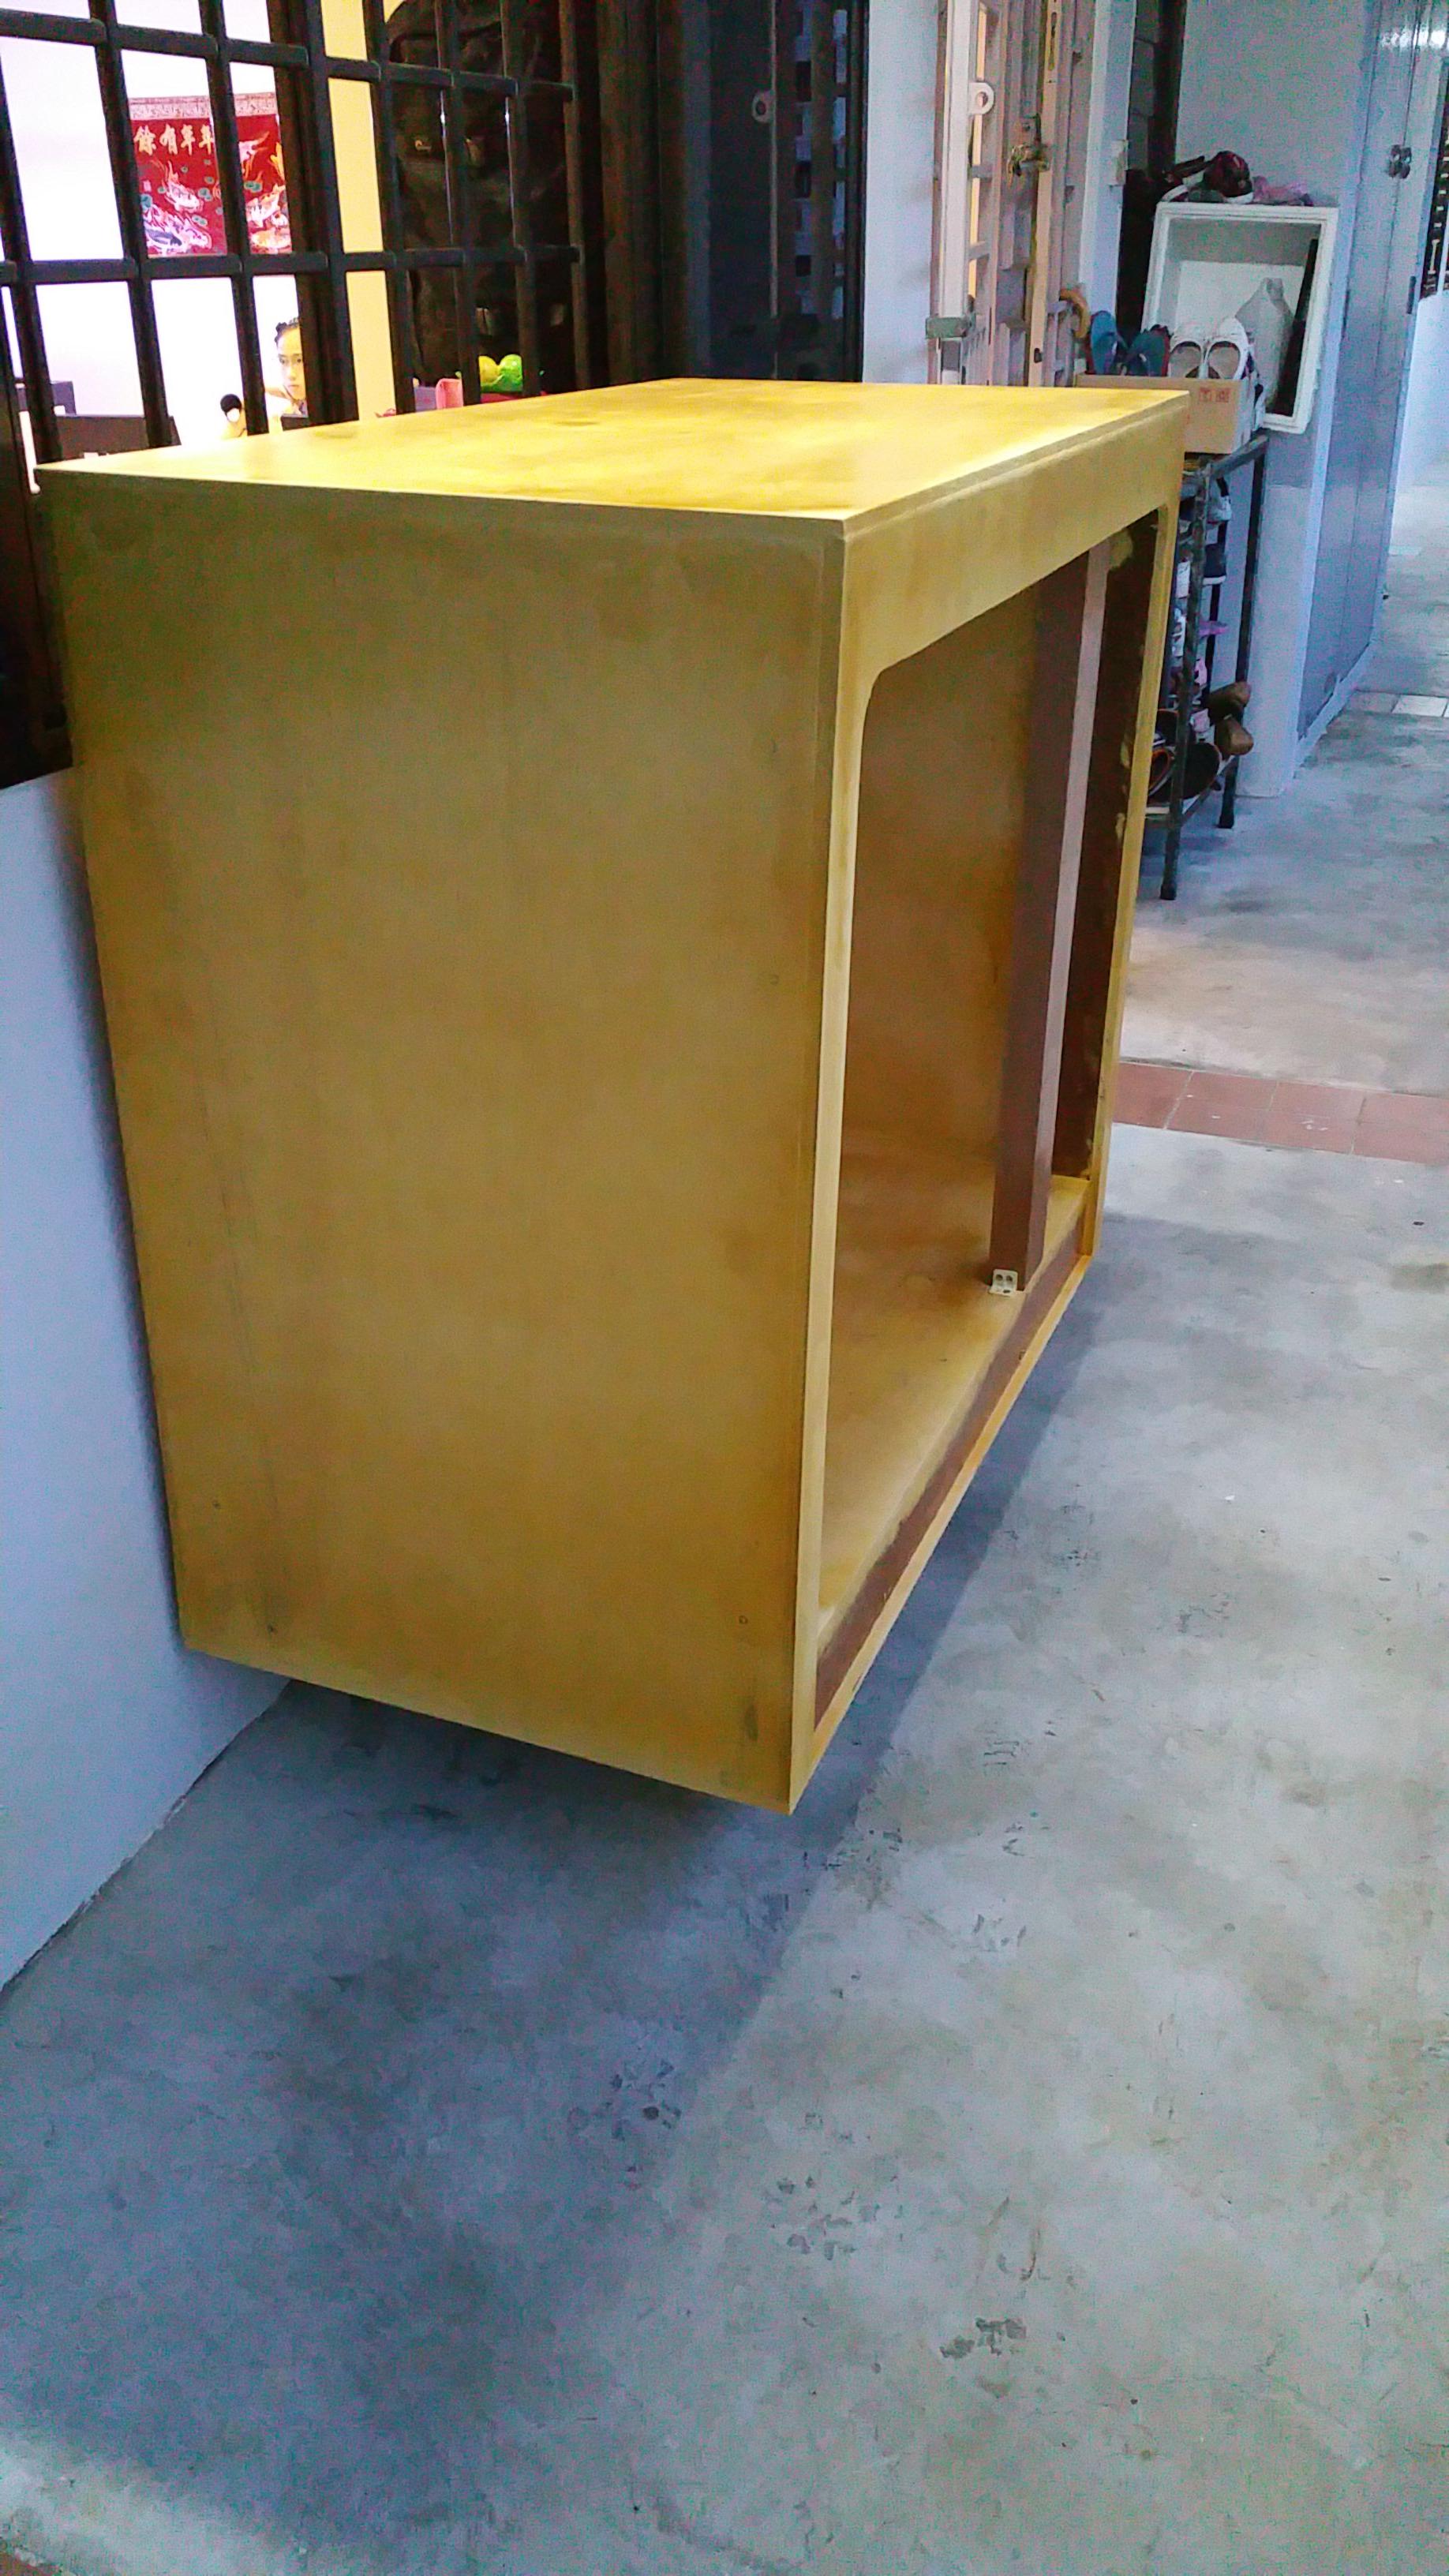
Finally the cabinet is ready for varnish spraying...
Sent from my SM-N910G using Tapatalk
-
8 hours ago, he said:
What type of wood materials did u use ?
Sent from Singapore Reef Club mobile app
Hi bro.
I'm using kapor wood for the structure.
The same material i use for my current tank cabinet. ( 4 foot with 3 foot DT )
-
The cabinet is ready to paint after sanding to smoothen the surface.


Sent from my SM-N910G using Tapatalk


.jpg.dfcf741128392384a9c000c44c5f14c9.jpg)
.jpg.c7cf260dbca36c7893f74cef9b5e6d00.jpg)
.jpg.da5cc103abb25974084bf837b51a0abf.jpg)
.jpg.e842a1c9984ef4b421c43b4437bacdc1.jpg)
.jpg.575b253b2d249a888730046139ae7b56.jpg)

My DIY Cabinet
in DIY Forum
Posted
I'll need to do more scrubbing to prevent algae from build up
Sent from my SM-N910G using Tapatalk