
.jpg.110d11167dab4697182216a3300ef047.jpg)

alexcyf
-
Posts
973 -
Joined
-
Last visited
-
Days Won
32
Content Type
Profiles
Forums
Gallery
Posts posted by alexcyf
-
-
If there is one advice that I can offer from my experiences, is to invest with equipment that can support your tank and reefing needs. Especially in this day and age when livestocks cost so much, at least much more than the time I started out.
So I am going to share a bit more in the following posts on my choices of equipment.
Starting with a full sump shot of my 5 by 1.5 ft sump!m!

Circulation
First, a quick share of the heart of my tank. I am circulating both tanks with 2 return pump (1 Vectra VL2 and 1 Skimz Quietpro 6.0 I think). Both pumps feeds to both my display and my frag/lps tank, a common insurance practice in case one pump fails.
Chiller
Have always used a dip in coil + condenser for my tanks. Less equipment to circulate water to and less hot air around my tank. So if you have a chance to reno your place and build your tank together, do consider hiding the aircon trunking in your false ceiling. I did my and housed my condenser at my back yard!
Sent from my iPhone using Tapatalk -

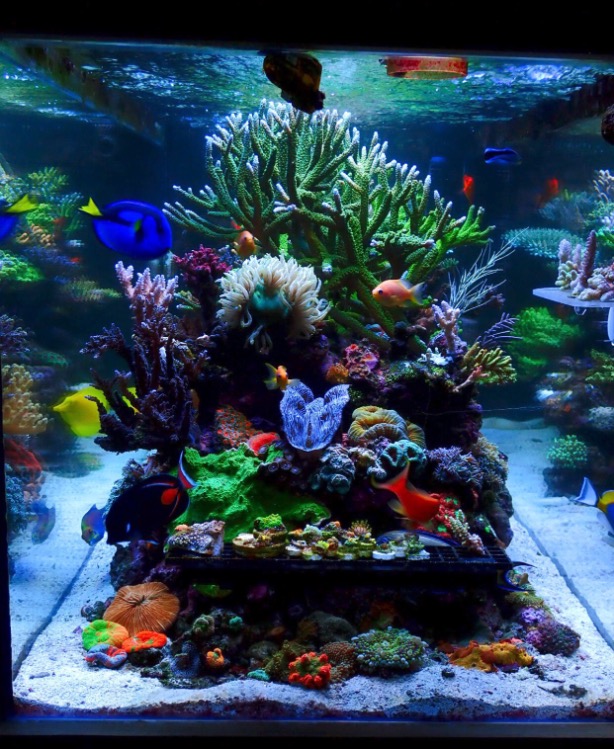
Sunflowers. Simple Zoas but one of the nicest!
Sent from my iPhone using Tapatalk -
Time to move down to the sump.
Bought a lot of stuff for my new house, furniture, lights, accessories etc from taobao and definitely, need to get some stuff for my tank too.
Didn’t wanna save on equipment from China, in case anything goes wrong, but bio media i guess can’t go that wrong. Hence I bought almost 20kg of media. As it came by flight, e freight is almost the cost of the media but still I save half the cost hehe..
Went with two types of bio media, both with good reviews that they don’t melt like some other brands. Hopefully it’s true and works well to keep nutrients under control. We will see..
Here’s some photos of the media!


Sent from my iPhone using Tapatalk -
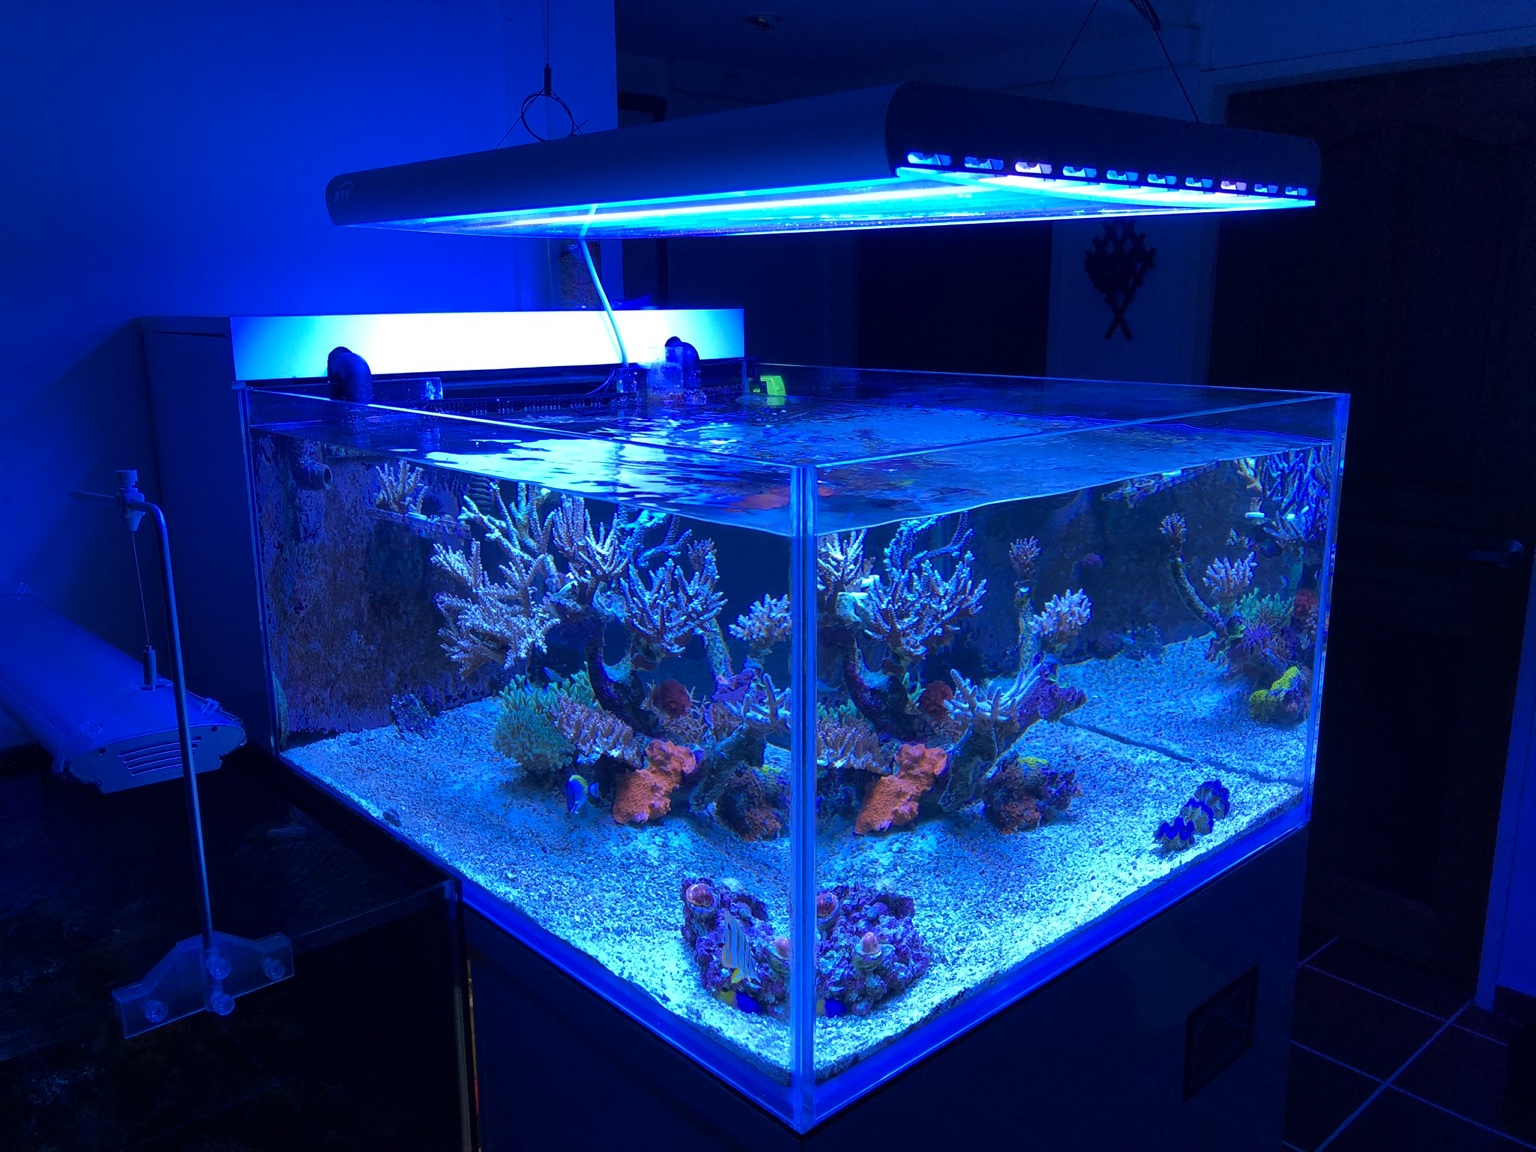
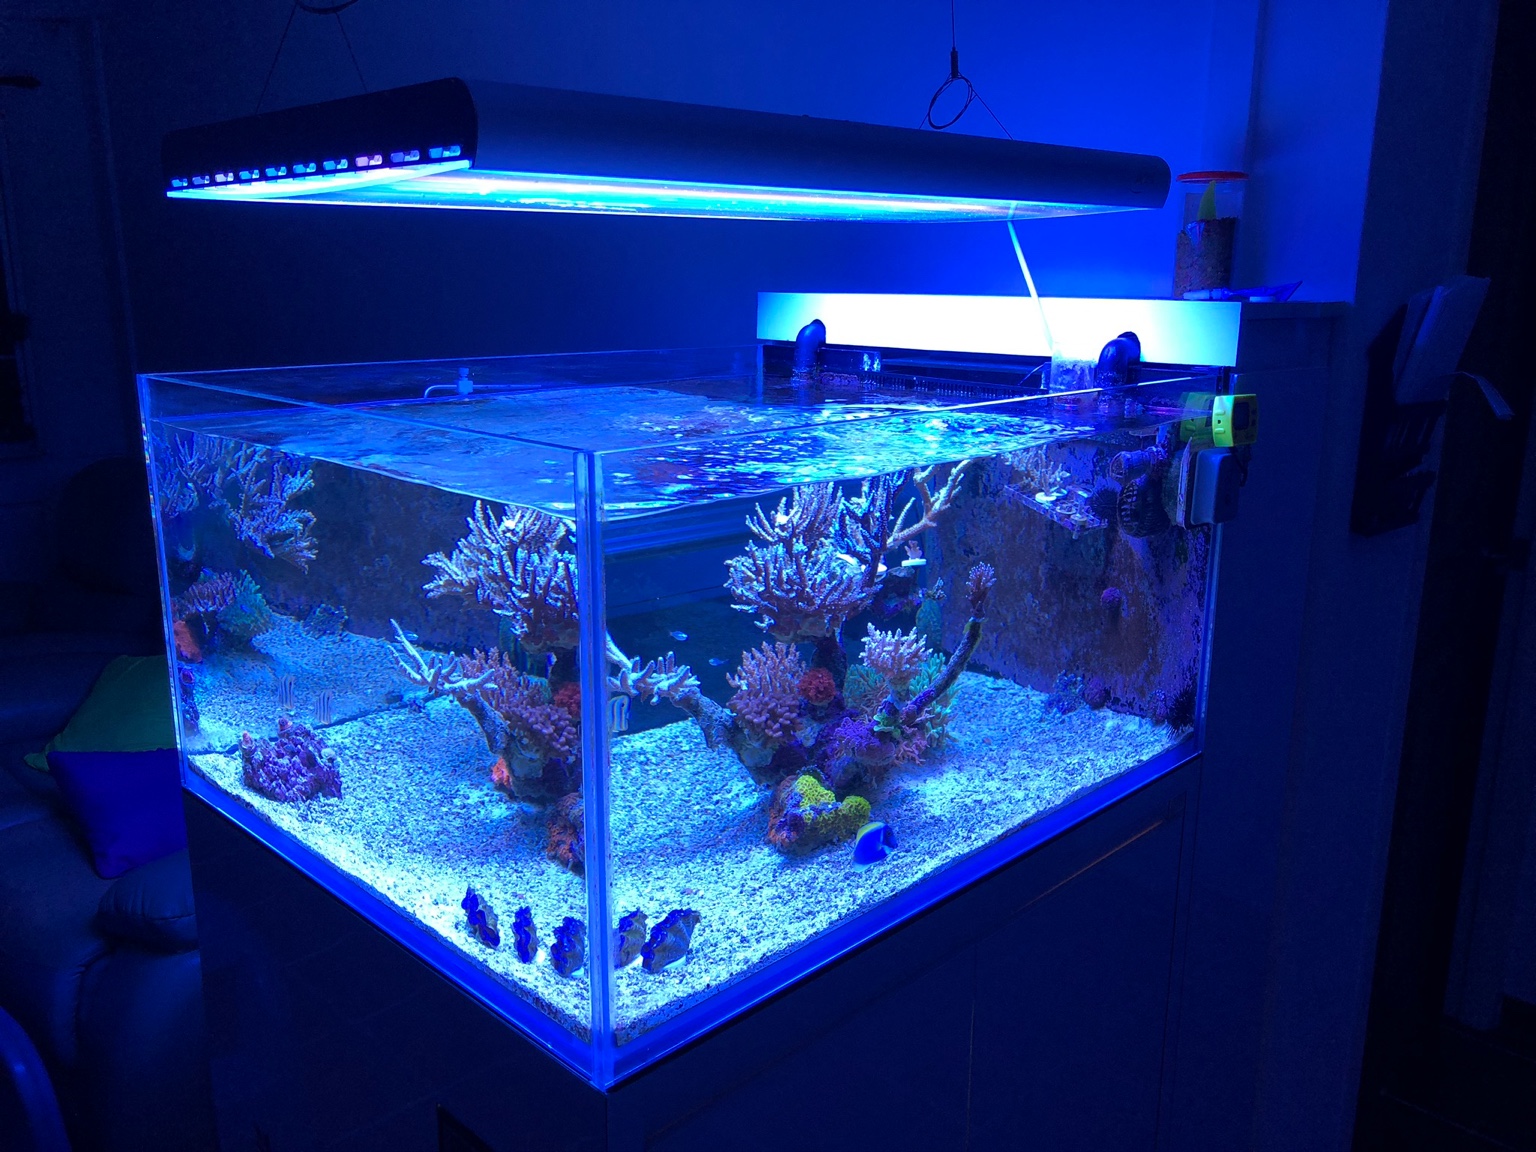
The first set of equipment that I set up, and will be sharing in this post is lighting.
Since the main display tank is going to be sps dominated, naturally my choice of my main lights was T5s. Most sps lovers would agree that even though T5 doesn’t create the fluorescence glow from sps, it gives a fuller light coverage. Personally, I always like the solid and natural coloration that sps display under T5s too.
Naturally, I went with my favorite T5 module and got the ATI Sunpower Dimmable module from Aquamarin. Well, to still get a little of the LED effect, I added back my China made led strips with 100% blue cree bulbs, which I had been very happy with the effect.
All of them are suspended from my hood using ati’s hanging kits, with the strips rotated at an angle.
But for my LPS and frag tank, LED is a must. As I used AI Prime HD for my “frag sump” back in my mixed reef, I developed an affinity for AI lights. The blues are much better, at least to me, to bring out the eye popping colours in Zoas, Shrooms n lps. Hence, I invested in a new AI hydra 64HD for my lps tank and repaired my AI Prime (which went nuts after not using for 6 months).
Now I am just waiting to save up to shop for some eye popping specimens to place under the AI lights
Sent from my iPhone using Tapatalk -
Welcome back.
It's quite hard to stay away for too long from this hobby. Exciting process. Definitely following to learn more.
Do you actually need RODI water for leak test?
Ops! I must be too tired! I think I used tap water but I had to drain everything and wipe dry the tank to get rid of the water.
Haha will try to update my post hehe
Sent from my iPhone using Tapatalk-
 1
1
-
-
The next big task would be to fill this tank up with salt water! By the way, forgot to mention that I wasted about 600litres of rodi water (which means much more actual water) doing a leak test for the tanks.. feel so bad for the save water movement, but having a leak would be far worse I supposed.
Water change is one of the critical process to maintain a healthy reef tank and a lot of thought was devoted to keep this process as easy as possible..
Other than building an outlet for waste water, I also built an water inlet (complete with a basin) within the fish room. The RODI feeds from the water inlet and sends water into a 160litres mixing drum. This means I only need to turn on the RODI, pour my trusty tropic marin pro salt into the drum to prepare my new saltwater.
Here’s a short video of my mixing drum in her maiden mix. The drum is supported by two jebao pumps, one to provide circulation to mix the water and one to supply water to the display tank.
https://youtube.com/shorts/xatULaJXpbA?feature=share
And this is how it looks like filling up the tank.. ah, the scape looks slightly better on video hehe.
https://youtube.com/shorts/p3LbsincY3Y?feature=share
Well, even though it seems pretty effortless, it still took me two days to prepare the saltwater for my tank. Had to install an old wavemaker to provide circulation for the live sand in the interim.
Alright that’s all for now! Will share more on my choice of equipment and the installation process when I update the thread next!
Stay tuned!
Sent from my iPhone using Tapatalk-
2
-
-
Since it will take a while to cycle the tank, and I’m not gonna rush this critical process, my first task before any of the equipment is up, is to build the scape and kick start the cycling process. Even though I have yet to purchase most of the equipment.
Learnt from previous experience that it is much easier to build a scape dry. I chose to use a combination of caribsea life rock (love the shapes) and my bleached/cured rocks from my previous tank. Started by building the first tier of the 6 foot rockscape.
Here’s the final two island scape.. not the best shot and it looks like it’s full of rocks.. oh well, I wanted many crevices for fishes to hid and swim. Had enough of aggressive fishes fighting over limited comfortable real estate.
Sand is in too. Went back to use the same sand I did for my mixed reef then. Caribsea Bimini Pink, which gives me a nice combination of fine white sand with small pinkish rock chips. Highly recommended, since plain white sand cost so much nowadays anyway..
Sent from my iPhone using Tapatalk-
1
-
-
Renovation is underway!

And the tank is delivered! By the way, I opt for a galvanized iron frame to allow full access (without pillar) to my sump. Probably doable if you opt for aluminum frame too.
Well my carpenter keep telling me it’s challenging to build the carpentry for a hooded tank. Realised so as I see them trying to fit the suspended hood to the tank like a glove.
The almost completed carpentry for the display tank. Looks pretty much like how I imagined it. The air vent is also designed to allow circulation without allowing light from the tank to be “exposed” on the exterior.
With the carpentry almost up, next up in action would be the trusty crew from Tank Culture. They had quite a tough time working in confined spaces to fulfill a rather demanding piping job..
And seriously, I thought they did an amazing job with the setup and piping work. Everything looks neat and professional!
Sent from my iPhone using Tapatalk-
2
-
-
As I had great experience working with CRA, I went back to look for Dan, whose company has been rebranded as Tank Culture, to build my tank.
Here are the 2D drawings of the tank/sump layout, inclusive of the frag/lps tank and quarantine tank housed in the Fish room.
The 4.5ft frag/lps tank is connected to the main display and sump and both tanks are powered by 2 separate return pumps (always preferred to make the insurance if one fails). The Quarantine Tank is a separate IOS tank housed below the frag/lps tank.
You might be wondering why I called it a LPS tank. It’s probably because I planned to keep the main display as a sps dominated tank hopefully with a show size angel (wish me luck..) So here’s the dimensions of both the tanks in the fish room.
Here’s the detailed layout of the main display and sump. Standard bean animal overflow and a simple sump layout since I needed a big space for the skimmers and calcium reactor (finally trying out CR after more than a decade of reefing)
An interesting detail you may notice is the 28mm hole at the back of the display tank. For those wondering, this is meant to connect to a waste water outlet pipe which allows me to drain water direct into sewage during water change. Yup, perks of designing a tank around your renovation plans!
Same as my previous tank, the tank will be chilled by a condenser with trunking running across the false ceiling.
Sent from my iPhone using Tapatalk-
1
-
-
Back in Q3 2020, with a heavy heart I decommissioned my mixed reef tank, https://www.sgreefclub.com/forum/topic/132375-alexs-home-tank/?do=findComment&comment=1227561 to make way for my move to my new place. After a 6 month hiatus from reefing, I am finally back!
So this thread document the start of my new reefing journey...
Thankful for the privilege to move together with my parents into a bigger place that allowed sufficient space for me to build a bigger tank with a fish room using the storeroom space under my stairs. So the first post will be dedicated to the tank design as well as some before and after shots

Visualizing my fish room at my first visit..

The plan is to knock off the wall and create a fish room right behind the main display tank, which is a 2 sided 622 hooded tank.

and the artist impression of the tank.. except they don’t have a reef image to complete the illustration.
Sent from my iPhone using Tapatalk
-
1
-
-
Brand new front crystal 4.5 ft tank as per image. Selling half price per cost as I am thinking of making a new one that’s shorter.
Self collect at kovan. Pm at 97606747 if interested.

Sent from my iPhone using Tapatalk
-
How come decom! Upgrading?
Sent from my iPhone using Tapatalk -
Joining in the fun!
My old tank before it crashed in 2019 @alexcyf

-
4
-
-
Price reduced to $450:)
Sent from my iPhone using Tapatalk -
By the way, for those keen, all bottles are brand new and unused
Sent from my iPhone using Tapatalk -
Good condition 5 year old 1HP Daikin Compressor
Inclusive of Controller (replaced 2years ago) and Titanium Coil
$550
Need to arrange your own installer.
Do pm for more details.
Sent from my iPhone using Tapatalk
-
Price drop to $60 to clear
Sent from my iPhone using Tapatalk -
Still available
Sent from my iPhone using Tapatalk -
These are still available for the Decom sale

Prices for reference
UFO Chalice $100
Orange/Pink Chalice $40
Electric Daisy $15
Green finger leather $10
XL RFA $180 ea
Gold Maxima (Tonga) $320
Still have some random zoas/paly too
Pm to deal, price can negotiate to clear
Sent from my iPhone using Tapatalk -
11 bottles (full set except KH) of aqua craft addictives for sale at $80:)
Contains:
Calcium
Ph Buffer
Sulfate
Potassium
Bio Elements
Bromide
Iodide
Strontium and Molybdafe
Trace Elements
etc..
Collect from Hougang

Sent from my iPhone using Tapatalk
-
21 hours ago, Powder blue Tang said:
Where is your signature Red bubble anemone?

RIP.. a few months after my tank crash last jan, it melted.
prob cuz the hosting clowns died in the crash

-
Haha moving house, not quitting. So most equipment I will be keeping
Sent from my iPhone using Tapatalk -
Finally managed to take out 2 large rock flower anemone.
2 years+ old, big (refer to 2.5cm frag plug size) and stable.
$150 each
Sent from my iPhone using Tapatalk -
Forgot that I still have a leather. $20

Sent from my iPhone using Tapatalk

Alex’s Wonders In A Box
in Members Tank & Specs
Posted
Nutrients export


Since I had an oversized skimmer for my old tank, I opted to use back the same Monzter SM251 that is more than enough for my current setup.
After 5 years of usage the skimmer is still pulling kopi o gao out of my tank, and I get to skip the run in phase!
Managed to prop my skimmer to the right height with a few leftover bricks from my reno.
Another trusted equipment from my old tank is my Macroalgae Reactor MBR157. Other than helping my tank extract nutrients through the growth of chaeto, it also help to breed lots of pods that probably sustain a couple of dragonets, that I will buy soon.. By the way, 1 important perk of using a macro reactor is having a larger volume of water to grow macroalgae vs a smaller foot print in limited real estate in the sump. Not to mention, the Skimz reactor looks good in the sump and doesn’t cause a mess as it keeps algae growth within the reactor.
Last piece of nutrient export is a skimz fluidized reactor FM100 to run chemical filtration. I run rowaphos on it to keep my phosphate at bay.
One useful tip that I have learnt along the way, is to T off circulation from return pump, to feed the various reactors. Other than bigger less pump, it reduces the amount of heat that multiple pump produces in the sump.
In this case, my FR takes water from my UV Sterillizer, which in turn gets its water from my Vectra.
Sent from my iPhone using Tapatalk