Search the Community
Showing results for tags 'diy'.
Found 11 results
-
Felt like some stuff for my reef tank can be way cheaper if I 3D modeled and printed it myself, and so will be documenting them here Details: 3D Printer - Creality Ender3 v2 Filament - Currently using white PETG Modeling software - Blender3D Slicer - Ultimaker Cura 5.4.0
-
Create your best photo memories on your walls at home! DIY ideas like: Photo memories on prints. Select your best photo memories, arrange them in a sequence, order online, place it on the thread with help of clips on strings and finish the work with putting up lights. The best DIY photo memories ca be made through Photojaanic.
-
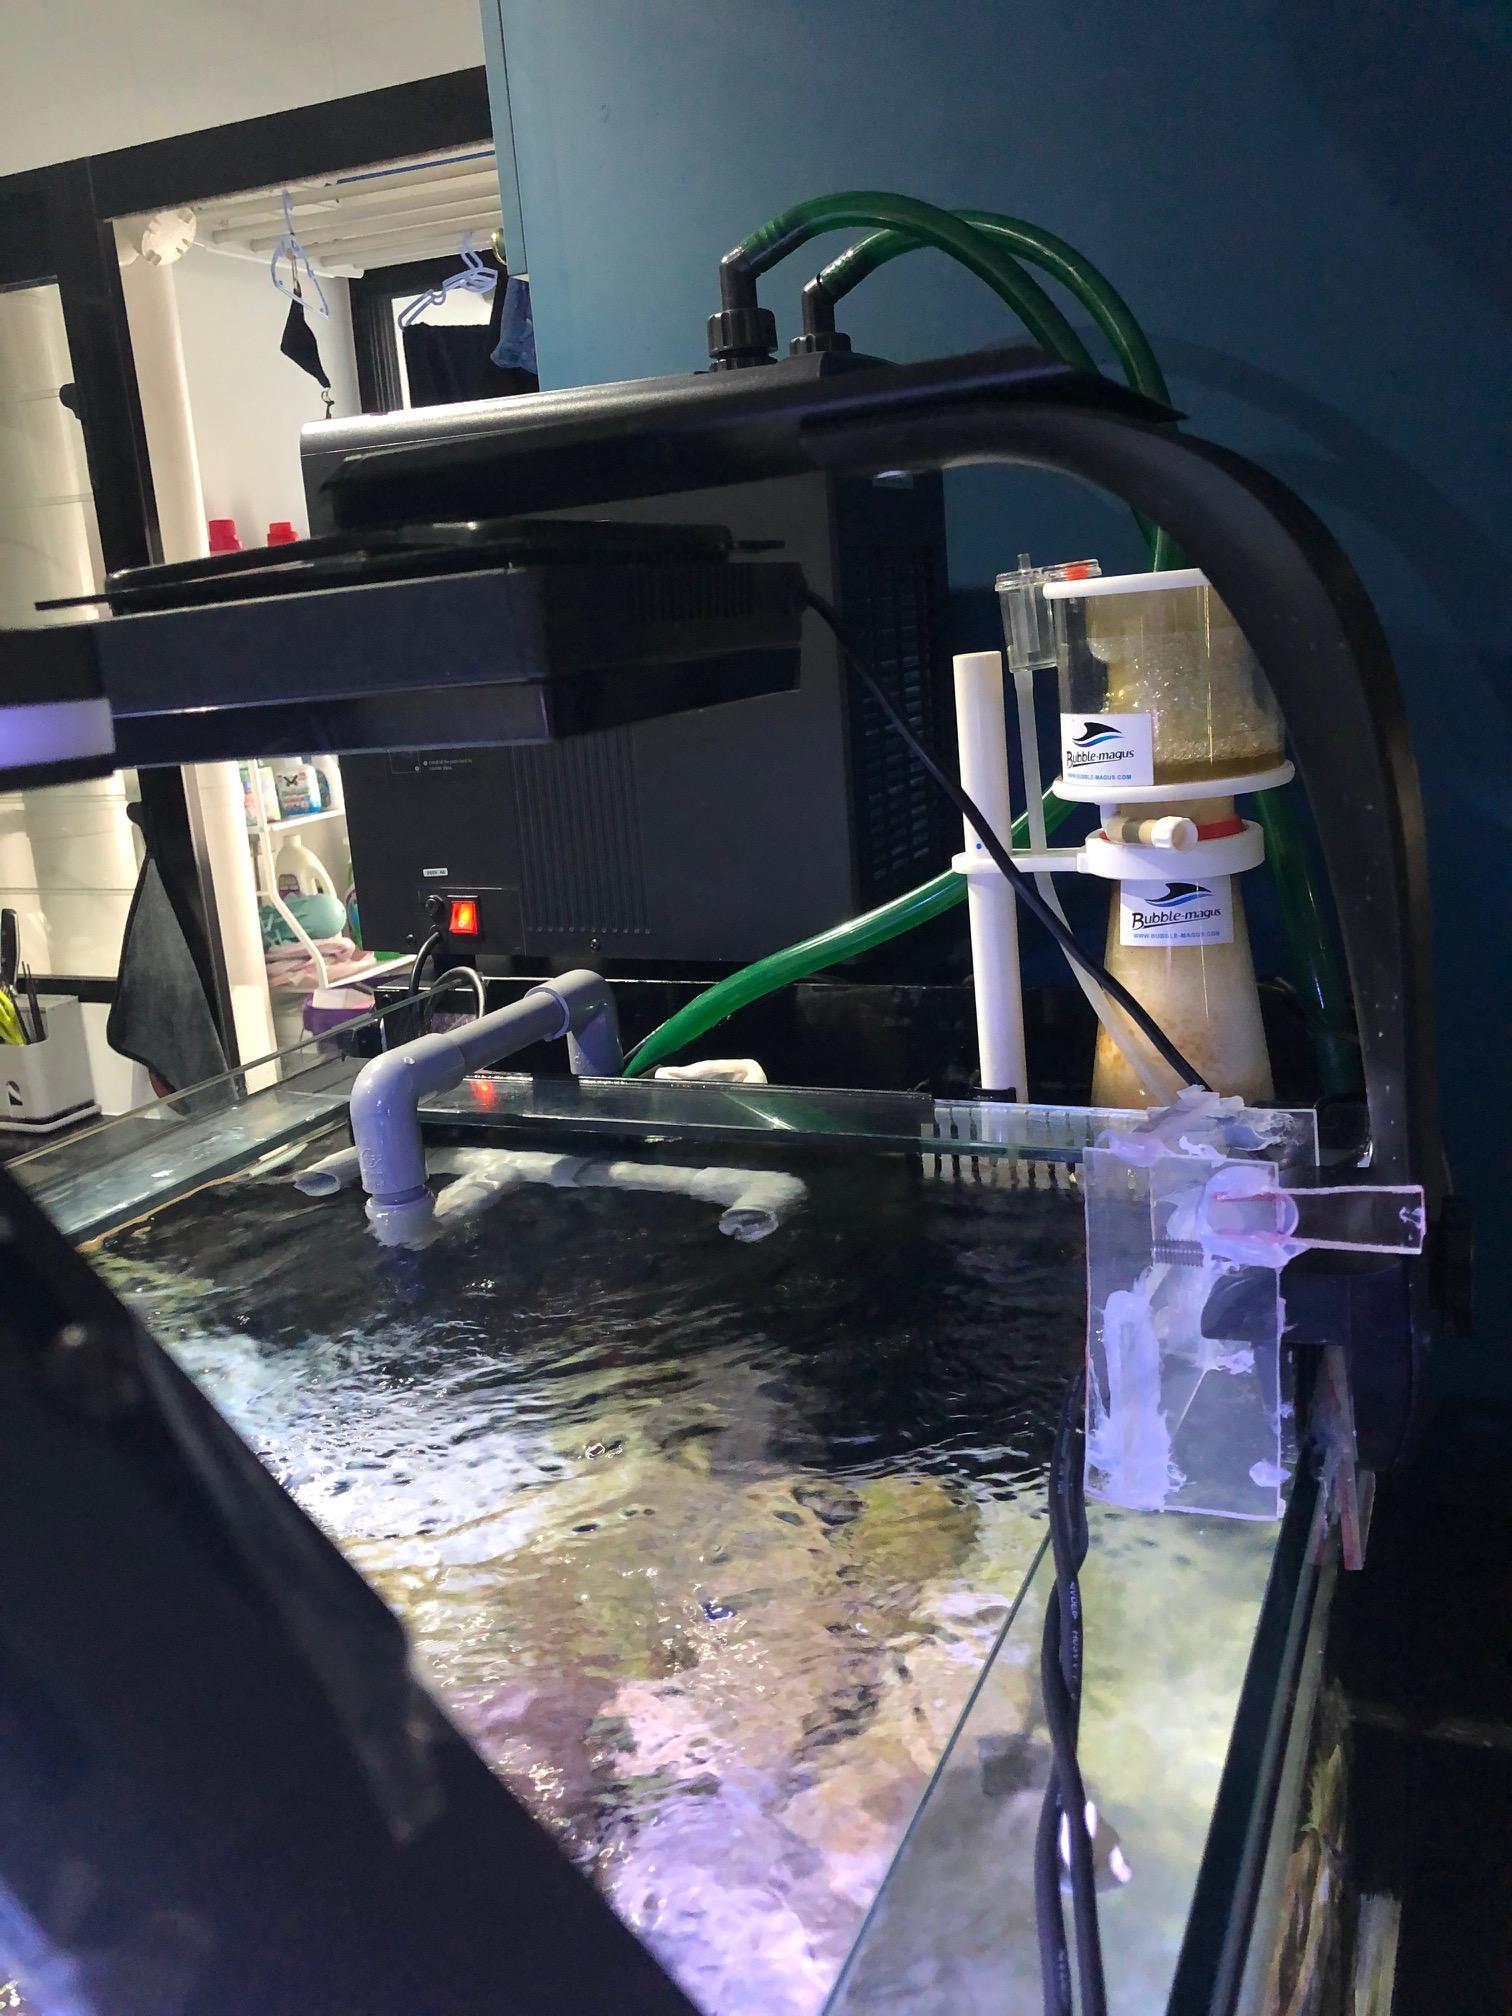
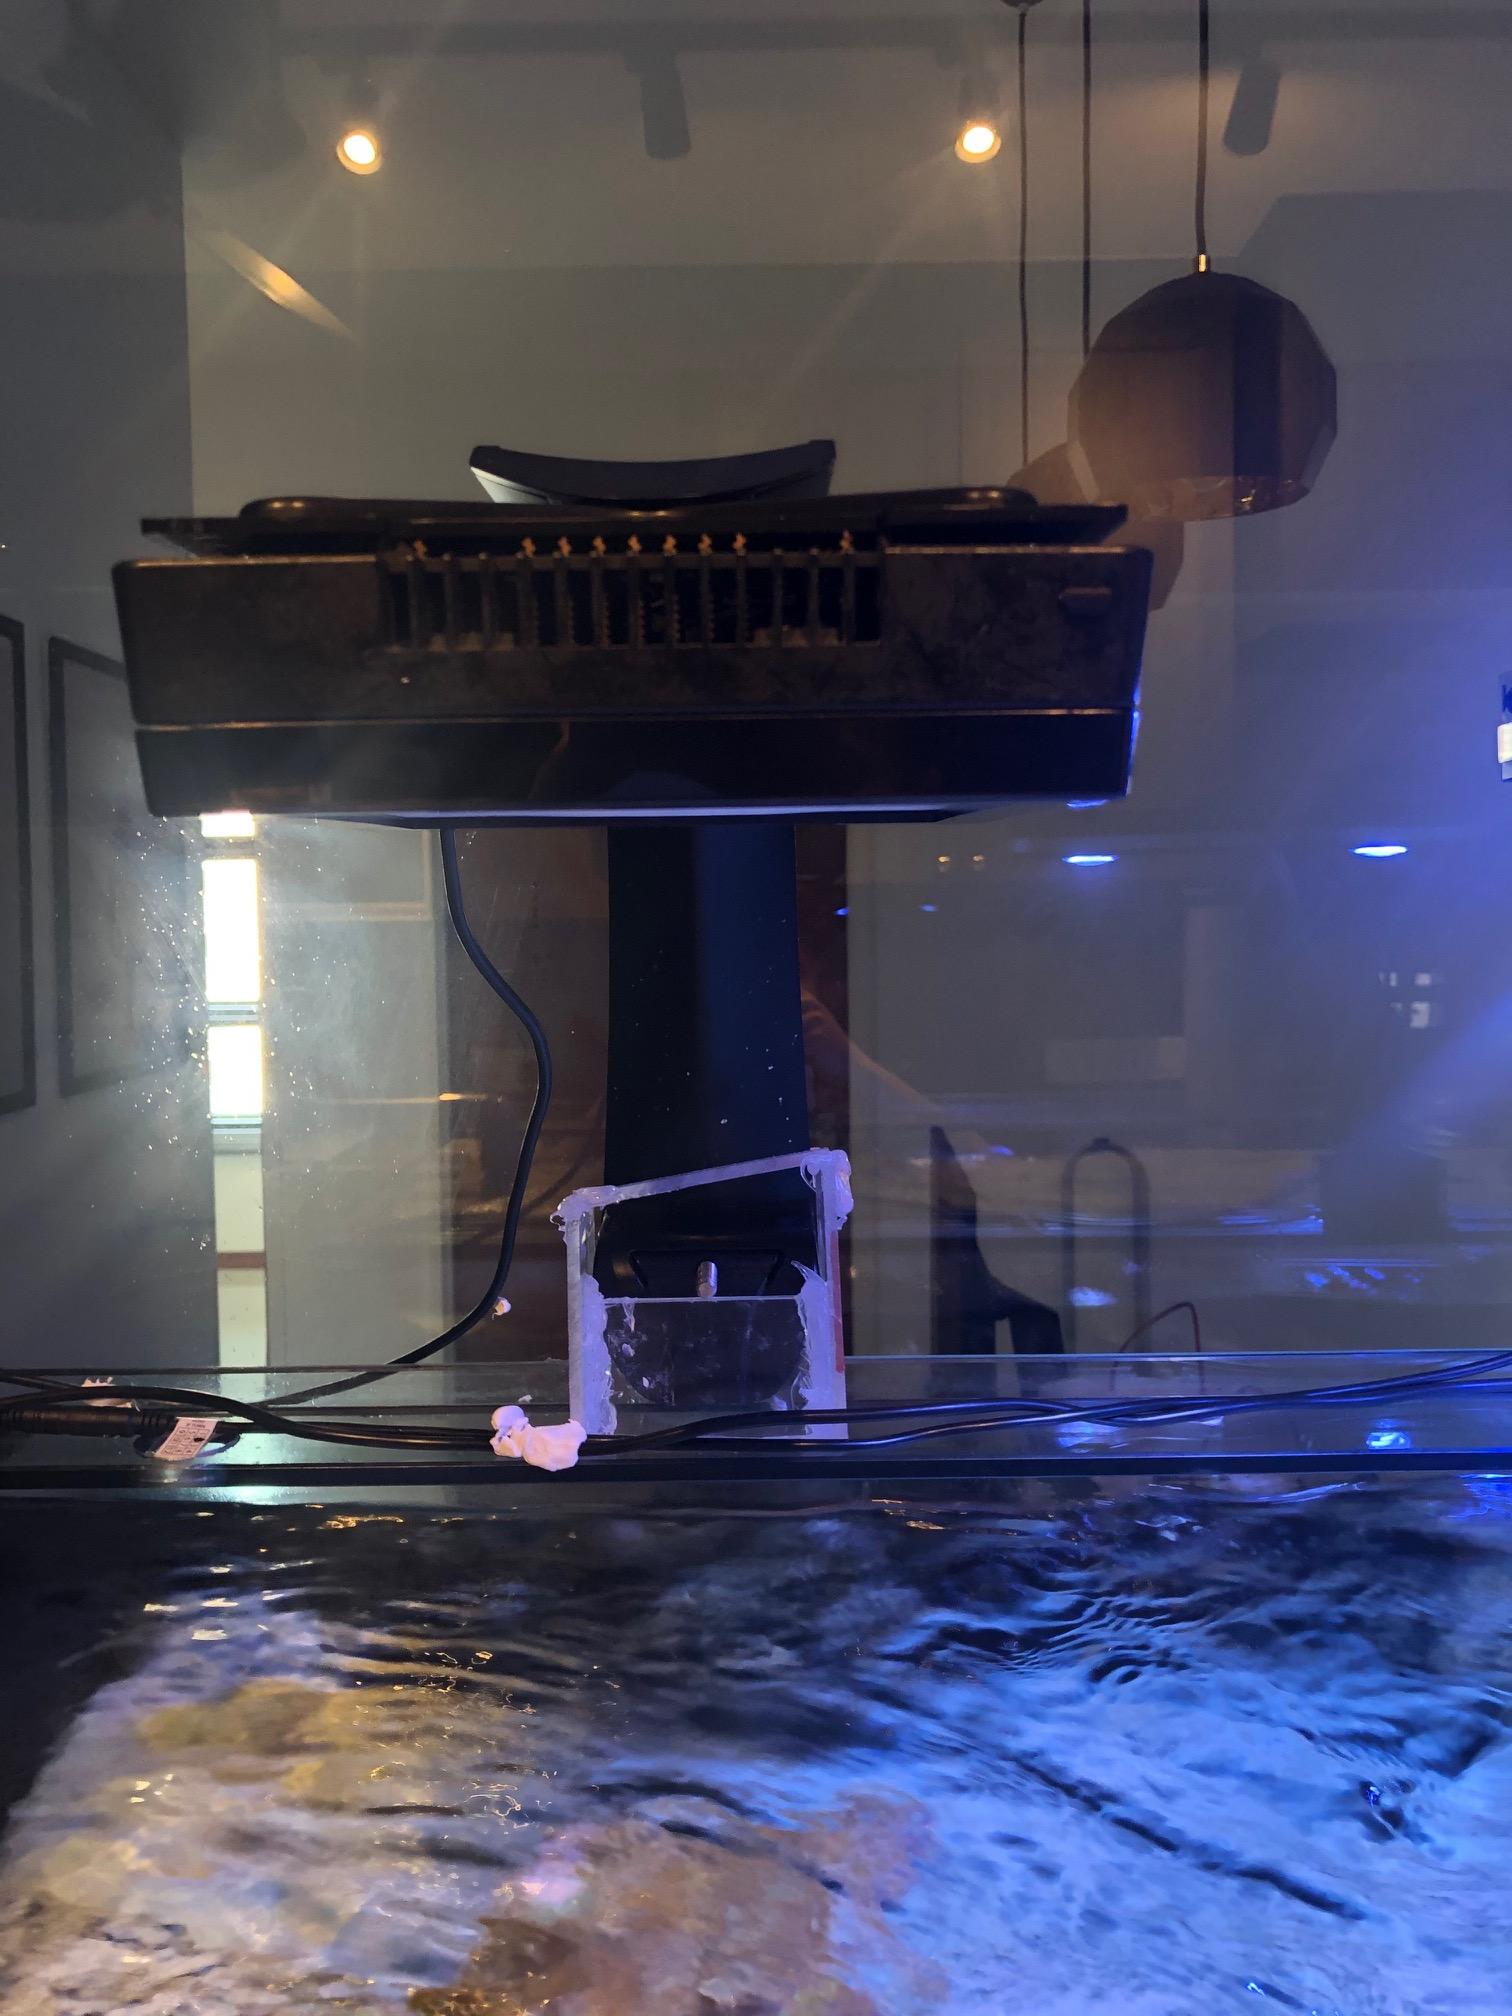
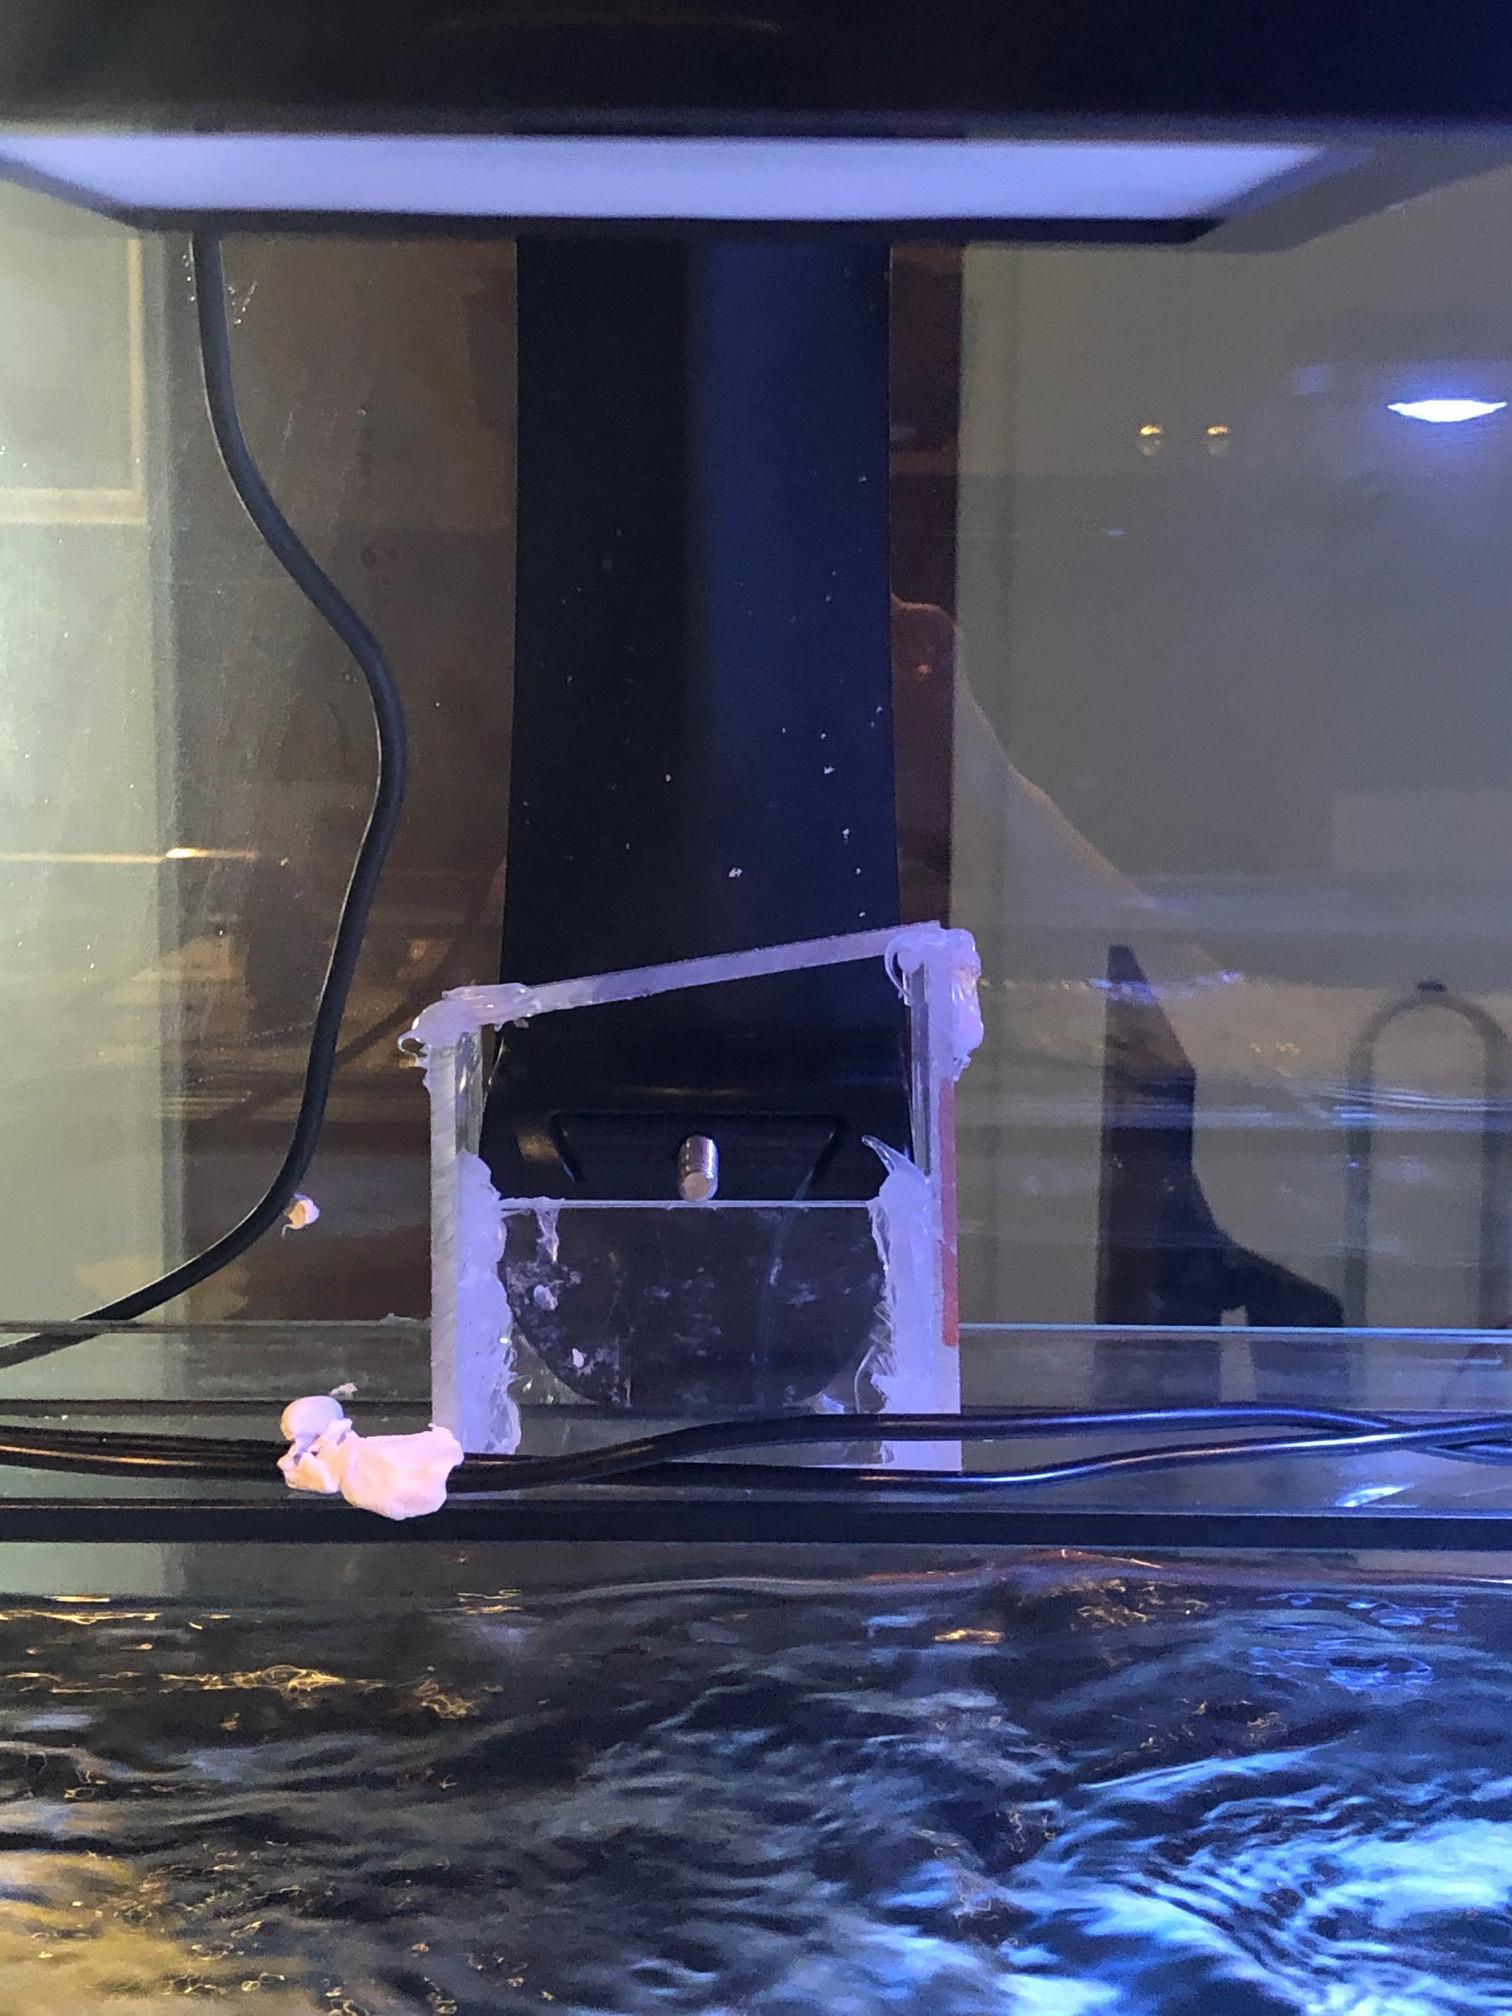
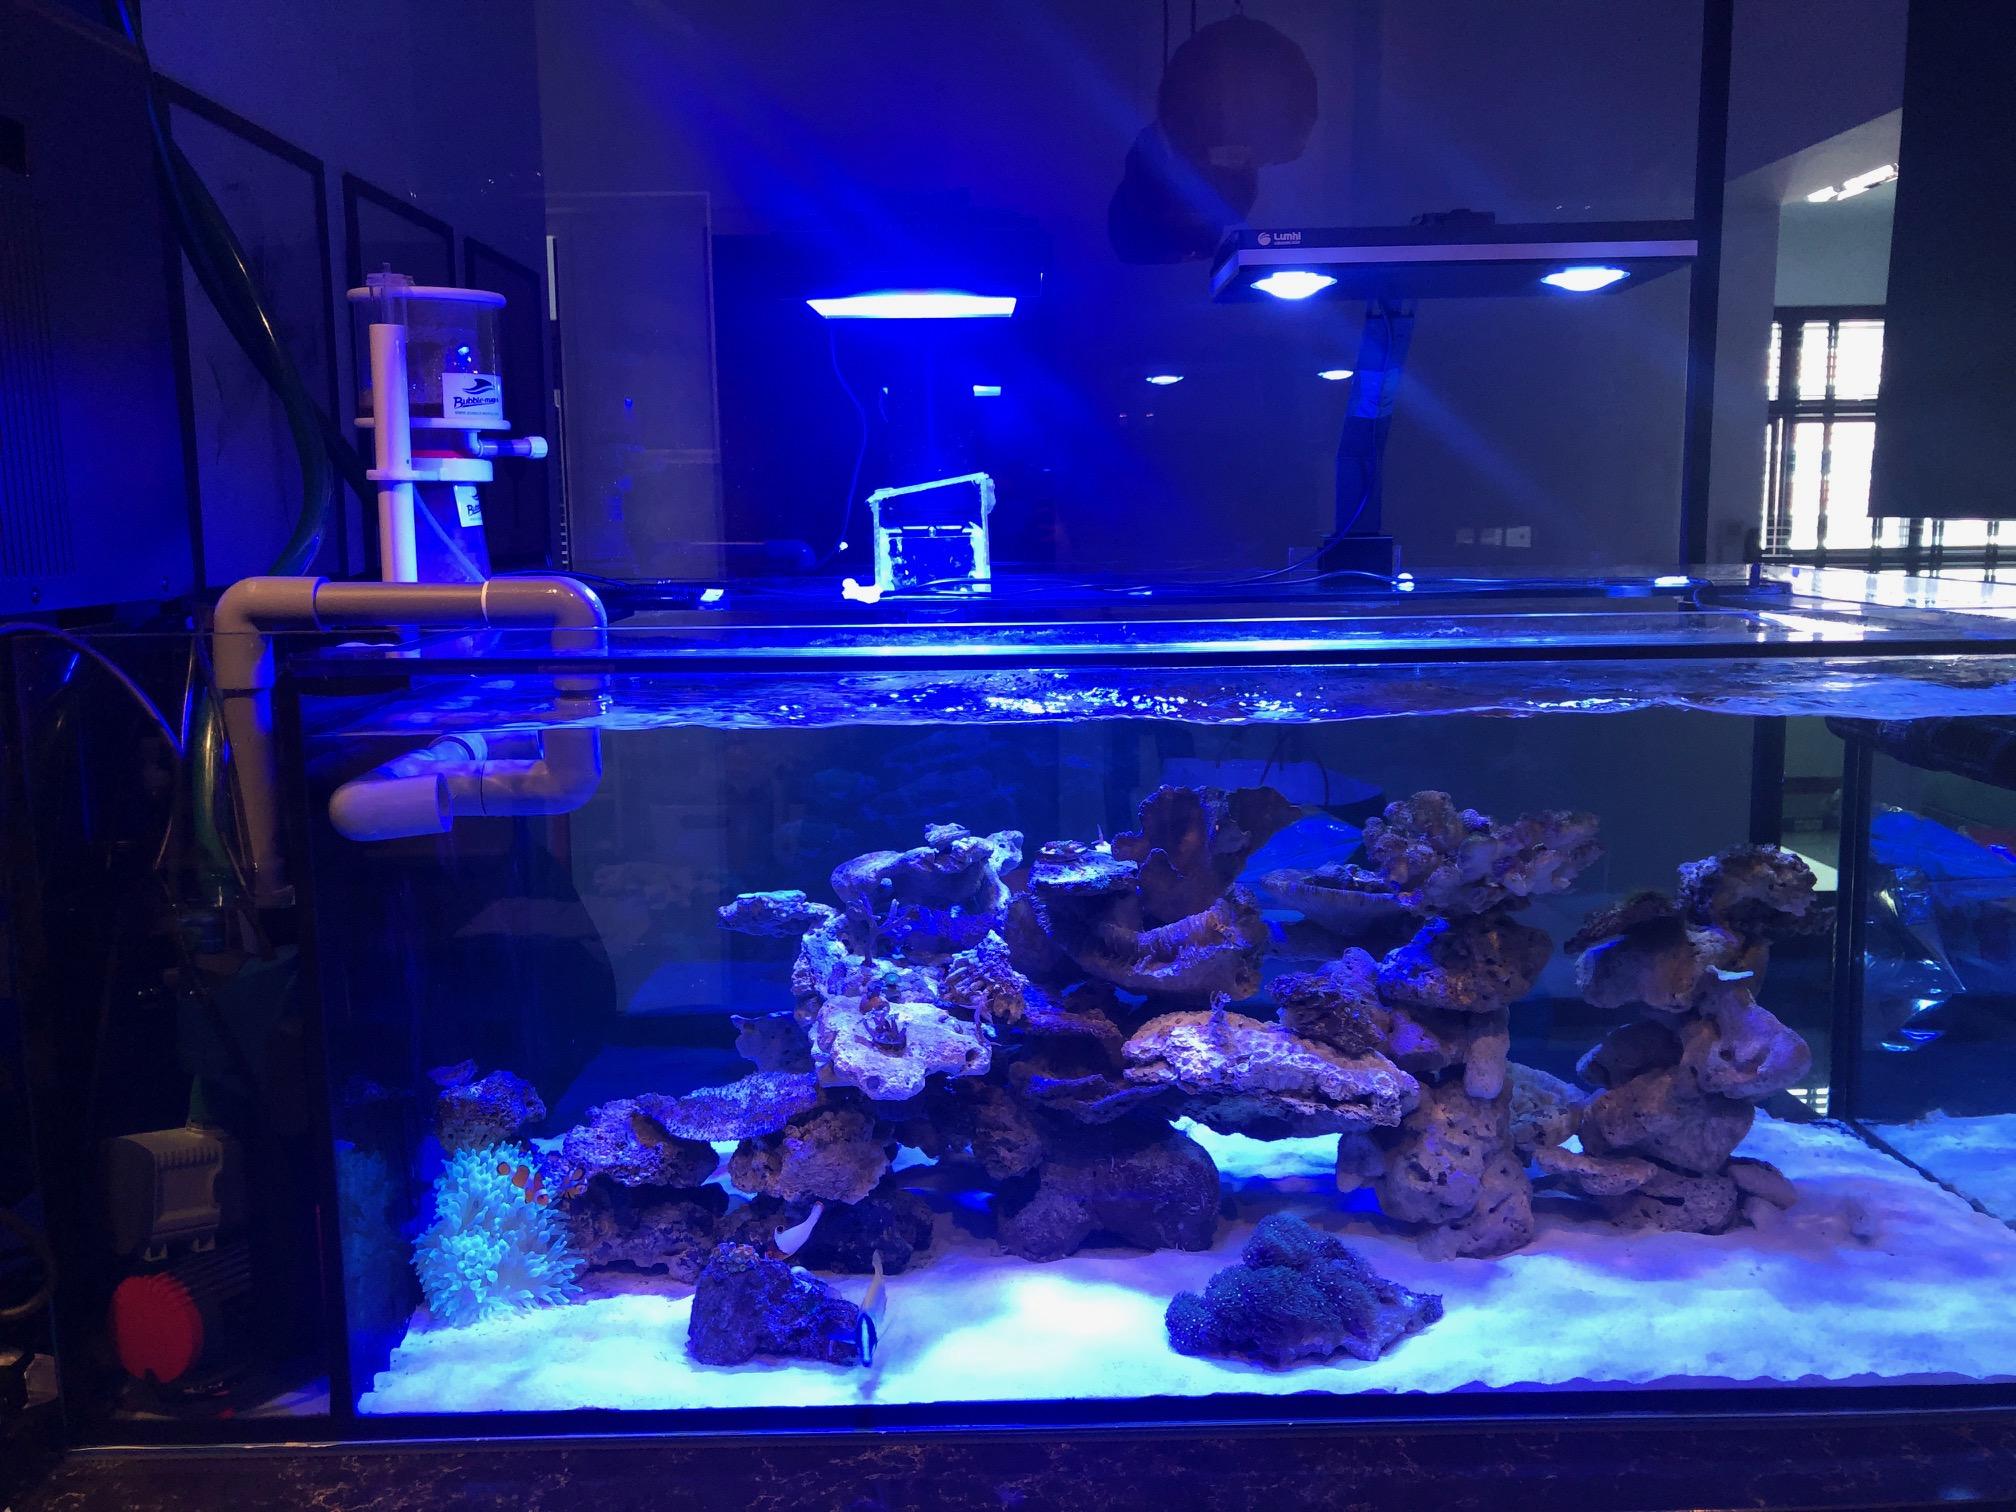
Hi, I will like to get some ideas from fellow experienced reefers about ways to mount the Radion light that i purchased recently for my fish tank. My fish tank is 4 feet with reinforced glass as seen in the picture below, so the length is not quite enough for the mount to be mounted securely on the glass and i do not want to drill my ceiling to hang the light. Therefore, i have made a small DIY aryclic rack to support the weight of the light so for past two weeks it is working fine so far. However, it sure is very ugly and it is a eyesore to look at. I am thinking of waiting after the CB period to have a small aryclic rack custom made as the one i do it myself is quite sloppy with limited tools on hand. This is the best solution i could think of now but if there are better ideas from fellow reefers to boost the aesthetic as well as able to hold the light securely it will be wonderful!


-
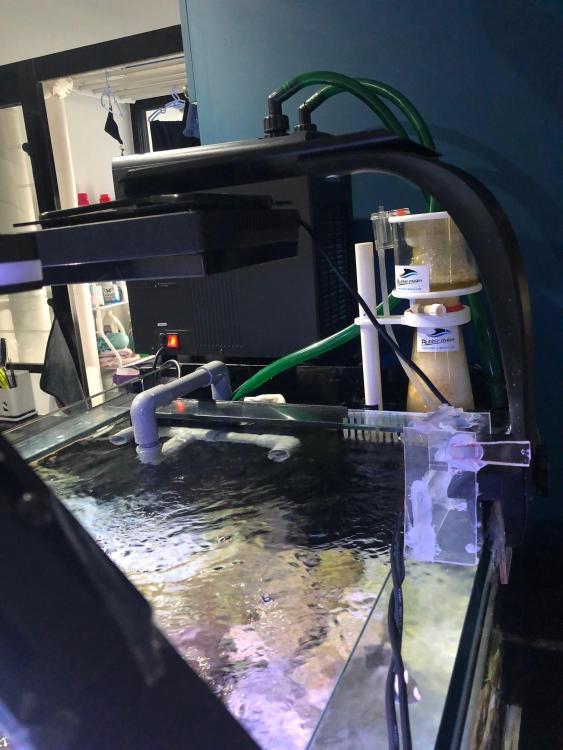
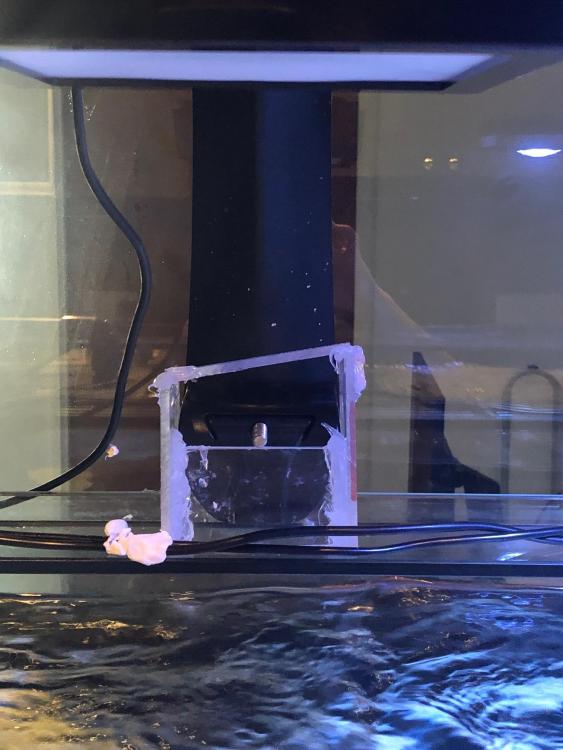
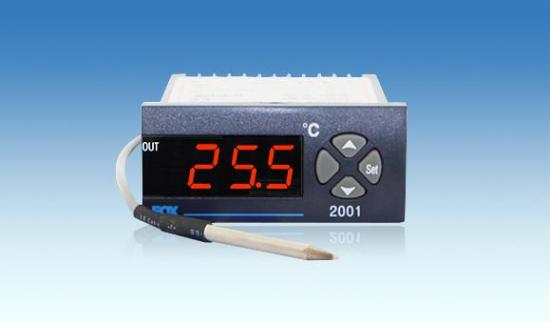
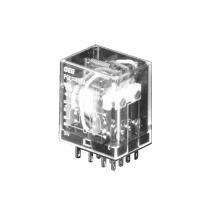
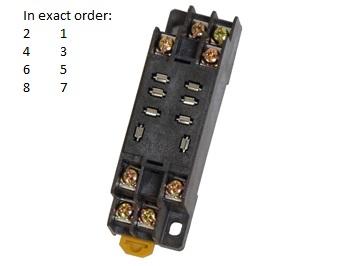
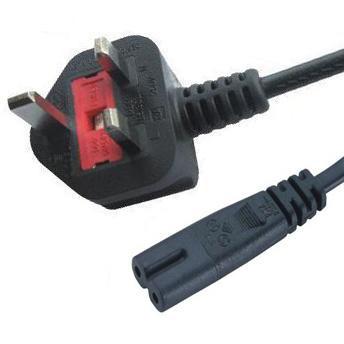
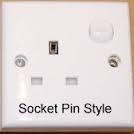
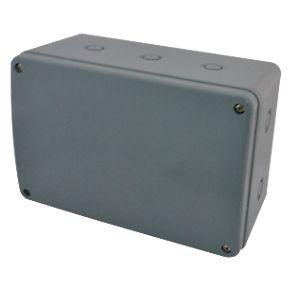
Hi all, This is just to document my (not so DIY) DIY external temperature controller. The main purpose for the controller is to trigger my chiller once the controller sense the set temperature. Its present a more accurate reading than the one that is built into my chiller (Hailea HC-300A). As my chiller was kicking in like every other 1/2 an hour, it makes sense to add in the controller to decrease the frequency of it kicking in. Some will say its because of my in flow rate causing the sensor to pick up false reading, while other might debate that the thermo sensor in the unit is faulty. Well, nothing is perfect in this world and hence this device is put together to make a better world, or at least for the fishes and me. There are a couple way you improve the temperature sensing / kicking in of the chiller. Open up the chiller and disconnect and install a seperate temperature probe ( requires dismantling of the chiller, need to determine if its NTC or PTC probe) direct connection of the temperature controller to the chiller by retrofitting it and wiring it (limited to the output current of the controller and requires dismantling of the chiller. Put together a external temp controller and configure it to trigger power supply as and when it sense the set temperature to kick start the chiller and pump. I'm going with #3, which is easier for those of you that not so into the idea of dismantling your chiller. Also, if you decide to upgrade your chiller or even to a drop in coil, this can be reuse, just need to change the relay accordingly and made slight modification. Decided to document this as I was searching for similar guide within the forum and did not manage to find one that has any pic ( PIC speaks a thousand words, they say). Many use fox controller, bro triggerfish had earlier document a similar for his chiller, but i can't seems to find one with a diagram that could make the build a little easier. DISCLAIMER: This is based on my purchased controller, its schematics as well as the technical specification of my chiller. Yours may differ a bit, please exercise abit of self judgement unless yours is 100% similar setup. I will try to state as much details as I can. --------------------- So here we go: Material required: 1 Fox-2001 temperature controller ($50 as of today. From Acez instruments, Sim Lim Towers #B1-38.) 1 10A DEG PCLH-108A1S relay ($6.50 as of today. From KOBA electronics, my fav electronics stores, People's Park Centre #03-06) 1 relay plug in socket ($3.50 as of today. Also from KOBA) 1 3 pin fused power cord. Its 3 pinned for easier connection, but only 2 wire in it ($3 i think. Aloso from KOBA) 1 single-gang socket ($5.80 as of today. Also from KOBA) Enclosure box to house all the above ($10 - $20,depending on your preferred size from Jalan kayu hardware store) Reason for selection: 1. The fox-2001 is one of the cheapest and most basic temp controller i could find. It comes with a 3m NTC probe, allow user to set highest and lowest temperature, provides a relay output (sadly only 250V - 2A) and it takes in 220v power. Other variant are available, such as one that allows 2x or even 3x output for your fan or pump, or 1 that includes alarm. Product inforamtion: http://www.acezonline.com/products.php/temperature/temperature-controller/fox-2001 Datasheet: http://foxeng.co.kr/upload/pty3/1397457444_0.pdf 2. The controller provides a relay output of 250V, 2A. This pose a problem. My chiller max running at 3A, or so i think from the datasheet that I have got. The Hailea HC-300A states the current rating as 1.8A (3A). So to be on the safe side, i got a 10A!!!! more than enough to power the chiller and allow future upgrade without the need to change the relay. You don't have to get the same relay as me, I'm just kiasu. However, this relay has to at least match the current rating of your chiller's or any thing elsethat you are running, otherwise it will 100% fry your controller or the equipment. Worse case, both. More is better. LESS IS NOT!!! Make sure you buy one with plug in terminal, not pcb terminal. We do not need to do soldering. Datesheet: http://docs-asia.electrocomponents.com/webdocs/04ab/0900766b804aba9a.pdf 3. The relay plug-in socket is solely for the relay and ease of connection. All you need to do is identify the correct port and connect the wire. 4 & 5. Both power cord and socket are meant for 3 pin. The temp controller requires only 2 wire, Live and Neutral, hence the power cord. It comes with fuse just as a additional safety in addition to the relay. 6.Waterproof enclosure allows your to safely house all components without fear of water splash or condensation sipping in, since the final product will be place near water. ------------------------------- Ok. Time to sleep. Tomorrow update on the connection and why this is call (not so DIY) DIY external temp controller.
-
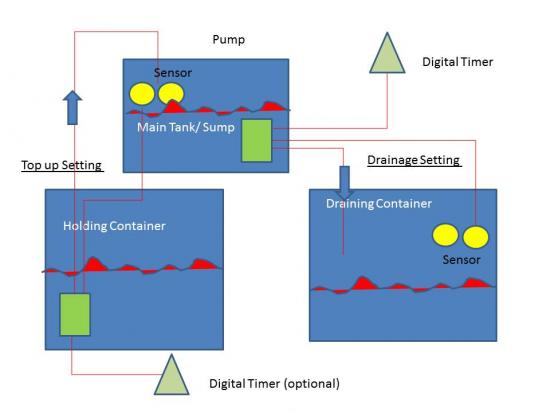
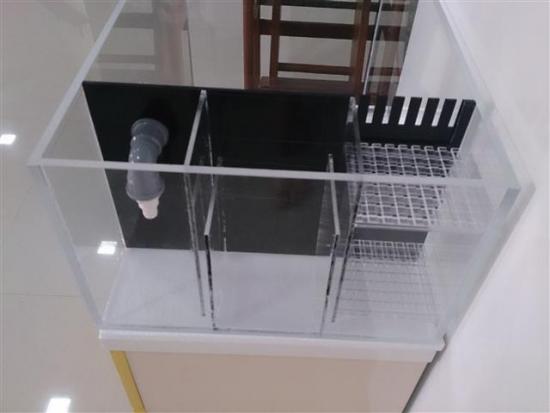
Dear fellow lazy reefers out there, lazy as I am, I have thought of this DIY auto WC System. Whole thingy shall cost $100 - $150 depending of where you got the equipment (two set ATO, one or two digital timer) from. The main objective of this auto water change system is to prevent my tank from KNS while I am away for two weeks ah. My aim is simple, archive an automated 3% water change daily (amounting to a regular 20% WC weekly). Of course the flow and ON OFF and be adjusted if you wish to do a continuous dripping/ draining system. Draft Sketches: Ideally how this kick off is: 1) Timer for drainage ON for one min 2) Water flow out of main tank 2.a) Sensor at draining container is to prevent overflow 3) Once water level in main tank/ sump drop, top up pump will start pumping new water into main tank/ sump 4) Once water level in main tank/ sump reaches the sensor, top up will stop 4.a) If KS, an optional digital timer can be use to time the topup ON OFF. *Flow rate for both Top up/ Drainage tube can be adjusted using valve. *Reason for not draining water directly to toilet is that my tank is not located in the toilet ah So what do your guys/ gals think ah?
-
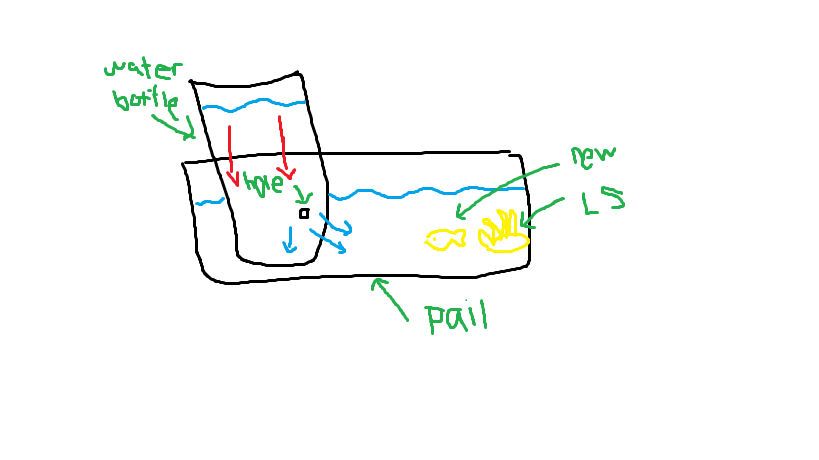
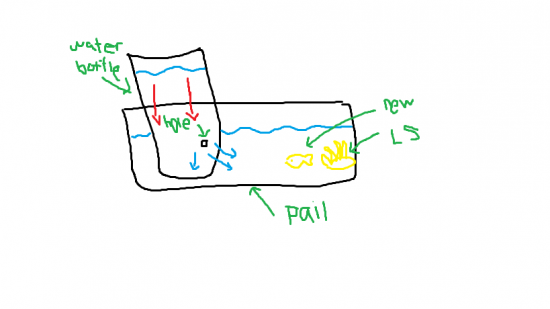
Hi all bros, as we all known, drip acclimation is one of the best method of acclimating new LS but lot of us are put off by the steps involved. I have come up with a very draft and simple method of doing it. It is still very much in theory but I believe it will work (gravity and equalization of water pressure shall make sure it did). The key idea is to put a 1.5l (or smaller) coke plastic water bottle with neck cut off (filled with tank water) and with a few holes at the bottom and place it in a tubberware/ pail/ small container which hold the LS and LFS water. The tank water shall slowing flow (drip) through the hole at the base of the water bottle into the tubberware until the water level equal out (if my physic teach teaches me the right knowledge). The advantage of doing drip acclimation this way is that we can just set up with easily available thingy and forget about it till the water level out. It is also easier to pour away the mixed water and top up the water bottle with more tank water (if you want to do a longer acclimation process). Please let me know what you guys think about this. I shall try this out when I am back to SG end of next week and hopefully it works.
-
 Been survey the ready made complete system. especially the redsea series. And the prices a little differences compare with those complete packages. Some come with sumps. Some hmm try additional cost for sump , protein skimmer, salts topup water and lighting. Well need some good advise here from those experience guy to be money well spend.
 -
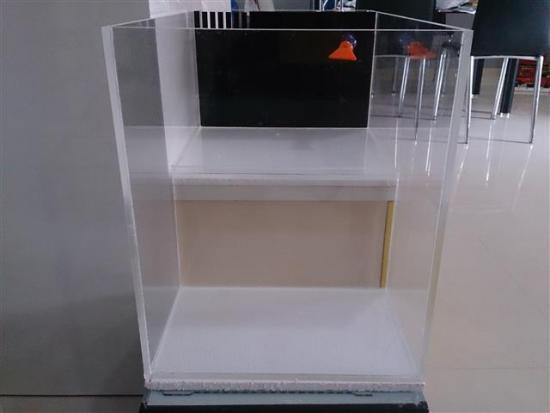
How time flies...have been in saltwater hobby for almost 10 years .. finally came to a difficult decision that I have decommissioned my entire 3ft tank due to my tight working schedule...... sigh !!! Sigh after another Sigh...my nano System 45's lousy Chi-na made cabinet started to warp after a year and the cost of the new cabinet seemed too high to justify based on the various cabinet quotations received which may lead to another decom. After discussing with my wife, I have decided to DIY a simple IOS nano tank to continue to upkeep my hobby since I am still very passionate in marine and also a DIY fanatics in person. With her support and family understanding, my blood starts to boil and the brain juice rejuvenated again..... ! The next million dollar question will be : what type of tank and material to use to construct a simple nano tank and how to create one that is very original and unique to my personal taste? I have seen so many nano tanks in the web but none of them caught my eyes till I saw bro gargamelron's thread " PROJECT RED CLIFF" in the SRC Members Tank & Specs which ready aroused my great interest. Although there are a few negative remarks on cliff down/drop down tank which are related to leaking issues but I still go ahead to DIY using acrylic sheet because I believed that as long as there's a well planning and preparation with overkill material used, leaking problem should be easily overcome...not to mention mine is just a nano tank only. From initial plan to materials purchased and hands-on implementation, it took me almost 1-2 months to materialize the building of the nano tank and finally completed it on 27th July 2013 . While waiting for some of the equipment's arrival from oversea, please feel free to have a peek at my nano tank's DIY track at : Equipment and stuff : Display Tank - Acrylic Nano Drop Off Tank - IOS (~56L) 1st shallow is L40xW36xH22cm(10cm IOS) and drop off is L22xW36xH42cm Return Pump - Eheim Compact 1000 Protein Skimmer - Resun SK300 (China Made) Aquarium Chiller - Nano Thermoelectric Aquarium Chiller, 200W (China Made) Wave Maker - Sobo WP-50M (3W, 3000L/H, China Made) Bio Media - Polyplab Bio Sphere (not sure yet) Background - Aquarium Artificial 3D backdrop (China Made) Live Sand - Natures Ocean Live Aragonite Black Sand or CaribSea Instant Aquarium Tahitian Moon Reef & Marine Substrate.

-
Hi bros and sis, im doing a diy led and was wondering if 50 x 3w 10k star base led (china) + 4 royal blue led would be good enough for softies? Is it sufficient and is it possible to grow lps too? Please advise me on this.. Thank you..
-
Hi, Selling off as topic suggest; Note: Did a major overhaul of my previous design, and gave up half way due to other commitment. Buyer will need to troubleshoot, and solder back to make it work again. 1. Customized Arylic body 3FT (Black body/ Transparaent Bottom) + Black Cover + Accessories - Internal customized Metal Sheet base plate - In good condition (9/10) - - Buyer who purchase the whole set will get FOC 3W LED. (Used and Unused, consisting of WHITE/BLUE/RED) - Buyer will also get FOC cables + 2 LED drivers worth $17 each. - Buyer will also get FOC pastes - My Cost is >$400, Selling off as a set at $150. 2. Brand new unused LED driver (As shown above) - $12 each (8 sets available) - Buyer who takes all LED drivers, bundle price of $80 for 8 LED drivers. Interested buyers please contact me at 912 76735 Collection at my place (Clementi West St 2) Thanks.
-
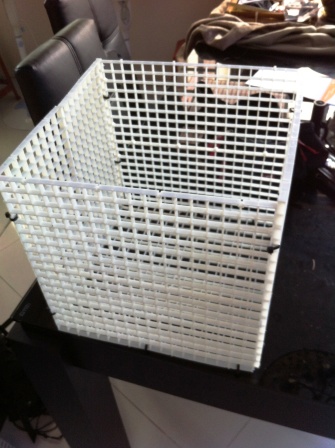
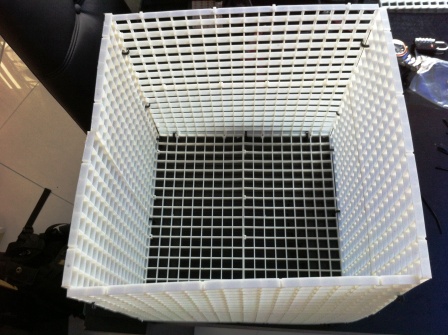
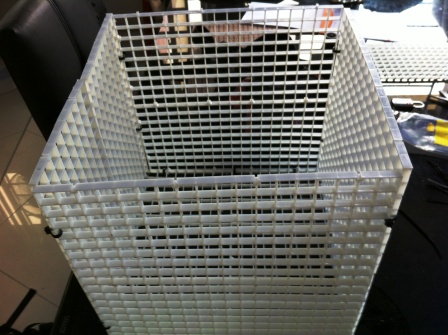
Just to share this simple idea of DIY your own betta box for those reefer like me who couldn't find a suitable size Betta box for tempory housing of their fish or for use on trapping their fish inside the tank. Material needed : Plastic egg crate Cable tie Stylo foam block ( Or anything that can keep the egg crate afloat ) Below is some photo of the simple DIY betta box i make for housing of bigger fish in my tank.